Pergola!
Uh, almost.
Other than the fact that just about every step of this project takes twice as long as I expect it to, we got through last weekend without any major issues. That means: More pics, less talk.
The one woman staining crew:

The one woman post trimming crew:

If you’re wondering, that’s the “I really don’t want to fall off this ladder and break my neck” face that I’m making. Attractive, I know, but hey it worked. Another way I assured myself I’d stay put on the top of that ladder is the luggage strap you see slung over my right shoulder. When I was using the other saw I would swing it around the post and clip it to my belt loops which gave me a little stability. Mark the Neighbor said I looked like a lumberjack. Ha. Ha.
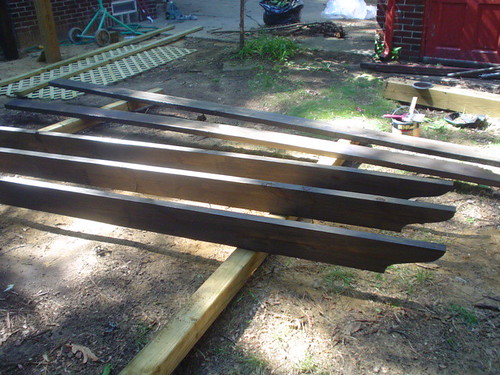
It took almost all of Saturday to get those posts trimmed down and about half of the roof 2×6’s stained…. here’s a three-piece mock-up of the roof:
Sunday I started on the first piece of lattice…
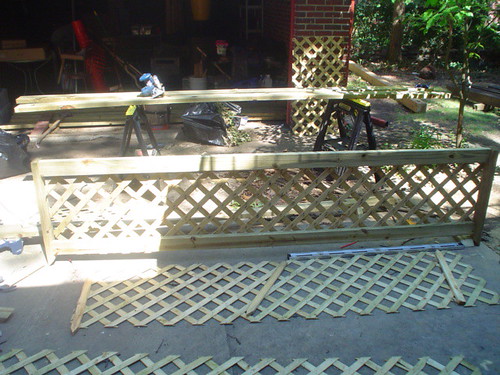
(That took about four hours, mostly due to crappy battery life on my power tools, and the fact that I had to extend that lattice –which only comes in 8ft sections– to ten feet. Can’t even tell, can ya?)
This project was supervised by this little guy. He was about as big as the palm of my hand:
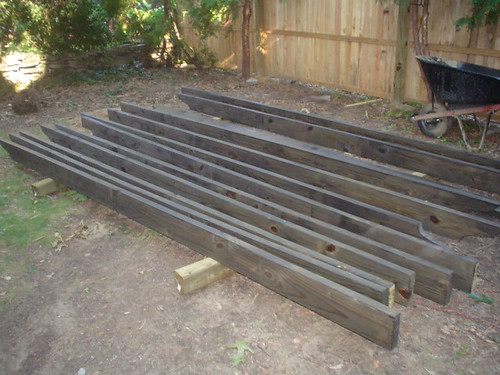
Moms and I stained that lattice piece which, because it was lattice, took about two and a half hours. Plus we finished all of these:
Getting the lattice piece into place wasn’t easy AT ALL but a strategically placed 2X4 helped us leverage the thing up and hold it into place. One of the crappy things about being a girl (and not having an extra 100 lbs packed on me) is that it’s hard to stand on a ladder and get enough leverage to get the wood screws in. About a third of the time I end up stripping the screw, and I haven’t found any good work-around for this. Usually I try to screw everything in on the ground so that I can lean all of my weight onto it.
Despite all of that, though…
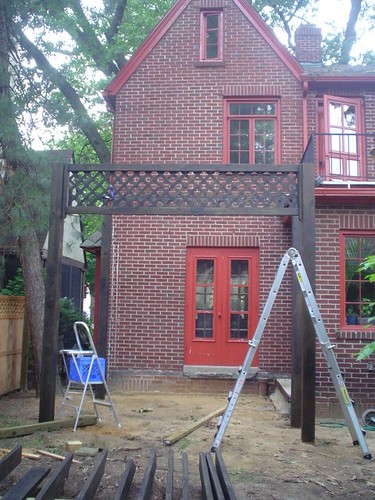
Looks slightly better than my drawing, no?
JUMP TO PART VII of The Pergoal Saga- Not as Badass As I Would Like…

7 Responses
This post is ancient, so, likely no one will see this, and you’ve likely figured this out by now, but as someone who also has drill leverage issues… if you drill a small pilot hole first, far less leverage is needed. Takes an extra step and switching out bits, but worth it. In my humble opinion.
I saw your comment MalleryN. I agree, though my first thought had been predrilled holes and bolts. You could brace it up with the bolts and then just tighten the nuts. I have the same problem I’m a smallish woman too.
My site is irrelevant but you wanted it….in regards to leverage, torque and stripping screws….I LOVE star bits. T22’s R my fav. As far as driving them home. Craftsman makes a VERY compact and perfect right angel driver that goes for $70 normally but if you get it online it goes for around $30. I have since bought mini drill bits n such various attachments for this WONDERFUL tool. Only down side is it needs hex bits but considering it is so small and @ a right angle I feel it is more than justified. I have given this tool as a gift to guys that comment on it when they come over and help.
Instant torque!
Hell, it actually looks like a… 😀
What a great title, I had to read on!
I am so amazed by the passion, hard work and creativity that goes into so many of the home improvement and home design blogs I come upon from time to time
Great work… the process is as much a reward as the results
Looks great!
Comments are closed.