Alternatively titled: I must Have a Screw Loose. Or seven. Hundred.
Drywall is the easiest part of building a room in theory… in practice, let’s be honest, it’s really just kind of a pain in the ass. I mean, “screw board to wall, cover with joint compound”, how hard can that really be?
I had a plan to start drywalling the Memorial Station this weekend, and even more importantly, I had a plan to do this by myself. Maybe I’ve never mentioned this before here, but I’m five-foot-three. Oh yeah, and a girl. Keep that in mind.
My biggest challenge is maneuvering a 4×8 piece of wallboard in place. Or even maneuvering it at all, really. But almost anything can be accomplished with the right attitude and this wonderful invention called a drywall jack. Get one.
For anyone interested in drywall basics, let’s start here.
Hanging Wallboard: Tools
- Wallboard. Duh. Standard thickness for ceiling board is 5/8″, walls are 1/2″ unless they need to be fire-rated, then you have to go up to 3/4″ and good luck hauling that heavy-ass piece of board around.
- A really sharp utility knife
- Straight edge, or better yet, T-square
- Clamps (trust me)
- Tape Measure
- Drill
- Jigsaw/ Rotozip/ Dremmel-with-rotozip-bit/ hole cutter
- Your body weight in drywall screws
Hanging Wallboard: Cutting Basics
Here’s the thing I hate about wallboard – you have to cut it twice. I mean, I don’t care if you can do it with a pocket knife, the two-cuts thing really just drives me nuts and other than using my Really Big Tools inappropriately, I haven’t found a better way to do this yet.
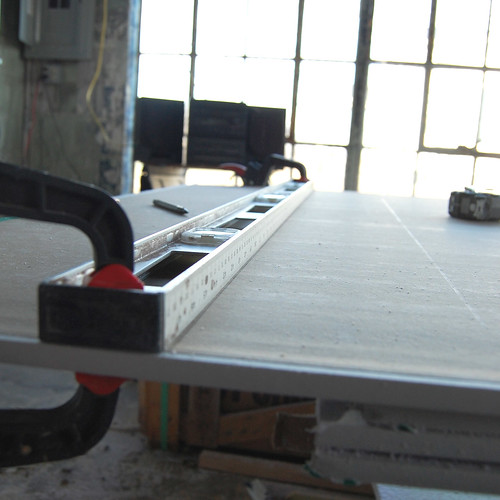
1.) If you don’t have a T-square, I recommend clamping the straight edge down. Without fail that thing moves on me if I’m trying to hold it AND cut.
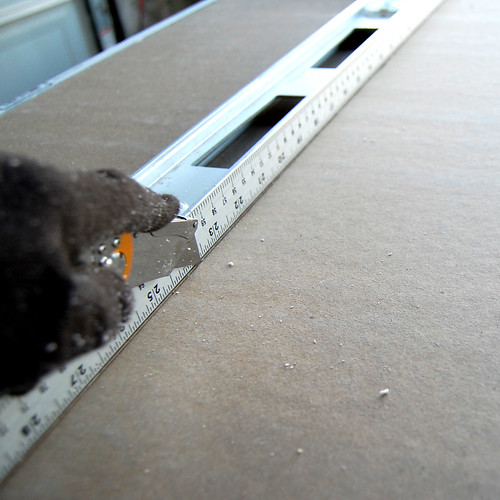
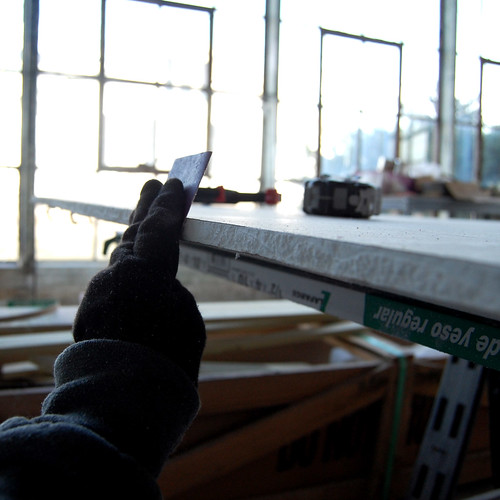
2.) Cut. I sure hope that’s self explanatory, although I will mention, you just have to cut through the top layer of paper, not the whole board. (I didn’t believe it the first time I tried to cut it. I guess that was before Google was invented.)
3.) This is my favorite part. Feel free to add karate sound-effects.
4.) After it snaps you have to cut through the paper on the other side. Which pisses me off. The “whacking” part makes me feel better though, so it all seems to balance out.
I don’t have a picture of this step because — here’s the interesting thing about doing this alone– there is no real way for me to flip a piece of drywall upside down. So instead I would crawl under it and cut. This made MysteryMan snicker, until he realized I have good aim with a utility knife while half-lying under a piece of drywall. The “I’m little can’t maneuver wallboard” thing is also the reason why I’m cutting into the back of this. Usually you’d want to make your first cut on the front because it’s cleaner.
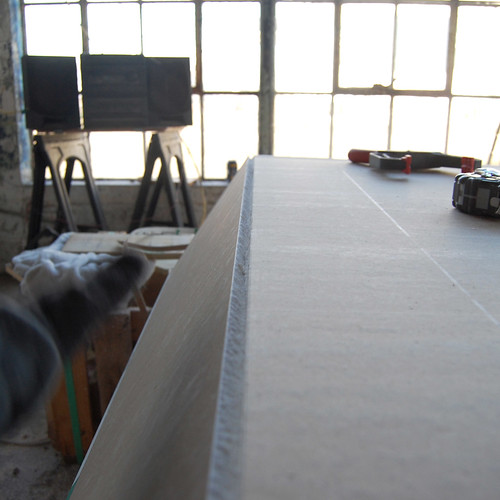
5.) However, all can be straightened out with a little sand paper.
Hanging Wallboard: Cutting Utility Holes
This can be summed up with the old adage: Measure twice. Cut once.
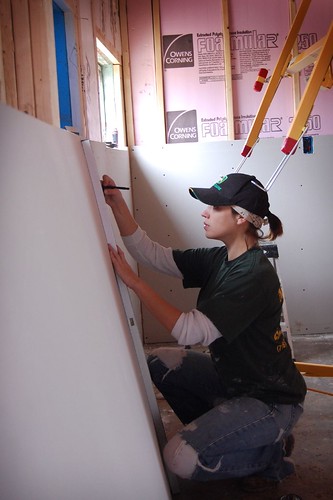
I hauled this bigass piece of drywall closer to the area of installation to cut the holes. Because it was nine feet long, and also very possible that I was going to damage it in transit, and all that hole-cutting time would be wasted.
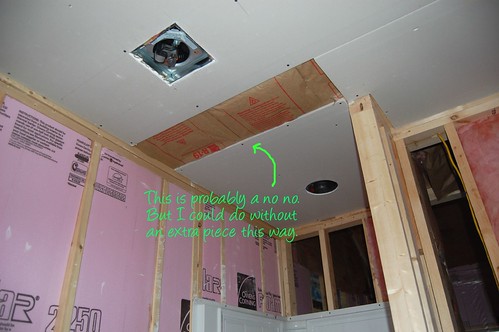
Side note: You see that piece of drywall attached to the bottom of the wall in the background? Yeah. That’s no good. I mentioned the words “hanging drywall” to my dad on the phone, and that dear, dear, man — the supplier of most of my tools– came running over to the house almost immediately to say “You’re doing it wrong!” Which was followed closely by a pained look and then, “You’re going to put this on the internet, aren’t you?” Yes. Yes I am. But you better take a screenshot of this one Ricky, because I’m going to admit it to the entire world… You were right. Technically. Technically it’s more appropriate to start with the ceiling and work down, and then you have a little play at the bottom where the trim will cover it. But MysteryMan and I messed up when we were framing and used longer-than-96″ studs to make the walls reach the place where wall-meets-roof, so regardless I’m going to need to put another 6″ strip of drywall in somewhere.
Also, I’d just like to say that my Dad gave me a badass router box that he only used once before because he wanted to go buy a new one. He claims I never say nice things about him on the internet, so there you go. That was very nice of you, Ricky. Now next time you come over, say something complementary about my drywall or I’m taking it back.
Anyway, back to cutting.
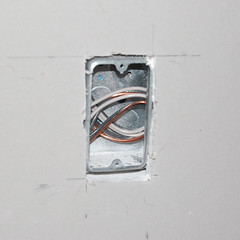
1.) Measure the position of any outlets.
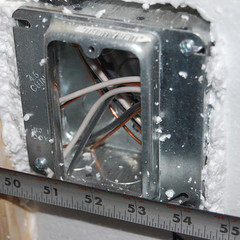
Both ways…
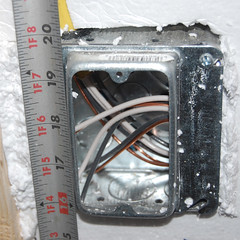
2.) Transfer to drywall, I was leaving 1/8″ on either side of the box, but I still ended up needing to widen it, so maybe 3/16″ for play. Rotozips work good for the cutting part if you have a steady hand, but I was missing a collet, so I drilled holes to use the jigsaw instead.
3.) The jigsaw is overkill, but it also cut a really nice hole.
4.) Then, voila! I had to widen the right side a bit because, hey, never claimed to be perfect over here.
Tip: MysteyMan kept asking how I was going to accurately measure the distances to fixtures on the ceiling without someone there to hold the other end of the tape. I found that using a piece of scrap wood we ripped off of a 2×6 at some point was perfect. I marked on the wood and then measured on the ground.
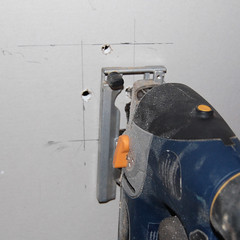
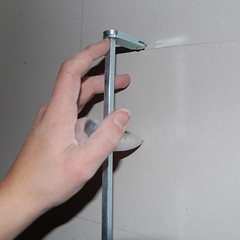
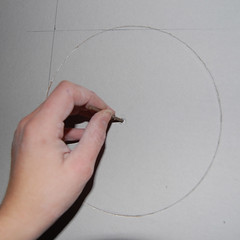
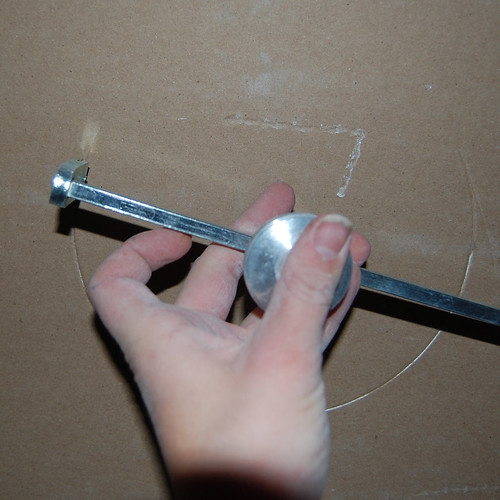
Now circular holes are a different story. Again, a rotozip would work, but I saw this hole cutter at Home Depot, and for $10 you know I couldn’t resist. Plus if you’re going to use a different tool you need to have a good compass anyway, and this does both.
1.) I measured to the edge of the circular fixture, and then the diameter of the fixture. The cutting tool lets you set to a specific size.
2. ) Once you cut one side, poke a nail or some other similarly pointy object through the drywall so you can locate the hole on the other side.
3.) Cut again.
4.) I think the proper term for this is “thwock”. Oh, apparently that’s not even a word, but you get the point.
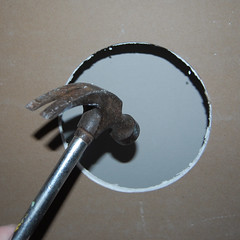
That was the easiest hole I’ve ever cut in drywall. If you’re going to be cutting more than one, I think it’s worth the $10.
Hanging Wallboard: Getting it in Place. Alone.
I have 2 words for you. Drywall. Jack.
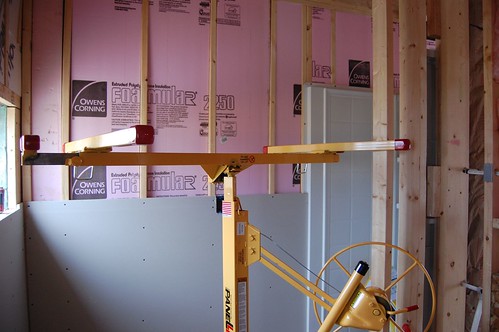
They cost $30/day to rent from home depot, and are WELL WORTH IT.
I’ll be honest. MysteryMan knew I was at the house hanging drywall alone one day this week (I took a drywall day off work this week. It’s a sickness. Also, I have a week and a half of unused vacation, so what better way to take a break from corporate stresses?) and he showed up to the house coincidentally in the afternoon, I think to make sure I wasn’t lying crushed under a piece of wallboard. When he saw the jack he was all “no way you’re going to be able to get a 9ft piece of drywall up there.” So instead of asking for help I shooed him out the door, set up the video camera, and prepared to record evidence of just how easy it is for me to get a piece of 9 foot drywall on to the rack.
That video is four minutes and eleven seconds long. That is an eternity when you are holding a nine foot piece of drywall of the ground. Only 2 words are spoken the entire time.
Holy.
Shit.
Getting a 9ft piece of drywall onto a rack in a room exactly nine feet long presents some logistical problems involving doorways that I can’t even begin to describe here. I’d post the video, but it’s embarrassing to a degree that will probably haunt me for the rest of my life.
Let’s just say eventually we ended up here, and that’s the beauty of a drywall jack.
This piece of drywall was such a tight fit (even though I cut it an inch short) that the jack couldn’t get it up as tight as I needed it, so I subbed in some 2×4’s when I was ready for fastening.
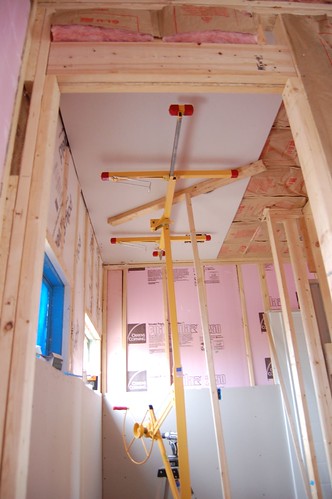
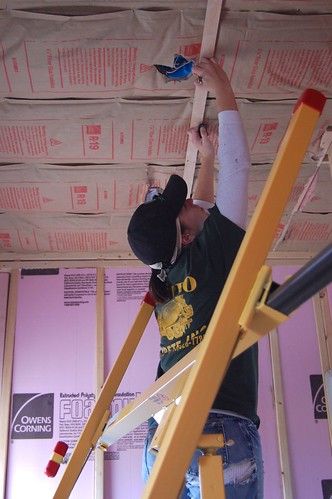
Now, one of MysteryMan’s buddies gave us some advice on drywalling from the top down, which was that we should measure down to where the drywall will sit and drive a couple of screws into the studs temporarily to hold the board in place. (A good tip if you’re doing it on your own for sure.) I modified this idea for use with a ceiling board in a place where the jack wouldn’t reach, putting a couple of screws in to hold one end of the board up while I got the 2×4 in place to prop the other end up.
I know this is going to leave a couple of divits from the screw heads, but nothing a little mud won’t fix, and it made my life a hell of a lot easier.

Hanging Wallboard: Keeping it There
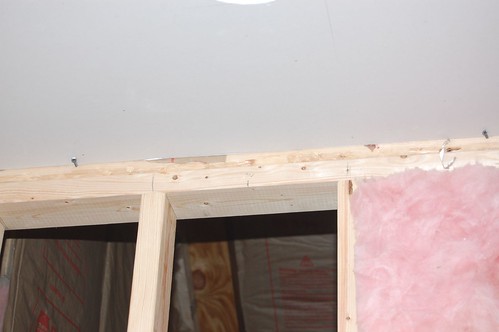
Without really paying attention to what I was doing I started out screwing the wall board in every 8″, and then I realized me using my body weight in fasteners on one piece of drywall was overkill. Correct spacing is every 12″ on walls, and 9″ on ceilings.
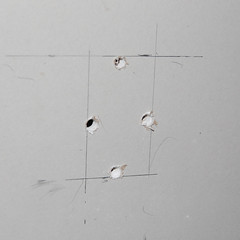
And speaking of ceilings, mark your joists in every possible location. I used the straight edge to draw their line on the drywall, especially on the ceiling where it’s hard to judge if you’re putting screws in a straight line or not.
Hanging Wallboard: The Aftermath
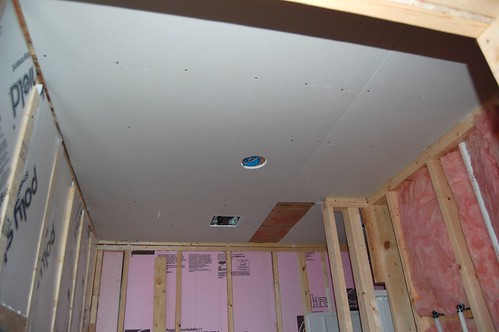
Not all of the screws are in yet, because there came a point where I could no longer lift my arms over my head.
Not bad for a little girl all by herself, except I’m going to end up with a funky 12″ strip in the middle, because I wanted to use up the board I had and not cut into another one. You may call it laziness, I call it efficiency.
Note: The side effect of trying to prove a point and drywall a ceiling by yourself, is that you will no longer be able to dress yourself for the next three days. Something I should probably have factored into my thinking. But hell, it was worth it.

59 Responses
This is one of the most thorough DYI write ups for hanging rock ive come across, well done! Always good to have a MysteryMan around to get some pointers lol. Well done, and congrats on the accomplishment.
Shane
From one female to another, I loved this piece! We are strong and capable, but it’s always nice to have a few pointers here and there 🙂
Wow, excellent work! Getting the job done and doing it right is awesome, then to write this article and show how it was accomplished, this goes above and beyond. Hats off to you! Cheers, Rob.
Hanging wall board can turn into a real nightmare if it isn’t done properly. You did a great job here. Thank you for sharing!
Comments are closed.