The benefit of snatching a handful of hours over the last week to cut, lay, and grout tile on my basement floor, is that I can now share with you the deep, dark mysteries of laying floor tile. With pictures.
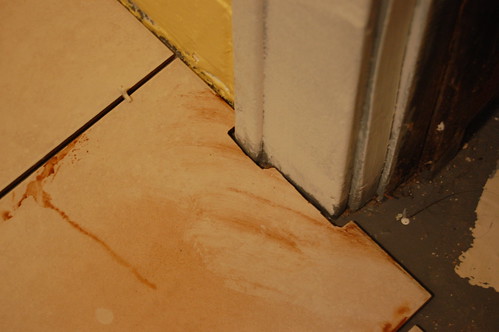
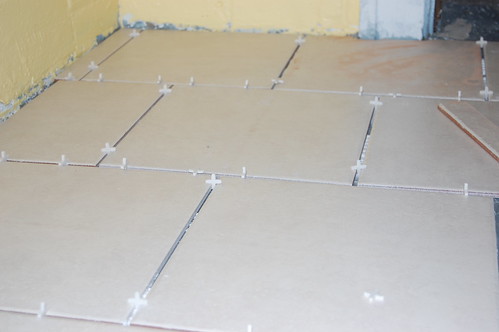
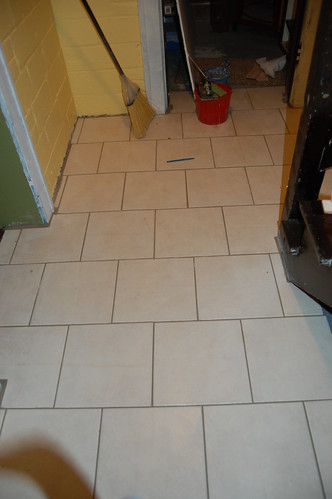
And also my basement floor now looks like this:
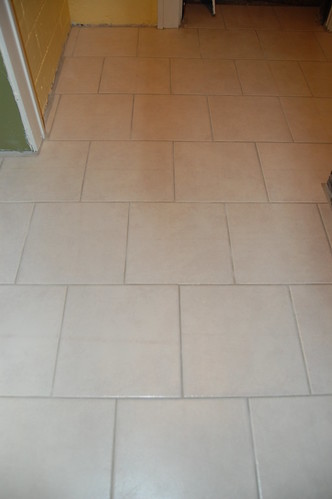
Which is considerably better than it looked before, but you’ll have to check back after the weekend for the big “before and after” reveal.
The thing about laying tile is that it’s one of the easiest DIY projects you can tackle, as long as you have the right tools.
Materials:
- Tile
- Premixed tile adhesive
- Tile spacers
- Sanded grout
Tools:
- Tile Saw (wet)
- Nippers (yeah, that’s the technical term)
- Tile Trowel
- Grout Float
- Plastic baggies
- Sponge
- Bucket
- Gloves
- Grout mixer (optional)
- Knee pads (optional)
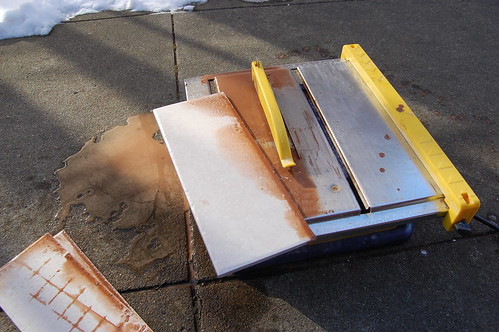
These are not my tools:

But they do illustrate the range of options available to you for any type of tile job.
Now let’s get our hands dirty, shall we?
Step 1: Layout
Hopefully you’ve considered what the floor will actually look like when picking out and purchasing the tile. On the other hand, I’ve been know to just buy quantities of tile at random and then find something in the house that needed re-surfacing, so I’m not one to judge.
The pattern possibilities are endless, but here are a few common styles:
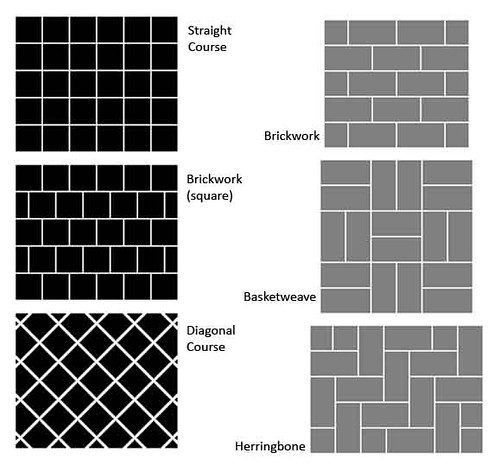
Some are easier (straight) than others (diagonal). And some are more forgiving in odd-shaped places or crooked rooms. You should definitely dry-lay some tiles to get a feel for the look you want.
The key to tile layout is to start in the middle of the room. While you might start actually tiling from one corner, you don’t want one side of your room to have full tiles and the other side to have cut tiles, it will look off-balance. Trust me.
Measure your tiles and the grout width you’ve decided on. (3/16″- 1/4″ is pretty standard for 12″ tiles. I used 16″ slate tiles in my livingroom and gave them a 1/2″ grout space.) Then measure your room, and center the full tiles. Split the difference of the leftover space so that you have a 3″ strip of tile (or whatever your width is) on both sides of the room.
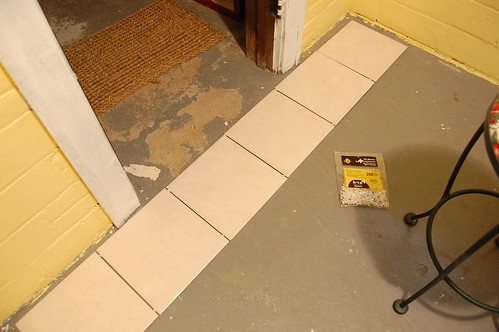
This part takes almost as long as actually laying the tile, but it’s worth it. I recommend using your grout spacers when dry-laying the tile so you get accurate dimensions.

Step 2: Cutting (Tiles, Not Fingers)
Unless you really lucked out with the dimensions of your room, you’re going to have to do some cutting starting with the first piece of tile you lay. They make hand tools for this, but you really need to rent or buy a wet saw to do this right.
You can get a basic model for a reasonable price ($60-$70) at your local big box. (You can also spend a lot of money on a fancy one — and lord knows I would– but my cheap $60 model has worked fine for the last 5 years.)
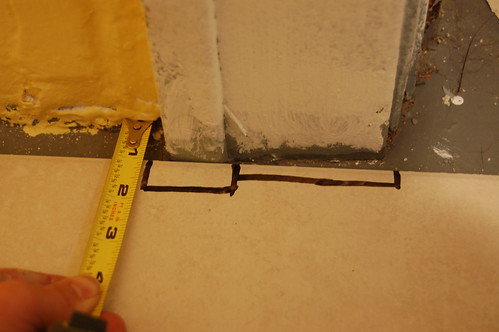
Start by measuring the pieces you need (or the notches you need to cut out). For notching, I like to use a dry-erase marker right on the tile. It washes off as you’re cutting.
For cutting a piece in half, it’s pretty easy– measure and run it through the saw.
Why yes, that is snow. There’s nothing like using a wet-saw in 25-degree weather. In March. LOVE the midwest.
Back to the topic at hand… if you need to notch a piece, make cuts to the depth of the notch every half inch or so, then use your nippers to remove them.
I usually only cut the pieces I need for a couple of rows at a time, that way if I run into something unforseen–or that I measured wrong (which never happens)– I don’t have a ton of waste. Also, there are only so many pieces of tile you can cut with wet fingers in below-freezing weather.
Step 3: Adhesive is Just a Fancy Name For Glue
Let’s just say the tile needs to be stuck to your floor somehow. Some professionals may be rolling their eyes at the fact that I just stuck the tile right to my concrete basement floor. Technically, and particularly if you’re tiling on wood sub-flooring, you need to lay fiber-cement board down to minimize expansion and contraction in the floor. And mildew. Cracks and mildew are bad.
However, I’m a risk taker and expect the expansion issues will be negligable on the concrete floor. Or at least, it’s nothing that is going to be helped by fiber-cement backer.
Gluing (sounds better than adhesive-ing, which is not actually even a word, apparently) consists of adhesive and the tile trowel.
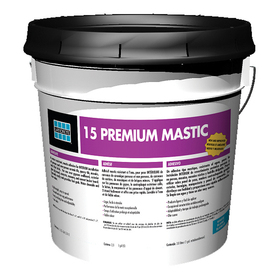

Make sure to read the label of the adhesive, you may need to get a particular mix for tiles over 12×12. The size of notches in the tile trowel is also dependent on the size of tile you are using. 1/4″ is fairly standard.
Then, smear…
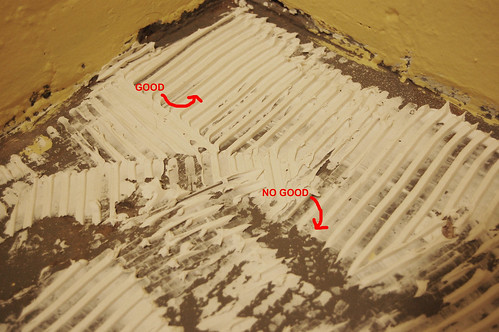
Don’t skimp. Nice even lines. No bare spots. Then stick down the tile, and press it into the adhesive.
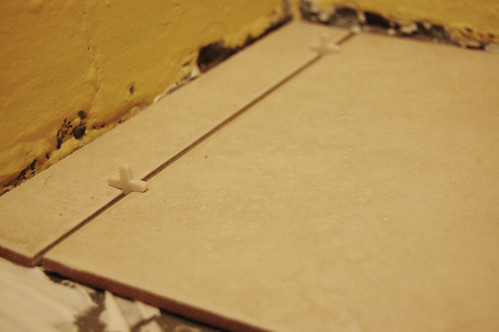
Using your spacers as you go…
Also, don’t “paint yourself into a corner” here, because once you stick the tile down you don’t want to step on it for 24-ish hours. Maybe 12. But certainly not right away.
Step 4: Grout is Just a Fancy Name For Mud
I almost always use sanded grout, because I’m a traditionalist. Or stuck in my ways. Regardless, it’s good for bigger grout spaces, but worked just fine in the 3/16″ grout lines I left in this tile.
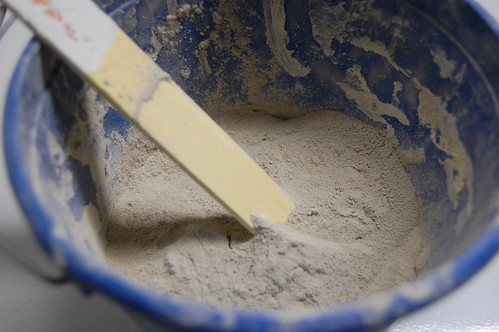
Mixing grout is not tricky, but you should always add just a little bit of water at a time. Never just dump a cup of water into the bucket and start stirring.
Every time you’re going to say to yourself “no possible way this is enough water” but you’re wrong. And if you put in what you would think would be the right amount, you’ll be left with muddy soup. Then you’ll have to add more grout. And the more water. And then more grout. Next thing you know, you’re entire basement is going to be one big vat of mud. Trust me.
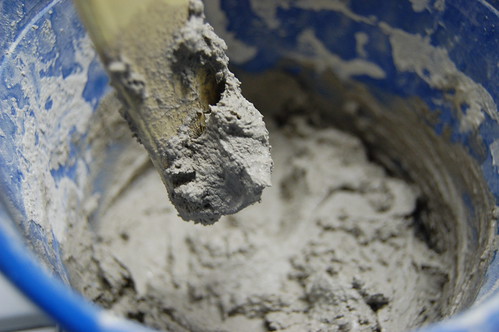
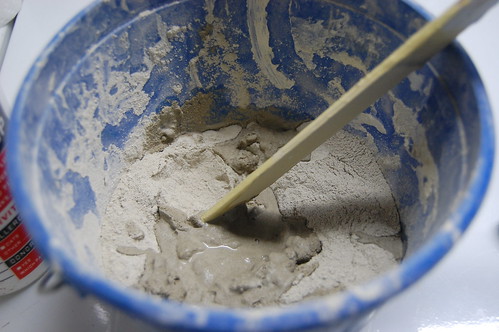
This is good consistency, but I add a sprinkle more water to make it easier to use my baggie trick. Sprinkle. Did you hear that? Like maybe two tablespoons. Not half a cup.
Then… this is my top-secret grouting trick… take a sturdy plastic baggie (the cheap-o ones wont last long) flip it inside a cup…
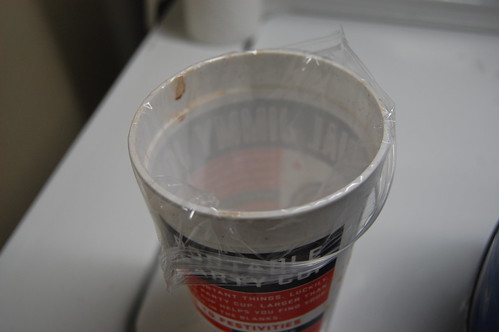
…and fill it a little less than half way with grout.

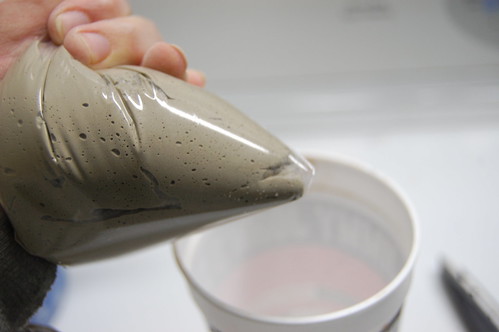
Then twist the end like a pastry bag, and snip off the end.
You can also buy one of these, but really… who doesn’t like to be the MacGyver of tile sometimes?

It usually takes a couple of baggies to get through a floor. They start to wear out after a few refills.
The nice thing is that it allows you to place the grout right where you need it and make sure it gets down in the cracks.
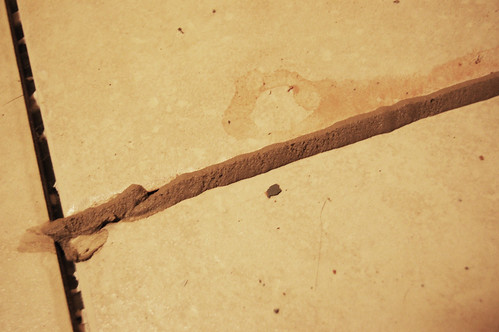
You want to squeeze out a little more than you actually need, so you can press it into the spaces real well. (You usually end up using the extra at the corners.)
Then use your float, not your fingers, to fill the spaces and clean up any excess.
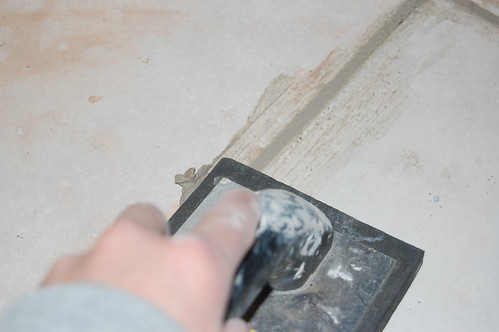
You can clean your float every time you swipe it, and it would probably be less messy, but it all cleans up with a sponge anyway. Maybe you don’t know this about me, but I don’t do extraneous cleaning.
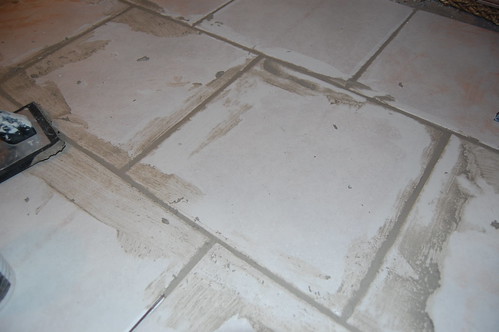
You want to let the grout set for a little bit of time. My system is to let the grout set about 30-60 minutes and then go over it with a damp sponge to clean up all the mess.
Then let it dry for a few hours and swipe it again.
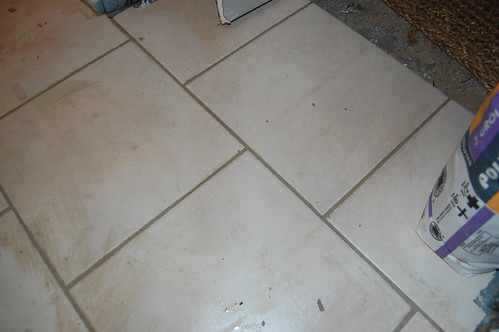
At which point you should be pretty clean.
The grout should completely set in 24-48 hours. Usually the color will lighten up a bit.
Once the tiles dry you can go over them again with a dry cloth or sponge (or your own personal engineer’s sock, um, not that I would do that) to get rid of any “grout haze” that is left over.
And seriously, it’s that easy.
Kind of makes you wonder why they invented vinyl flooring in the first place, doesn’t it. At $0.72 per square foot, this floor was cheap, easy, and a huge improvement over the gray concrete.
Have any of your own tile tricks or techniques? Let me know!

63 Responses
This is very interesting, You’re a very professional blogger.
I have joined your rss feed and sit up for in search
of extra of your great post. Also, I have shared your site in my social networks
Comments are closed.