Swear to god, I went three years of my life without ever picking up a grout float, and then bam bam bam…bam bam…bam… 1677 one-inch mosaic tiles (and five other tiling projects) came into my life like heat-seeking missiles and destroyed the hours I was supposed to use for sleep. And while my fingers are still raw from smearing gallons of grout into teeny-tiny little cracks without gloves– and here I am, already teaching you my bad habits— the good news is I’ve got pictures and explanations for almost any kind of tiling project you could tackle.
Bam! (Really, I don’t know what’s up with the repeated “bamming” but I write these posts well after midnight, so there you go…)
Let’s talk about tiling walls. Slightly more daunting than tiling floors because, like with aging, gravity does not work in your favor.
But the results are well worth it.
And just FYI, I’ll give you a few hints on these paper-fronted mosaic tiles, but really all of these techniques work for any kind of wall tile.
What I Used:
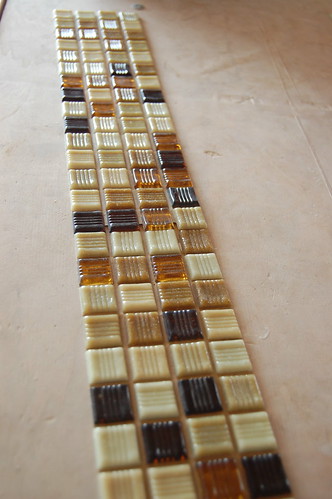
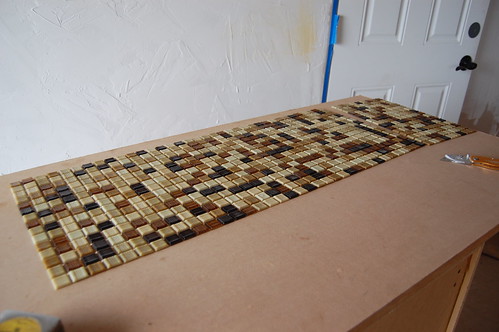
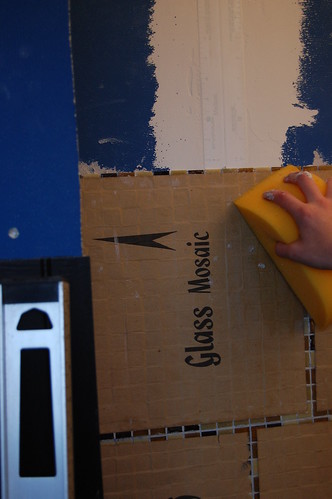
- 1677 1″ glass mosaic tiles that were attached with a removable paper “fronting” (not to be confused with backing)
- Tile adhesive
- 1/8″ notched trowel
- 1/8″ spacers
- Sanded grout
- Grout float
- Tile snips (they are actually called “nippers”. seriously. who makes this shit up?)
- Assorted buckets, sponges, and rags
What I Did:
Step 1: Surface Prep
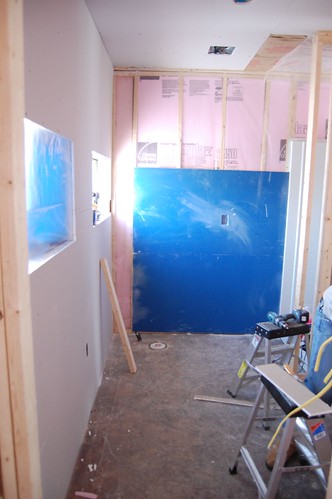
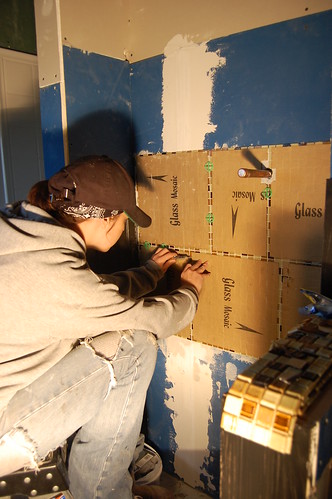
Floor tile starts with a good foundation of concrete or fiber-cement backer board, and wall tile is no different. If you’re doing just a small area of tile you can probably get away with tiling over standard drywall board, or green board. For full length tiling like the snazzy urinal stall 1/2″ fiber-cement backer board was in order.
Backer board goes in just like drywall: score, snap, and screw in to the studs.
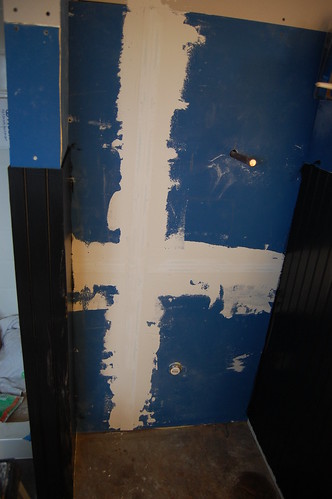
Like drywall, the seams need to be taped and mudded to provide a smooth surface for tiling. The smaller the tile you’re using, the better you want your surface to be.
DISCLAIMER: Usually I edit my photos before posting them to this site, but I took these in a small dark bathroom with a floodlight for lighting. So you get dramatic and inconsistent pictures and since I have a house to build instead of image-correcting, this is what it is.
(If you need some more info on installing wallboard, or taping and mudding joints, try Drywall 101)
A round of sanding got everything down to a nice finish.

And here’s the part where I tell you something I should have done, but definitely didn’t: Take a look at your choice of tile. If you have translucent tiles 1.) you need white tile adhesive (that I DID do), and 2.) it’s probably a good idea to roll a coat of white primer on your wall before you tile. It takes hardly any time and if your adhesive isn’t perfectly spread, it will help hide any “wall” that shows through the tile.
Step 2: Understanding the Tile & Spacing
When the tile first arrived I ripped open the box like a kid on Christmas morning, and then I sat there staring at it with a quizzical expression for the next seventeen minutes.
Uh…

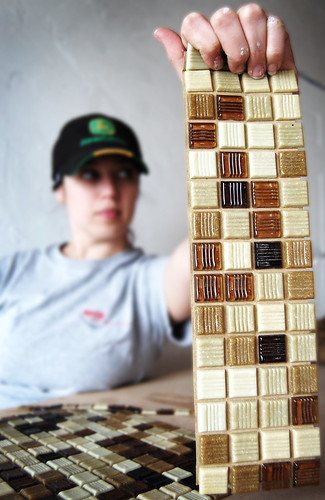
What the hell am I supposed to do with that? Since I’ve worked more often with larger mosaic tiles that come pre-set with a mesh backing, I found this confusing.
You’ll notice I keep calling it paper “fronted” tile. Not backed. And for good reason. This is the back of the tile (as in, the side you’ll adhere to the wall.)
The idea is that with translucent tiles, if you use a mesh grid the lines will show through. Also, this way is cheaper to manufacture, and also a pain in the ass to space correctly since most of the tiles will be covered with paper until well after the adhesive is set. Once everything is dry (paper facing) out, you dampen the paper and then peel it off. But right now friends, we are far far away from that happy moment.
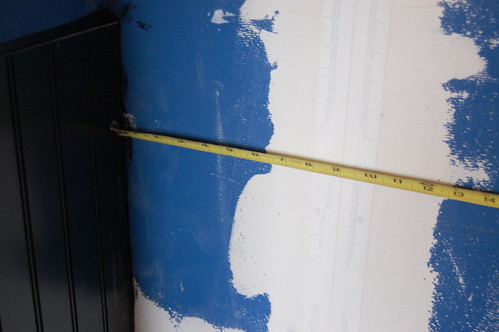
Let’s talk about spacing. I say this every time I talk about tile and I mean it every time: Don’t go just slapping your tile up on the wall. In any space your tile should be centered on a wall (or section of a wall, in this case) so that if there are half tiles, they are equal sizes on both ends. With larger tiles, this is true for horizontal and vertical spacing, but with these itty-bitty tiles I felt justified in starting at the “top” and working my way down. Molding will cover the bottom few tiles anyway.
I recommend measuring…
Laying the whole thing out…
And measuring some more. You should spend almost as much time laying out the tile as you will sticking it to your wall.
Step 3: Stick It!
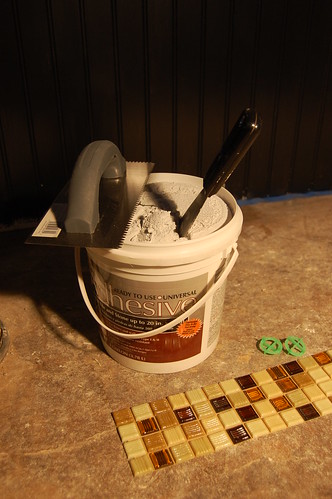
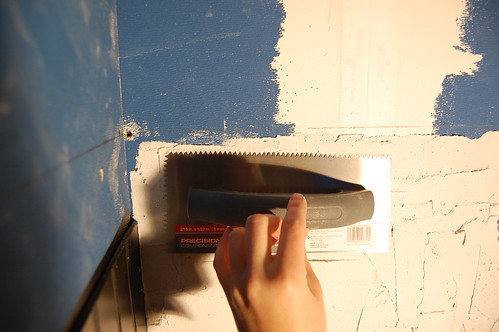
Okay, it’s time to take the plunge. This step requires a spackling knife or two, the notched trowel, spacers, adhesive and tile.
Hopefully you’ve measured and marked where your first “full” tiles start, so now it’s time to get messy. For itty-bitty tiles like these you want a very thin layer of adhesive. I put it on with a small spackling knife because when I turned around to look for one it was the first thing I saw.

A larger knife would work just as well, if not better.
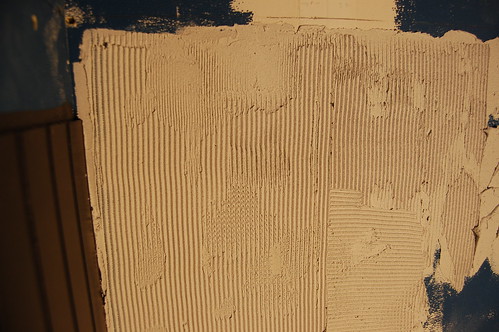
The important part, though, is using a notched trowel with very small notches to run through the adhesive and level it out. For larger tile there are trowels with larger notches.
The resulting adhesive, ready for tile.
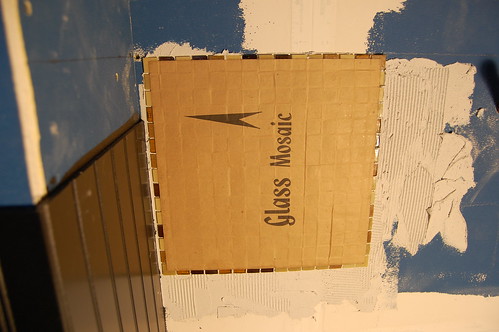
After the first piece is in, then you’ve got something to work with. To get the next section of tile up in the right spot, you need these babies…
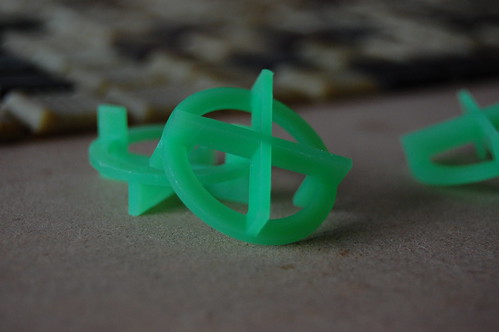
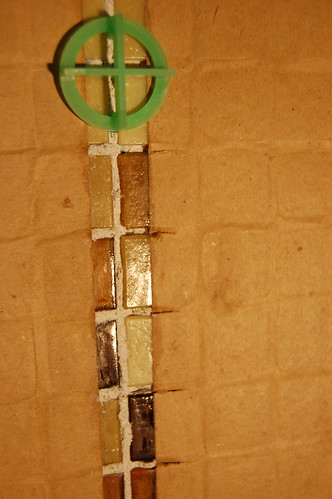
Small spacers. Now these were as close as I could get to the existing grout lines between tiles, but even so I did a little eyeballing as well.
Nothing drives me more nuts than when people use these tile grids and you can see where the 12×12 sheets are because they don’t take enough time making their grout lines consistent.
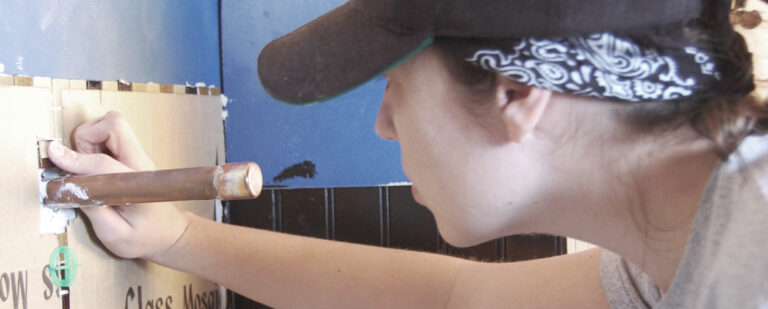
The one convenient thing about the paper-fronted tile was being able to make some cuts between tiles to help space everything out a bit more evenly.

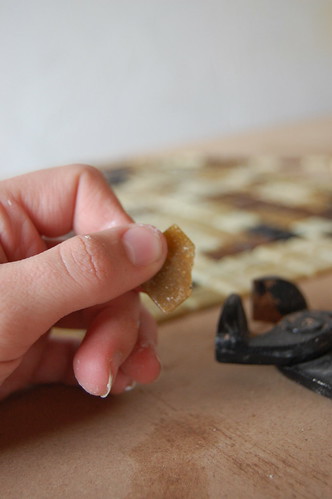
For half tiles or odd shapes– like around the plumbing fixtures for a urinal, for example– get out the trusty nippers. Wow. I hope to never say that on this website again.
This part is easy, just line up the nippers…

And snap.
As far as I can tell, it’s not an exact science, but grout will cover quite a few evils on tiles this small so I would recommend not getting too worked up about it.
Step 4: Waiting, Waiting, and More Waiting
Once your tile is in, you’ve got to wait for it to set before removing the paper-fronting.
Wait.
Wait.
Keep waiting.
A couple of hours at least, or overnight if you can stand it.
Step 5: Revealing Inner Beauty (and mistakes)
Ok, your patience has been tested and it’s time for the big reveal. Use a damp sponge on the paper.
Wait 5 minutes and run the sponge over it again. Another couple of minutes and the paper should peel off easily.
There may be a couple of tiles that need to be pried off and reapplied to get the spacing correct. A dab of adhesive on the back of the tile goes a long way.
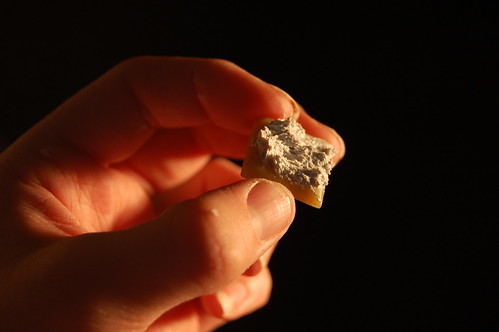
Once everything is in and dried, a couple of swipes with a damp sponge will help remove any residue from the paper backing.
Step 6: Mud By Any Other Name… Still Mud
If you’re standing around with glass bits on the floor and tile adhesive in your hair thinking that this tiling business is a mess, you ain’t seen nothin’ yet.
This is the part where you take that beautiful tile wall and smear mud all over it. Grout, actually. I tend to use the sanded kind because I like it, but there are a number of different types of grout depending on your tile type and application… though I don’t know anything you couldn’t use a sanded grout for.
Mix it by following the directions on the package or by eyeballing it to get it to the consistency of toothpaste.
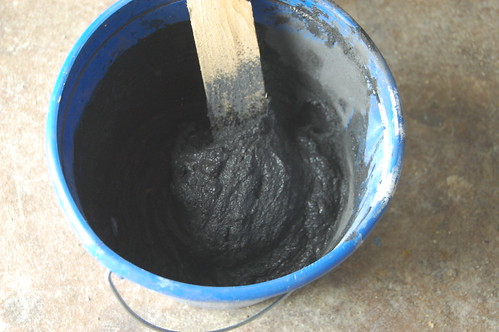
Mmmm. Black toothpaste.
It always takes less water than you think at first to get it there, so to start I’d recommend going with the amounts on the package.
Then you basically smear that mess on the wall.

A grout float is handy for this part. It’s essentially a trowel with a bit of foam or rubber on it to help you get all of that muddy goodness into all the little cracks and crevices.
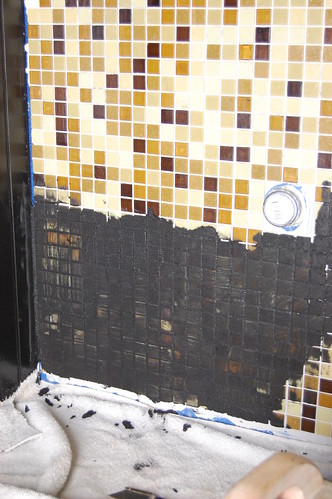
Here’s my standard rule about cleaning off grout… Wait 30ish minutes and then wipe down once (or twice) with a wet sponge, rinsing often. Then wait another hour and give it another swipe.

After it’s all dried then, go over it with a dry towel or sponge to remove any grout haze. Not wet. Dry. Trust me.

Step 7: Admire
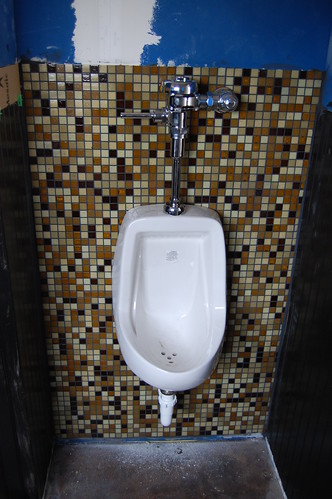
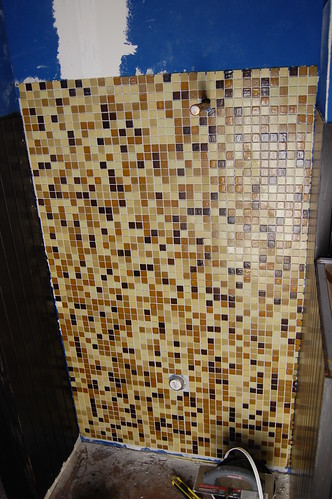
And there you go! It’s pretty easy once you jump in and try it. After your grout has cured for a day or so you can use a spray on sealer (definitely necessary if your tile is in a urinal stall, or on a shower or kitchen backsplash).
In my case, then it was time for final fixtures. And threatening any guy that comes within 10 feet of the house that if he pees on any one of my 1644 tiles I will personally have his ass.
Go forth and conquer those wall tiling projects now. More tiling how-to (like building and tiling your own counters) coming soon.

78 Responses
I am installing mesh sheet mosaic marble tile in my dads kitchen and money is tight. I have installed mosaic tile before using cement backboard. My dads kitchen has had industrial wallpaper on the walls. Now removed the walls are left partially wallpapered meaning that the the paper came off leaving the backing on the drywall. I don’t have money to get cement board. They are one foot by one foot sheets and moderately heavy. If I was to anchor the top edges of the sheets along with thin set mortar would that be sufficient to get the job done. He wants backsplash to start and possibly the entirety of the walls done in this tile!!!! PLEASE HELP
Perfect, I was looking for a good guide to help me with my kitchen splash back this weekend. Thank you very much!
Thanks for the hints for the paper-fronted mosaic tiles.
Very nice tiling.
Doing very well to provide such valuable information – I just wish I came across this mosaic wall tile page a long time ago.
Fantastic idea that as a painter and general art enthusiast, I can really appreciate.
Hi! Do you know if they make any plugins to protect against hackers?
I’m kinda paranoid about losing everything I’ve worked hard on. Any recommendations?
Nice work
Comments are closed.