Chandelier makeovers were one of those things I saw other people do, and just barely filed away for future reference because 1.) I don’t even wear earrings, and in some ridiculous way I equate that with not being a “chandelier” person… I don’t question my brain, I just go along with it, and 2.) it was going to be a long, long time before I could start thinking about superficial projects like light fixtures.
Even when we took this hideous thing down from my Mom’s condo, I barely spared it a second thought except to tell her not to throw it in the dumpster because “people can do things with old chandeliers.”
And so it sat in her garage for two-ish years, until one of my friends mentioned she was turning a spare bedroom into a closet/dressing room (a la Sara @ Russet Street Reno’s) and she needed a black chandelier.
And then those little alarm bells in my head that signal I’m about to throw my arms up in the air and go “whoooohooo another project!” like some drunk girl at Mardi Gras totally went off.
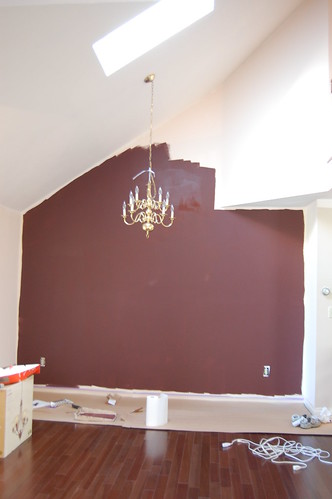
Which brings us to here:
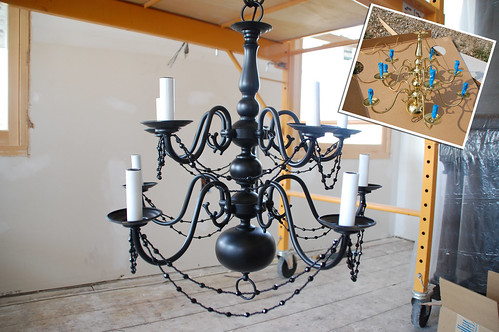
I hauled that thing over to my garage, pulled of the candle sleeves, taped up the parts I thought shouldn’t get painted, and went to town with some satin black spray paint.
I actually liked the thing just black– as if it was a silhouette of itself– which made me think that maybe I am a chandelier girl after all. But this wasn’t for me, and knowing my friend (whose entire life sparkles like it’s in a giant disco ball) I was going to need to up my game from just a little spray paint.
Which means I ended up doing something I haven’t done in a very long time…
Beading.
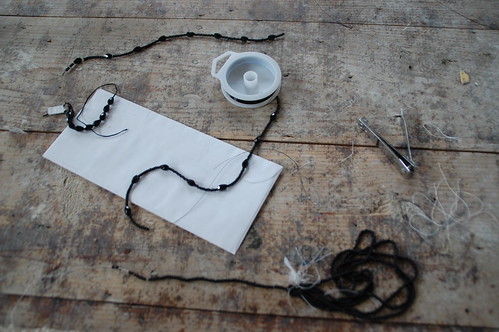
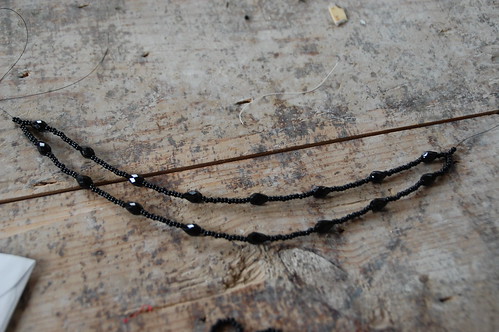
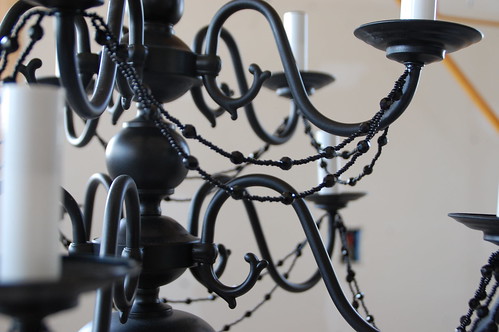
Well, the stringing of beads on a black nylon line at least. For each space between the arms of the light I created a double strand of beads.
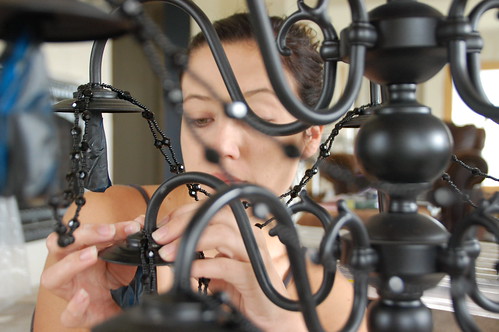
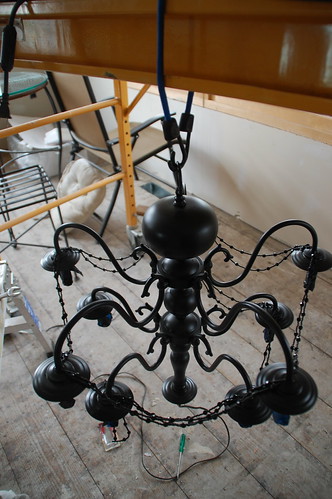
To attach them to the light I considered a number of things that included drilling, soldering, bending wire, and otherwise creating a mess. But in the end I just flipped the chandelier upside down and tied the strands of beads under each candle holder. Which means I spent a lot of time like this:
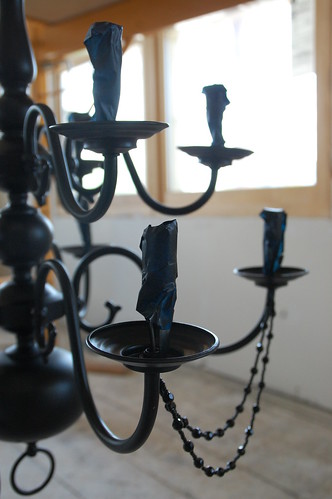
Here’s what one strand looks like attached:
Using a nylon strap to hang the chandelier from that handing scaffolding that resides in the living room made attaching the beads infinitely easier than it would have been otherwise.
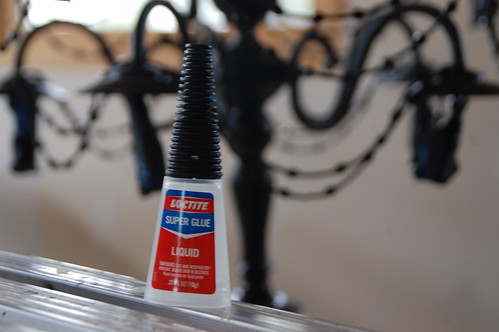
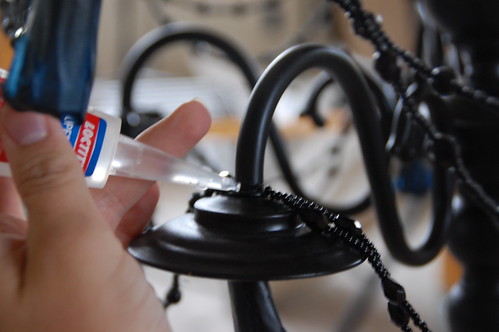
The nylon line had enough flex and I tied them tight enough that they would stay in place with the chandelier was right side up, but to make sure it would stand the test of time, I also used a little super glue.
It dries clear and matte, so it worked great to make sure everything stays in place for a long time.
The final touch was spraying the old-yellowed sleeves white. Unfortunately my first attempt at this was a complete failure, so I ended up buying new sleeves from Lowe’s, trimming them to size, and having a small flash of brilliance.
There you go… candle sleeves on a stick are the way to go when spray painting.
Which brings us to this:
Turns out a black chandelier is difficult to photograph since it flattens a bit in pictures, but you get the idea. It’s black, beaded, and totally got a squeal of delight from my friend.
For around $20 we think it turned out pretty good.
(Something else that may have turned out pretty good for you is that the winners of the Wagner Power Sprayer giveaway have been announced here.)





7 Responses
Very cute and inspiring. I have an ugly chandelier too. Same color. Maybe I’ll paint it and sparkly it up for my daughters room. It just seems too small for our dining room.
SUPER CUTE!! This is in my sister’s “closet”, right? You know you’ll end up with a bedazzeler!
You know it! We may have to add even more crystals. I should have just sprayed glue to it and rolled it around in glitter… which now that I think about it, is actually not a bad idea.
That’s a great chandelier makeover. I never thought that putting beaded accessories can beautify the lighting fixture. I thought your friend needed a black chandelier with a drumshade feature that looks like this: http://premierchandeliers.com/wp-content/uploads/2012/05/drum11-300×298.png
They dispatch the ordered furniture to the home directly. The paint will hide the distinctive wood characteristics each
tree possesses, however it may well be vital for your distinctive
taste. Accent Colors – Red, cream and white make great accent colors.
Comments are closed.