Hey, look, I took a break from shoveling dirt and whining about the weather to actually build something…
This thing is not actually supporting my own alcohol habit, it’s supporting my friends alcohol habit. Right? I’m such a giver.
Actually a few months ago, one of my fantastically crafty friends mentioned was looking for a reclaimed wood wine rack but could not find one anywhere. And I was like… wait a minute? Do I not have a lifetime supply of reclaimed wood in my barn?
I do, in fact. So I figured this was the Universe’s way of telling me I should build a thing. (Doesn’t take much.) So… I did!
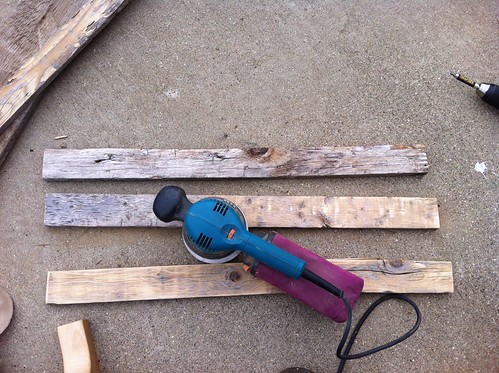
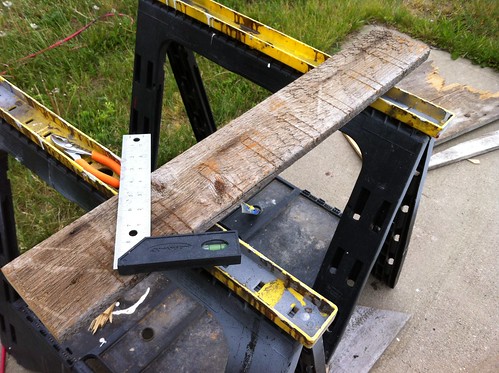
The first step was figuring out how I wanted to treat the wood. Usually I use barn wood in its weathered state, but once you need to do a lot of cutting for a piece, the freshly exposed wood rarely matches the weathered outside and that kind of makes my eye twitch. This time I actually tried sanding the barn wood down to see if I could keep the rustic look while still freshening things up.
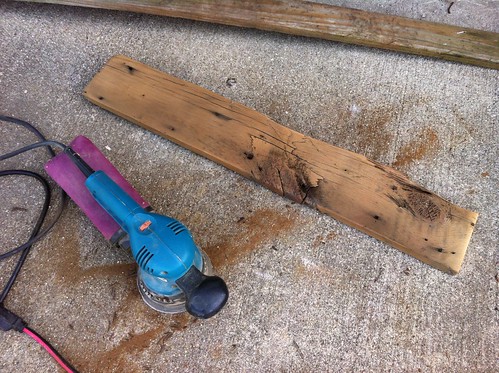
This was just the right piece for the front, and it convinced me the thing was going to look awesome. I made sure to sand all of the edges to round them off and keep the thing looking super weathered.
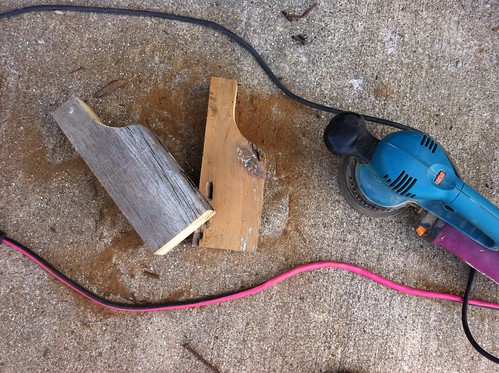
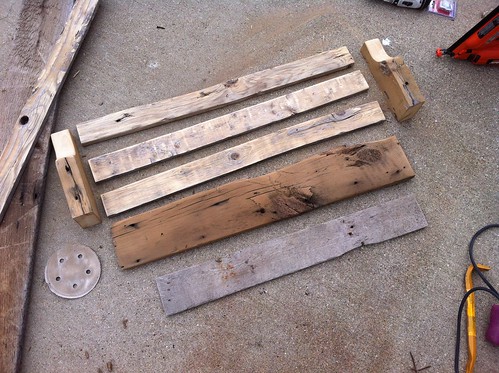
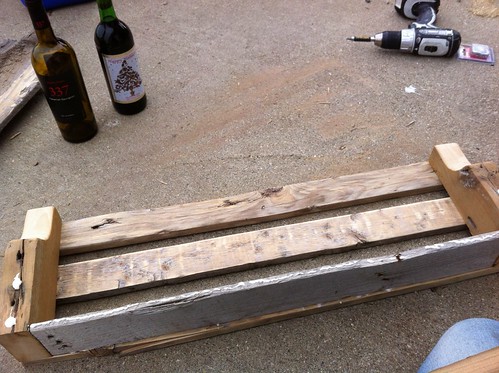
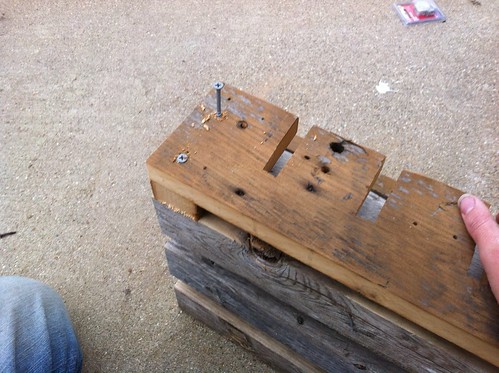
The side braces are about 10″ tall, and 4″ deep. I used scraps from an old 2×4, which bless its heart, was actually two inches by four inches back when they made it.
I wanted thinner pieces for the back, so I actually pried these off of an old stone crate I found in the junk pile.
Here are all of the pieces for the top part of the wine rack, pre-assembly. This is also where I left off the project the day before the wedding shower because I thought I would have plenty of time to work on it the following day. Then at about midnight I realized it was a brunch shower, so I got up at like 6:30 day-of to get cracking on this thing.
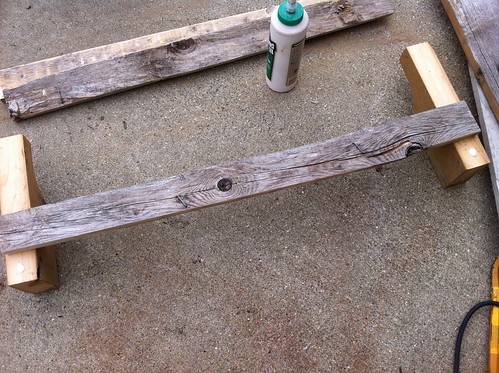
Assembly was pretty straight-forward. Since the wood is old, I used a little wood glue along with actual fasteners.
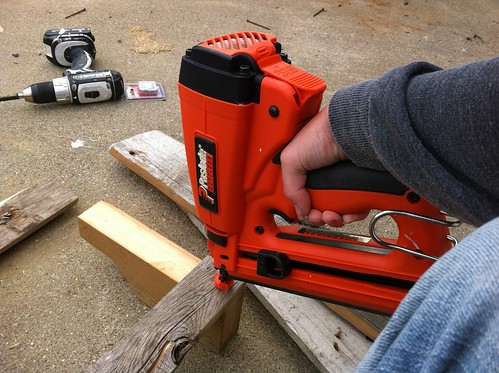
My favorite finish nailer…
Didn’t bother sanding this bottom piece because you’ll never see it.
Here’s the top part, finished.

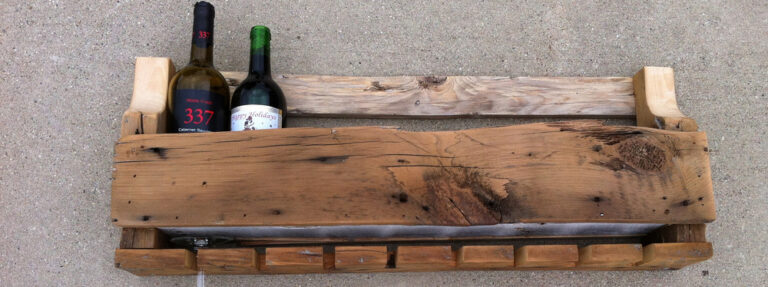
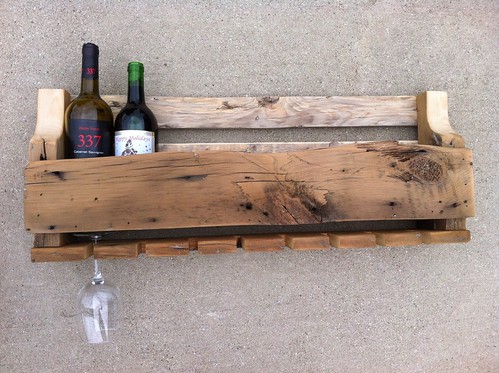
You could leave it at that and use this rack for all kinds of things, but because no one wants to have to search for a wine glass at the end of a long day, I went ahead and added the glass rack on the bottom.
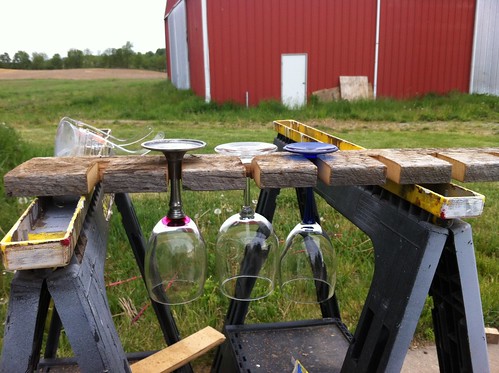
First, I ripped down a board to just under the depth of the rack, then I played with the spacing so that the glasses would line up under the bottles if the rack was full. It holds eight bottles, eight glasses.
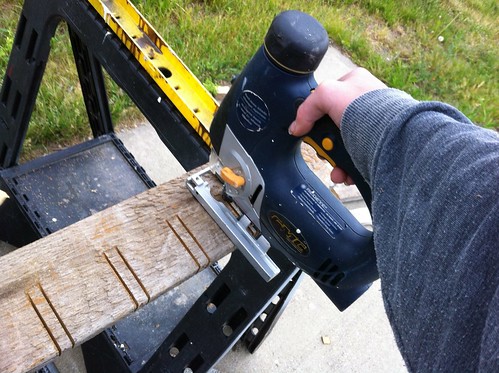
I used the jigsaw to notch them out…
Then tested it out with actual wine glasses (one of which may or may not have been dirty from the night before… uh, moving on.)
After I sanded the glass holder down, I cut some spacers and then attached it with screws through the underside of the rack.
If I’d had a little more foresight, I might have just made the side pieces longer instead of using separate pieces for the spacers, but in the end this worked out okay.
The general dimensions are 30″ wide, 4″ deep (on the inside), and 10″ tall. The glass rack has notches about 3/4″ wide spaced every 3-1/2-ish inches on-center.
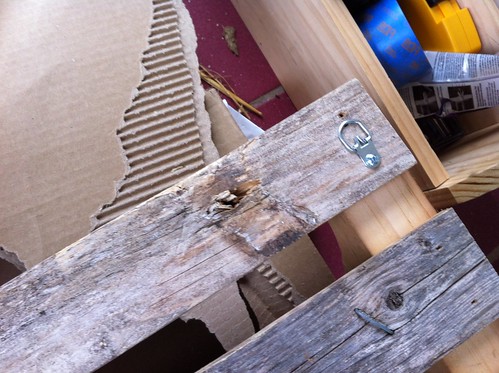
To finish it off, I attached a couple of hangars to the back…
This was about 10 minutes before I had to leave for the shower and I was still covered in sawdust. And then, funny story, I realized I didn’t have any clue how I was going to wrap this thing.
After a few minutes of fruitless searching, I found that the box my Ikea dresser came in was a perfect fit, but I’d basically mangled the thing opening it, so, ah… I did this:
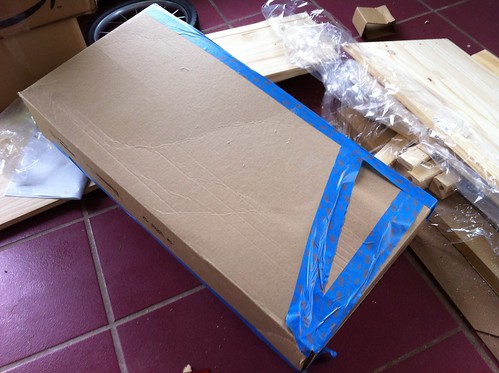
Yep, that’s painters tape. So classy.
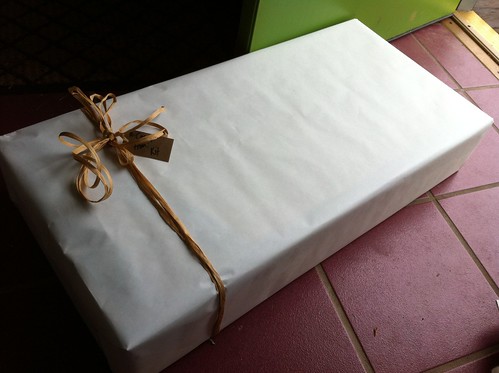
I’m still laughing about that actually. Thank god the bride has a sense of humor.

14 Responses
That’s awesome! I would love to get something so cool and thoughtful at a shower.
(The best shower present I ever gave was a toolbox – with tools of course. The bride was thrilled because she badly needed it and her fairly lame family members were totally confused. Success!)
See, I’d MUCH rather have something handcrafted, and made especially for ME and my tastes. Anyone can walk into a store and buy something. It takes a very special friend to build something beautiful, functional, fun and appropriate, from nothing but imagination, a nail gun, and some old wood.
You. Rock.
Love this! I’ve actually been meaning to make one myself for our dining room!
Do you ever make anything that doesn’t turn out beautiful? I mean, the process sometimes sucks, but everything you make is wonderful.
I saw a book on Amazon recently subtitled “Where DIY meets WTF” and thought of you. When I looked at the book though, it was the most awful DIY stuff ever, so not you! Your book would be called, “Where DIY meets WTF meets “Oh shit call 911… hey wait, that blood adds a nice touch, don’t you think?”
And the project turns out beautiful in the end, as always. 😀
I can’t believe how good this turned out! Looks better than anything I’ve seen in the shops. Now it’s time to find some recycled wood and a weekend off to complete it! Great tip, thanks!
When I first discovered the world of DIY blogs, I went crazy – subscribing to every blog I could get my hands on! Then I discovered how they can also suck the life right out of you and I proceeded to cancel the majority of those subscriptions! Except a few and I’m happy to say, yours is one that I read all the time. I love the stuff you do, love the real life you share with us, love your power tools – pretty much everything. I rarely comment but I thought that maybe I should just so you’d know how much we all love reading about your antics (yes, being dragged through a field by a donkey is definitely an antic!) Don’t ever stop making us laugh.
Uh, and the wine bottle holder is way better than anything you’d find at Macy’s!
I did that too. Subscribed to every blog out there! But I now have my favorites and this is one of at least 10 that “made the cut”, I had hundreds… yeah, I am just crazy and thankfully I don’t have to go through 800 emails a day anymore!
Wow! Awesome gift and just what the bride asked for; friends like you are hard to find. Love the wrap job!
Ditto Laura, Jaye and all. I’m a 60+ feisty diy’er, thrilled to see so many younger gals wielding hammers and saws these days. Among them all, your posts are always a welcome delight and inspiration. The challenges of heavy object wrangling, solo country living, willful critters and laundry are full of authentic shake-my-head challenges met with wit, tenacity and good humor. The best of life! Thank you for sharing. Now, about those tools. Have I missed a post about your tool choices? When I bought a chain saw I did lots of research before settling on the BandD battery one. It fulfills most of my needs perfectly. I figured I don’t need to be sawing up anything bigger than it can handle 🙂 I’m currently lusting over mitres, chop saws and a drill press tough enough for drilling holes in metal for my mobiles. And I love that sander you have with the dust bag.
This is a perfect gift, that will actually get used and displayed for all to see!
You did a great job and luckily you had time to finish it before the “brunch”
I love all things handmade instead of store bought that everybody and their neighbor has brought into their houses making their homes resemble a display of their favorite stores instead of their personal style.
(P.S. I really love the fact you used the torn up Ikea box for this, sounds like something I would do…)
http://pinterest.com/pin/19210735881907502/
came across this and it made me think of you
I think it’s a wonderful gift! You know she will use it and you don’t have to worry about someone else getting them the same thing!
Thanks for the wonderful step by step guide to making the wine rack. Looks great 🙂
I am so impressed. I’ve been wanting to install one of these in our kitchen. This should help a lot. Thank you for this wonderful guide!!
Comments are closed.