I live in a half-torn apart house on six acres of land that are under a constant threat of being reclaimed by the wilderness, so one might assume (correctly) that creating a sense of order in my living spaces is not a high priority. This holds true for bedrooms, bathrooms, kitchens, and offices, but–in a display of irony that surprises even me–not in the garden.
I know, right?
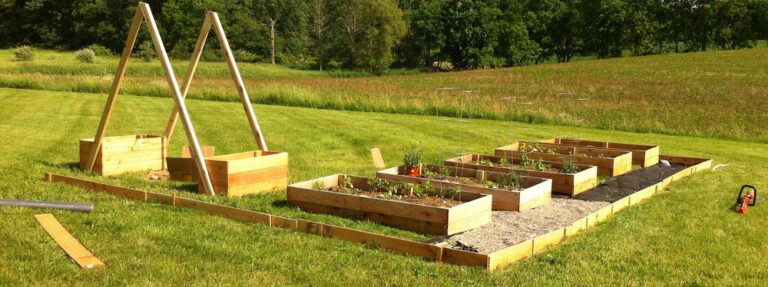
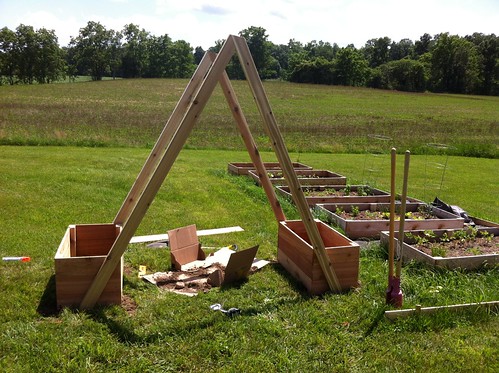
It’s the one place things should legitimately be allowed to run wild, but I’ve been spending all of my free time lately building raised beds and putting in gravel walkways because otherwise an ohmigod-the-grass-is-touching-the-vegetables type of chaos might ensue. And the raised beds are awesome for all sorts of things, but not for vines, which is a total bummer because my favorite things to eat fresh from the garden are zucchini, cucumber, and peas. I know, I know, we’ve genetically modified all of these things to grow in bush format, but come on… that’s totally cheating. Plus then I wouldn’t have an excuse to build this:

Because seriously… who doesn’t need a vegetable teepee? (In the spirit of giving credit where credit is due, this is the source of the image that inspired me.) Also, let’s just acknowledge the elephant in this picture, which is that the grass around the garden is tall enough to have eaten the post-hole digger and maybe a small child. I’m still diligently working on those gravel paths, I swear.
But, this post isn’t about my constant battle with the jungle, otherwise known as my lawn. This post is about building things. I believe in building things with a limited set of plans and a large sense of humor. Also, lots of pictures don’t hurt. So here’s how I went about building the vertical garden bed:
Stuff I bought at Lowe’s and crammed into the back of my SUV, specifically for this project:
- 9 cedar fence pickets (1/2″ x 6′)
- 6+ cedar 2×4’s (8′)
- 200 lf galvanized wire
- eye hooks
- assorted deck screws (between 1-5/8″ and 2-1/2″ long)
Stuff I had in the garage, and sometimes gaze lovingly at for hours on end:
- Miter Saw
- Drill
- Post-hole digger
Here’s how it went down:
Just like with the $25 raised beds, I started by cutting the dog-eared ends off my fence boards. Because they’re thin boards, I stacked them them 2 or 3 high and zipped through the ends with the miter saw.
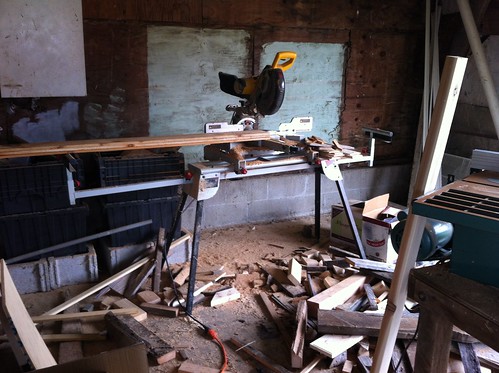
Easy.
(Less easy? Navigating that ridiculous scrap pile right where I stand when operating the saw but staunchly refuse to clean up.)
Anyway, when it comes to the actual size of things, this project was more about cutting stuff in half that it was accurately measuring and marking dimensions. That’s just how I roll. After nipping off the ends of the cedar planks, they were just under 6′, but any dimensions used in the description of this project are approximate.
So, to create the boxes for the two planters that form the base of the bed I cut 9 fence pickets in half. Then I cut six of the “halves” in half again. Yep, those story problems they gave in you fifth grade math were not actually bullshit. Who knew?
I also cut two 2×4’s in half, and in half again to give me 8 2x braces for the insides of the boxes.
In the end I had
- 12 cedar boards, approximately 3′ long
- 12 cedar boards, approximately 1-1/2′ long
- 8 2x cedar boards, approximately 2′ long
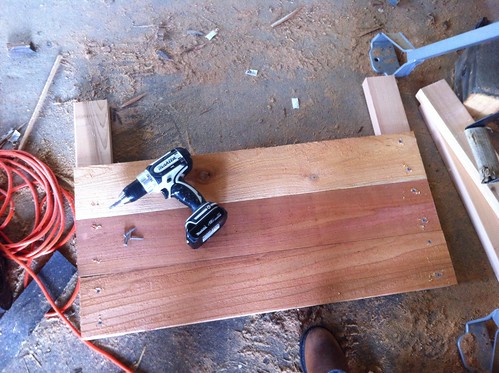
Here are the materials for one box, stacked into a pretty little pile:

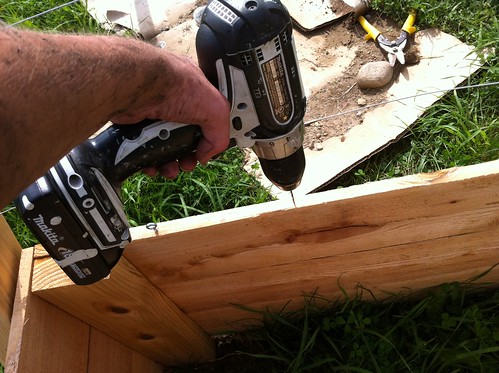
Assembly was as easy as it gets. I just attached the long boards to the braces using 1-5/8″ deck screws (pre-drill holes for the screws using a 1/8″ bit, even though it’s a pain in the ass… you don’t want wood this thin splitting.)
Then attach the short sides, same way.
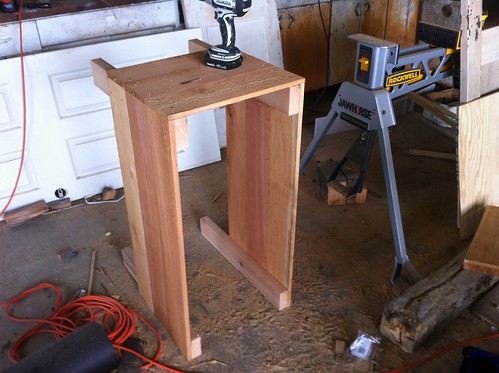
Let me just stop here and say that my plan was to treat these just like the raised beds, and set them “permanently” into the ground. You could also run 2×4’s around the bottom of the planter and attach boards to the bottom to make a moveable garden bed.
But since I don’t intend to move mine, I set it in the ground by marking the location of the posts with spray paint and then using a post-hole digger to create the holes to set it in.
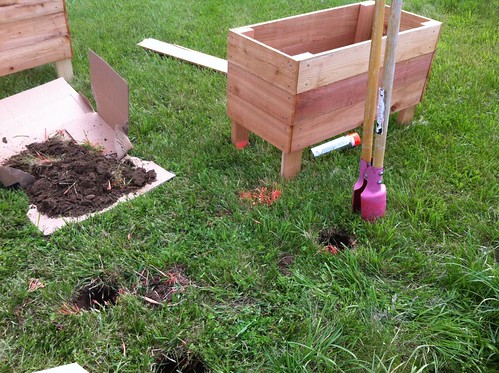
I spaced my beds about 4′ apart (inside to inside).
Building the trellis was a lot more trial and error. I suppose I could have taken five minutes to do some math and get the angles right… but that would mean five minutes of doing math, and I’d much rather be spending that time making sawdust.
So I eyeballed it.
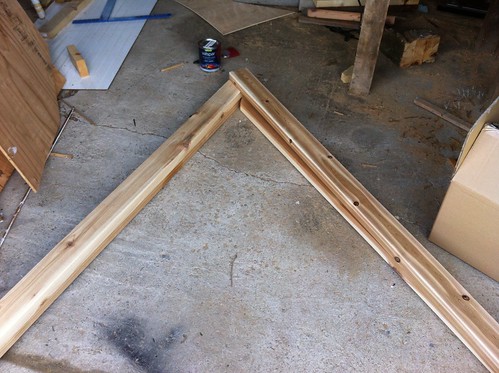
Turns out I couldn’t get quite the right angle off the miter saw however, so I had to ponder the mysteries of geometry for a while, before I decided on this (the bottom one)…
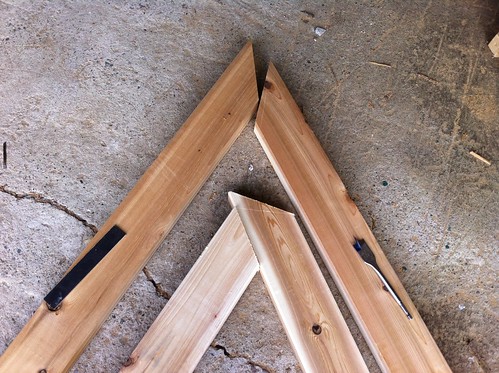
I think I cut both pieces on a 50-degree angle on the top and bottom (one board was cut with the angles parallel, and one perpendicular.)
Then I dug through my box of screws and found a couple of 3″ deck screws, and 4″ finish screws to hold the thing together.
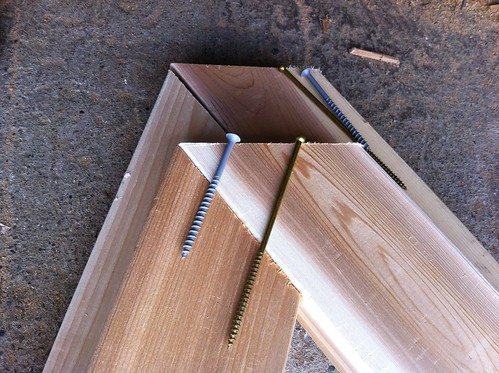
Those screws were really just meant to tack it together so that I could screw it in to the base.

Like this.
I used a couple of 2″ deck screws on each side to fasten the frame of the trellis to the boxes, and that was pretty much it for the structure of the thing.
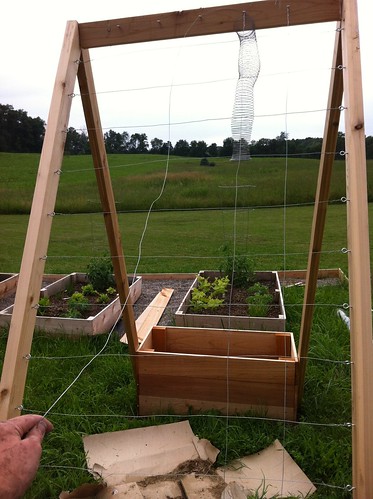
To attach the wire for the trellis, I used a shit ton of eye hooks. “Shit ton” is a technical term that, in this case, means sixty.
I spaced them about 6″ apart, but I have no idea if this is the optimal spacing for growing vines vertically (however it’s pretty easy to add a few more strands in, if necessary.)
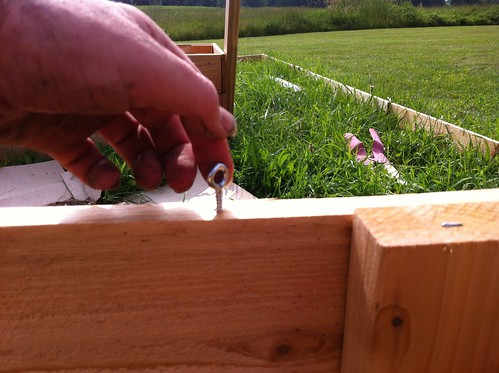
For the eye hooks, just drill a pilot hole…
Then twist them in…
I strung the wire (approximately 100 ft per side) by twisting it around the eye hook, pulling it tight with a pair of pliers, and then finishing it off the same way on the other end.
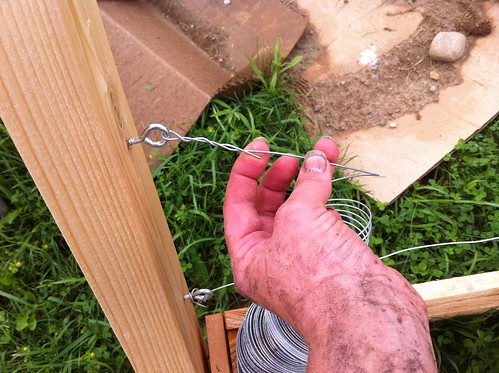
To give it some strength, I wove the vertical strands alternately over and under the horizontal strands.
The last step for me was to literally bathe in potting soil because I decided to go get six huge bags of it just after it rained. This is what I looked like leaving Lowe’s.

THIS IS WHY I CAN’T HAVE NICE THINGS.
Well, except this thing, which is pretty effing nice, even though it took a thousand hours to build…
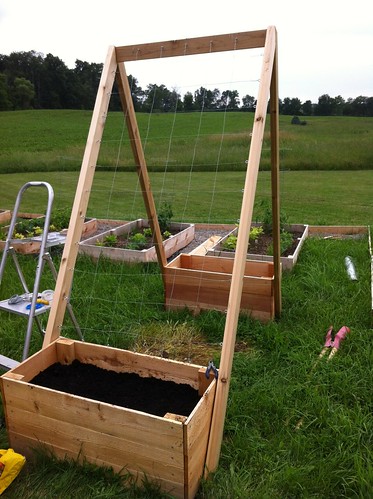
That is a lie. It did not take a thousand hours to build, but it sure felt like it, mostly because I keep jumping from project to project while working on this thing. Overall it was a very simple project and could definitely be done in a weekend with just a modicum of focus (and having all of the materials on hand before you start to build.) It’s also a bit more expensive than the horizontal beds, but I’d say under $40, total.
July is a little late in the game to be planting things (I think) but I managed to find some decent sized cucumber vines at a local nursery, and so far they’re taking to the trellis.
If this works out I plan to build three more, and my advice would be to build (and install) them in fall so that you can get right to planting in Spring. And maybe focus your attentions on other things… like that overgrown grass.

12 Responses
RE: the cut off pile at the saw. I “used” to leave piles like that too…. up until the time I twisted an ankle on said pile. Now I put a short garbage can under the saw stand and toss the cutoffs in there. Then I only have to drag the can out occasionally to rid myself of the mess. My ankle thanks me….
Now if I could only train the sawdust to jump into the can by itself….
Snow shovels make short work of cleaning up cutoffs and sawdust. I live in Southern Cal and still have one for that sole purpose….
My question is why didn’t you use galvanized perimiter fencing? Seems to me that it would be easier just lay it on the wood frame and staple it in place, instead of drilling 60 pilot holes and turning in all of those eye-hooks.
That’s a good point, and was actually my first thought when I was building building it, but it didn’t end up making sense for a few reasons. First, the spacing from brace-to-brace on the trellis is 37+”, and welded-wire fencing comes most commonly in 36″ or 40″… plus the smallest roll of it would be $30, whereas the eye-hooks and wire cost me under $10. (It’s probably a break-even if you’re building more than one of these though)
If you had fencing laying around, it might make sense to build the boxes a few inches shorter so that would work, but I went with zero wood-waste on this project instead of measuring to dimensions. (Putting the short sides on the inside might get you close as well.)
Also, I put the thing together in place, so to attach the wire fencing I would have to do like three extension cords and lug the bigass compressor out to the garden to nail it in properly. Not that you couldn’t hand nail it in with staples, BUT you know that stuff tends to want to curl back up on itself, so holding it in place while on a ladder and nailing it to that frame, in the end, didn’t seem easier than the eye-hook method.
Since I’m a one-woman show I’ll modify how I build non-structural things so that I don’t have to rely on help to hold, hang, or move things. But I think projects like this are great to take a use-what-you-have approach. Fencing would totally work with a few modifications to the design. The spacing of the boxes and how you attach the trellis at the top could also be done multiple ways, so it’s a great suggestion! (I also considered using hinges to do that and bolts to attach the trellis to the boxes so that it was easily portable… but then I was like, where would you be moving this thing to?)
You keep mentioning this big ass compressor and how much of a pain it is to lug aroung 🙂 I’m seriously waiting for the update where you let everyone know that you said screw it and bought 5 thousand feet of air hose.
Other than that, thank you for the well thought out explaination. It makes sense to me now.
Cheers
That’s such a cool project; tempting to build it – we are looking at ways to have some veggies in the back yard and the vertical garden would be a great space maximizer as well. Nice pic from Lowes as well – I have a similar look, though mine is usually associated with paint splatter! Cheers, Col
Hiya Kit!
Great work, really like those and wish I had the room in my sorry back yard for them. Quick question though, what’s the orientation of the teepee? Does it make any difference in the veg you’re likely to grow on it? I’ve been told (novice gardener here) that stuff like cucumber, zucchini, tomatoes, etc, basically most plants suited to vertical growth need a lot of sun? won’t one side of the teepee shade the other out when they’re full of leaves?
I’m thinking I might be able to get away with half teepee growing on one side only if I set them to face east? or should it be south? :-/
Ever hear of the expression “You can dress her up but can’t take her anywhere”?
Yep, I also would get dirty as soon as the dress or whatever my mom put on me (actually the dirt found me….)
Awesome trellis and box planter! Hopefully you have a great cucumber haul this year! Pickles??
The trellis and box planter look amazing! Hope it works out with your cucumbers!
The trellis looks fantastic. Much nicer than the 2×2’s with wire fencing stretched between them that I pound into the ground every year.
Since you clearly need another project to work on, how about one of these for your shop? 🙂 Lumber storage rack
I got this web page from my friend who informed me regarding this website and at the moment this time I am visiting this
web site and reading very informative content here.
Comments are closed.