Here’s a phrase I don’t believe I’ve uttered even once in the last decade of DIYing..
That was easier than I expected.
Right? Because we all know the three unbreakable, indisputable Laws of DIY are:
1.) Things will always get worse before they get better.
2.) Oh, shit.
And, the (most important) one that follows the completion of every difficult project you didn’t think you could tackle…
3.) I’m a fucking badass.
So, you can imagine, as I prepared to tackle moving some of the electrical outlets for the mini-makeover in my downstairs bath, I was pretty much expecting the worse.
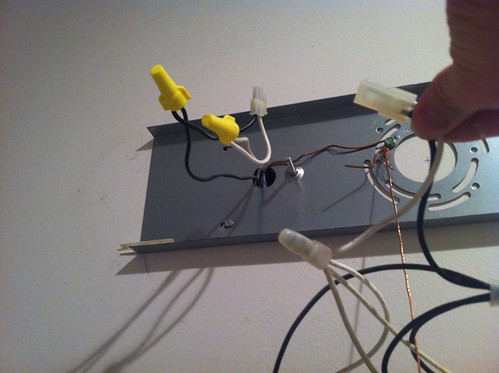
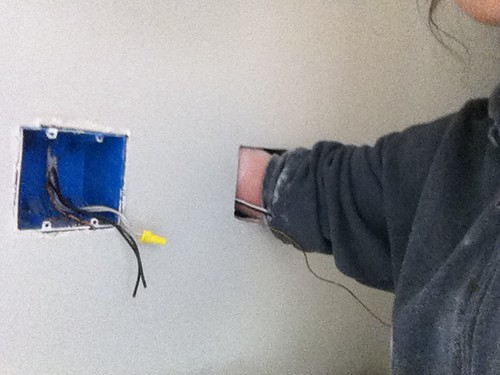
In fact, when I took the old light fixture down hoping to just swap it out for the new one (ha. ha.), and then found this…
I heaved a deep sigh and thought, “Well, here we go again…” and then I got a little frowny and stomped off to Lowe’s for more wire and junction boxes. But, let me tell you something…
It was way easier than I expected.
(Did you just fall out of your chair? I pretty much did.)
Here are the two things that went unexpectedly right for me:
- There was enough extra wire tacked up inside the walls that I didn’t have to use the junction boxes or splice any additional wire in order to move the light fixture box or the outlet and switch.
- The new boxes were both– happily– located in the same wall cavity as the old boxes, which meant I didn’t have to drill through the studs to move the wires (which would have required significantly larger holes and more drywall patching.
Here’s what I did.
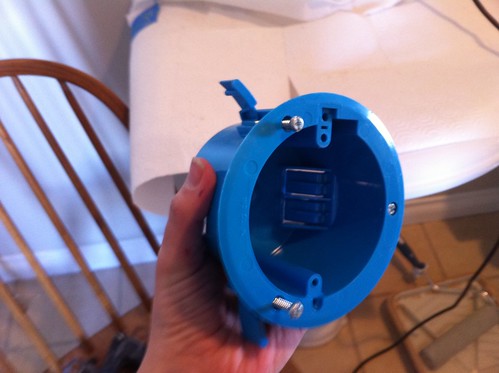
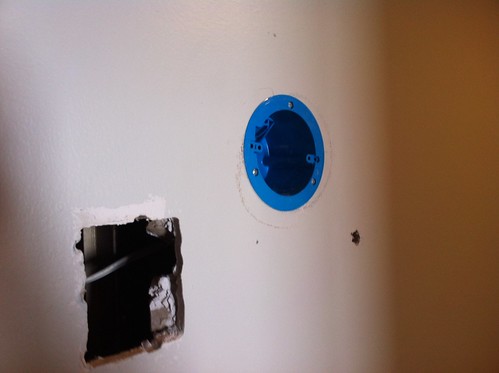
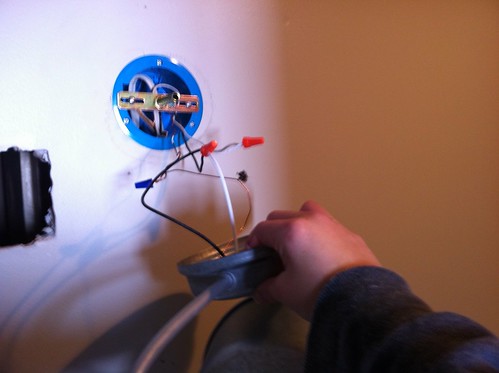
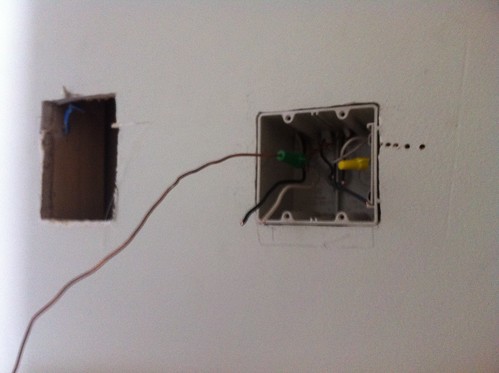
First, the electrical box that was currently set up for a vanity light needed to be swapped out for a typical lighting box, and also needed to be moved a few inches right and up to be centered over the sink. I used one of these round boxes meant for old construction…
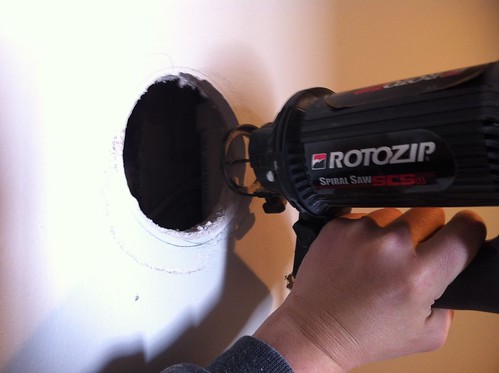
The nice thing is they don’t need to be attached directly to a stud because they have little flanges that brace the box against the drywall. So all I needed to do was cut a perfectly round 4-1/8″ hole into the drywall without a 4-1/8″ hole saw…
And god bless my RotoZip.
Old box/new box…
From there it was just a matter of pulling the wires through, and hooking up the new fixture.
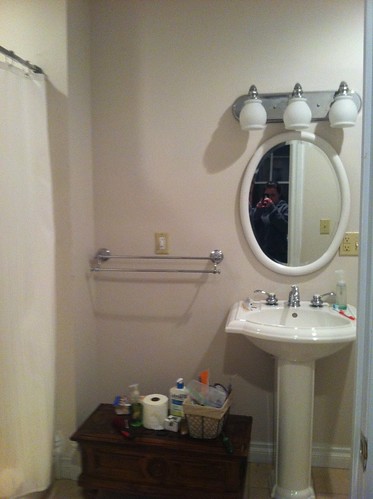
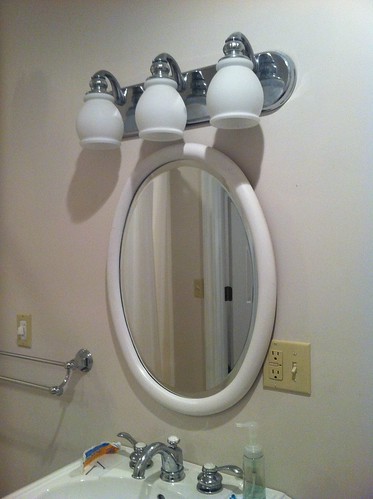
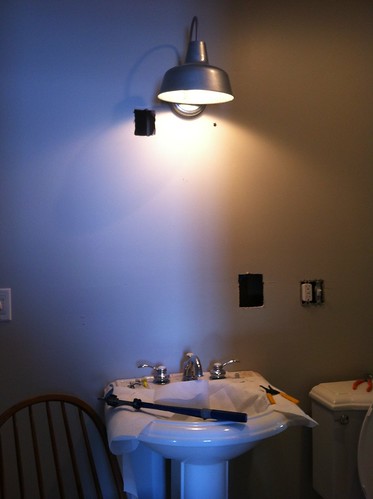
I thought it was going to be more difficult to remove the outlet and switch so that an actual square mirror could be hung over the sink without this weirdness…
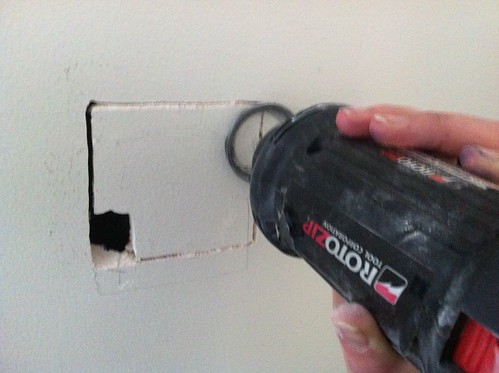
But once again, it was far easier than I expected. I measured and drilled some test holes to find the next stud over that would support the new box. Used the RotoZip to cut the new hole…
And then I spent a lot of time like this…
It took less than five swear words before the old box was out, and the new box was in.
And, other than a few miscellaneous nail holes, this is all the patching I have to do…
I expected that to be a lot worse. A lot.
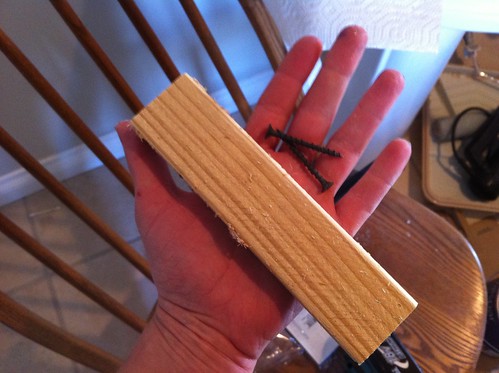
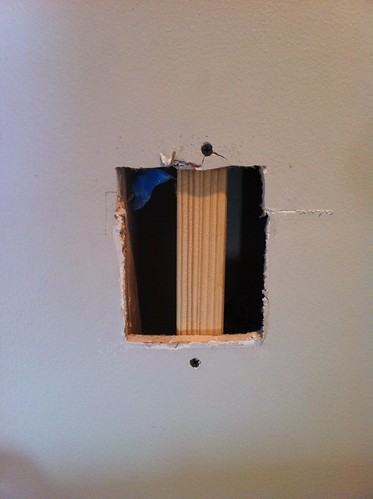
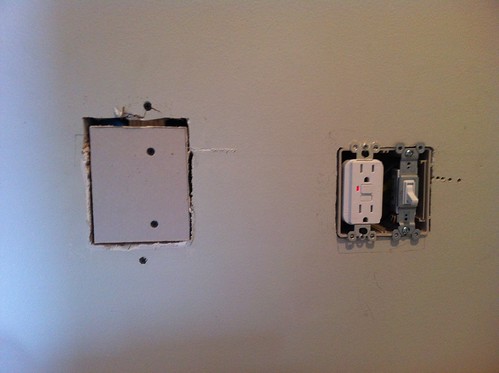
My tried-and-true method of patching drywall holes of this size includes a piece of scrap wood and some drywall screws.
I fasten the scrap in place to hold the drywall patch…
And there we go.
I’ll be doing a little taping and mudding after work this week, but the majority of this quick little makeover will be done before the weekend.
What’s left:
- Taping, mudding, and painting over drywall patches
- Hang the new mirror
- Another coat of paint on the doors
- Swapping out door hardware
- Staining tile grout white
- Putting the new storage cabinet and shower curtain (both ordered) in place
I’m not sure if the DIY gods are smiling upon me, or if the Universe is just giving me a little break after the last few horrendous weeks, but this is exactly the kind of project-therapy I needed.


19 Responses
Does your wall have a texture on it? How do you plan to match the old texture? Thanks!
All the walls in this house are texture-less, so I just have to make a smooth patch. It will probably take 3 coats of joint compound to even everything out, and then two coats of paint over the top…
We recently moved into a new flat and we are going to face such problems. Your project looks great, thanks for sharing it. I hope it’ll work out for us, too.
New light is a major improvement!
Margaret
I like it! I felt the same way putting cabinets up last weekend. So nice to have things go right every now and again. 🙂
Reading about your project is project therapy for me! Thanks. Looks great. Can’t wait to see everything all spruced up.
Really envious of you today. Trying to get a tub/shower converted into a full size shower and I swear everything that could go wrong has. Glad you had something go right for you though. Always a great feeling when it works out the first time.
Great job. I love the new light fixture and your blog. : )
Awesome improvement! We used the same scrap wood method for patching holes when we redid our bathroom last spring. Works like a charm!
Great post!
I’m about to purchase my first home and it’s dated. With money about to be tight needless to say there woun’t be any big improvements to the house yet. But these quick cheapish projects are possible. Thanks for the inspiration! I can’t Waite my Titachi (my drills name) to work being a badass too!
That new light pointing directly downward, is that going to make you look like one of the Undead?
‘Tis nice when things work out! Looks good!
It’s about time!! Lookin good, glad to know the junction box for old construction exists!!
Very impressive, I love your can do attitude! Nice work on the plaster patch as well.
Nice work Kristen.
Mark! It’s been a long time. Hope you’ve stayed away from the dangerous end of a forklift since we last worked together 😉
Definelty have done that. Thanks for the laugh. I’m a PM for DOD. No need to even be on a forklift now. Haha!
YAY!! This is the unicorn of home improvement jobs. I didn’t think it actually existed.
Sometimes you get a lucky break from the gods like this one.
Electricity has always been one of my biggest interests in DIY (probably because of my engineering background), I also believe it’s the one thing that presents us with the least chance of any surprises (other than drywall studs not being where you’d want them).
This is indeed one of those things you’d think “I’l just do it in an afternoon” but then you’d end up needing the whole weekend for it. I’m happy for you it turned out better than expected!
Comments are closed.