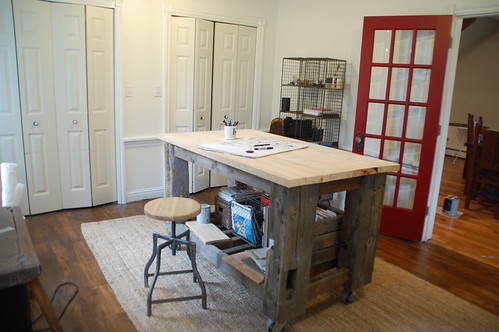
There are a lot of little projects on my list that I put into the “you know, sometime I should… ” category. This area of the house fell squarely into that section of my list. Every time I saw it I would say, you know, I should build a different console table for the TV, because this just doesn’t look right…
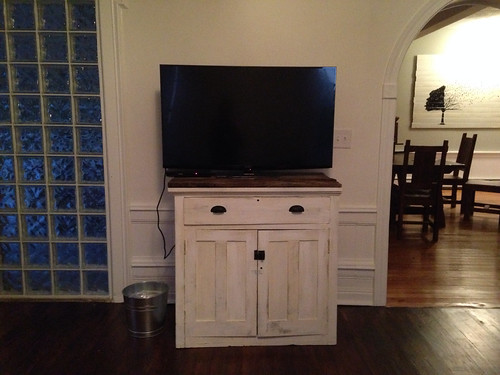
It doesn’t.
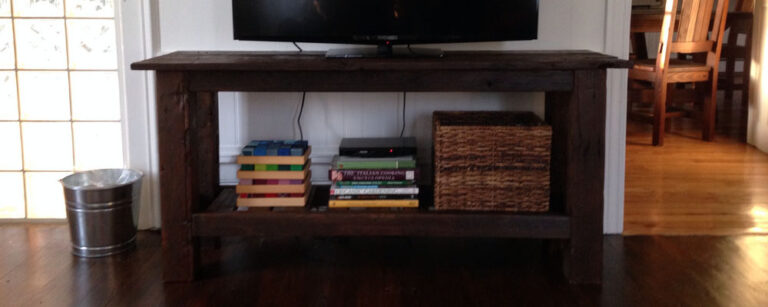
Now, TV’s obviously aren’t my thing. This one isn’t hooked up to any kind of antenna or cable or dish, so it gets literally zero channels. Sometimes I put a DVD in and watch it on the TV though, which is basically the sum total of its use in my house. But one thing I do know is that spatially, this makes no sense.
It’s too high, too narrow, too deep.
When something starts driving me a little nuts every time I look at it, I start to ask some questions. Does something similar to what I want for this space already exist? Would it be easy to make? How much would I be investing of my time versus how much it costs?
I figured I could do this pretty quick and pretty cheap (like, for zero dollars) and building a console table would give me a good opportunity to grab some pictures on using pocket screws for one of my posts on Lifehacker, so win-win. (I’m doing a Joinery 101 series over there, if you’re interested… we’ve covered pocket screws, the old glue-and-clamp method, and dowels so far.)
So, this project hit the critera for something I should DIY, and a few weeks ago I posted about how quickly I built the frame. This was basically a half-day project, but, of course, finishing up the last 5% of it took me weeks. However, after an ill-advised attempt to “wind down” before bed by shutting off the computer and then single-handedly moving all kinds of furniture around (does not help wind a person down, by the way) I can finally call this project finished.
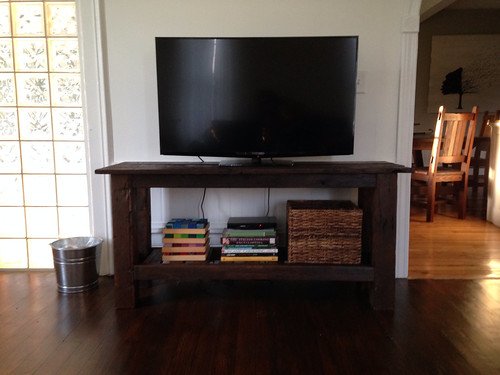
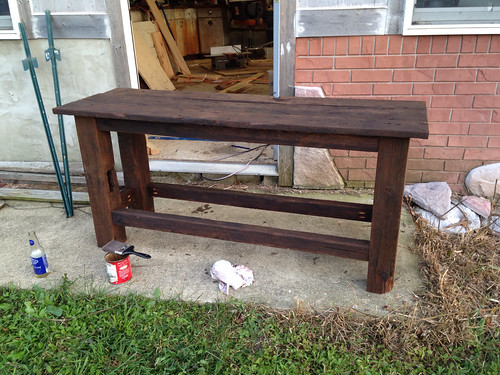
Better, right?
I should have done this project months ago.
If you’re wondering about the actual building of this thing, here’s my take on why building projects like this are so easy.
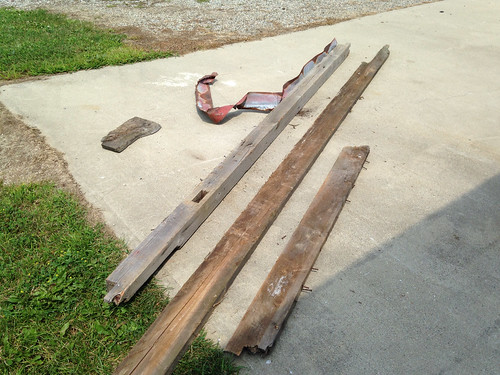
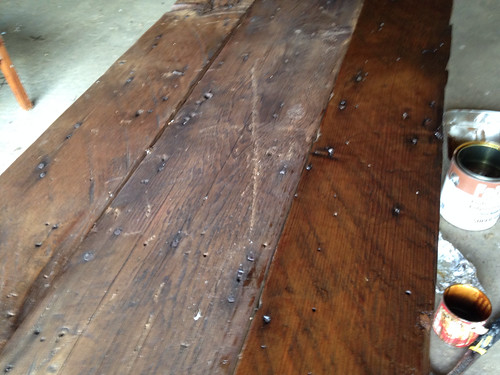
First, I’ve got the wood. I don’t have to do any searching, shopping, or hauling, because I have a veritable lumber yard worth of old wood in my barn. It’s the kind of wood that is good for some projects, and not for others though.
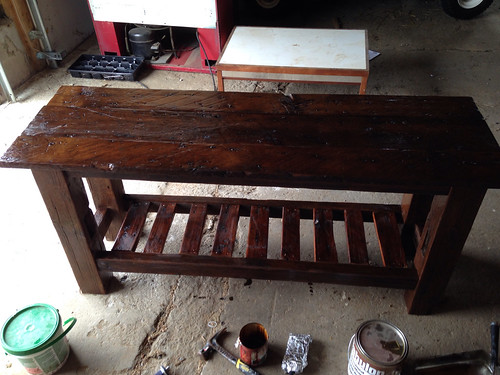
Second, I use the same basic layout for a lot of tables. Take a look at my indoor workbench…
Basically the exact same construction as the console table, the dimensions are just a bit different…
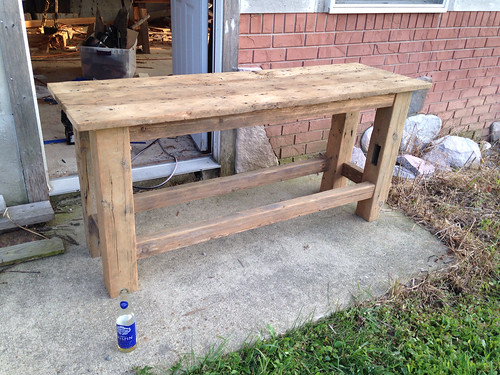
It consists of the four legs (4×4 or greater) all cut to equal lengths, four stretchers for the width (two for the top and two for the bottom shelf)…
And four stretchers for the sides (again, two for the top, two for the bottom shelf)
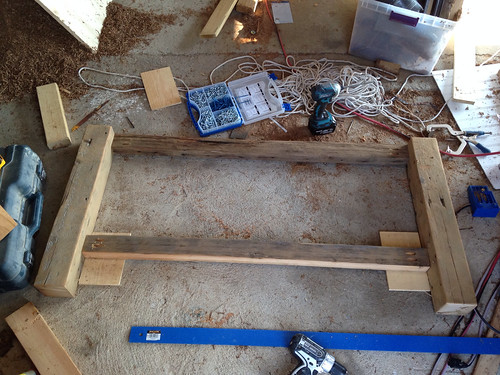
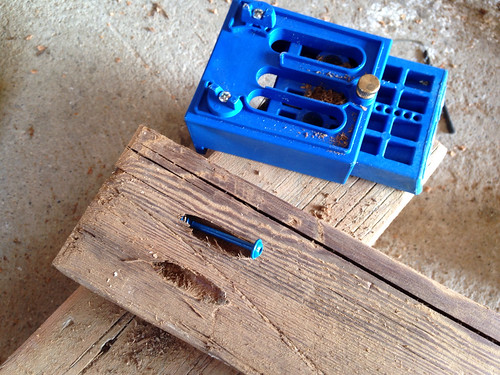
You’ll notice that I use pocket screws, which are the quickest and easiest method of joinery I’ve ever used. There’s no screwing around with glue, or clamping everything and waiting for it to dry. Those methods have their place too, but for this specific type of building, pocket screws let me assemble things fast.
Also, if you look at this picture again, you’ll see that I found some scrap wood and used it to create a “relief” for the stretchers (meaning they are offset back from the edge of the legs a bit.)
Using scrap for something like that makes it easy, no measuring or lining things up to fuss with.
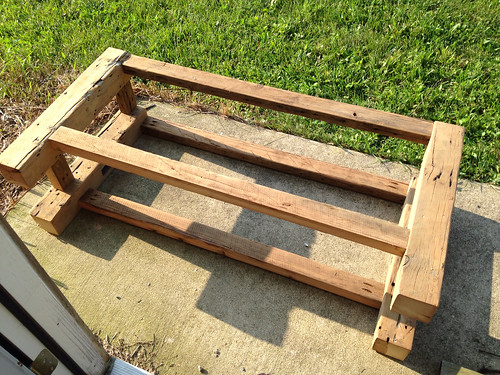
At this point in the build I’ve now basically only needed to “measure” three things (I just measure the length for the legs once, and then set the guards on my miter saw so I can just lay the next piece of wood against it and cut to exactly the same length), then I line them up and install the pocket screws…
And the thing is more than half-done at this point. Sanding and staining this piece probably took twice the time that actually building it did.
When I finished up “for the day” a few weeks ago I just needed to build the bottom shelf and put a finish on everything.
Turns out there was nothing I wanted to to less than try to find some boards to fit flush into the space for the bottom shelf, but I also wanted this thing finished up, so I went with my old stand-by… slats.
I just ripped a random board in half…
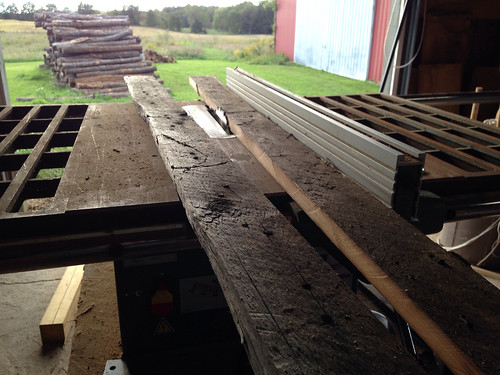
Sanded them down and cut them into slats. Then eyeballed the spacing (and took a very fuzzy picture of it.)
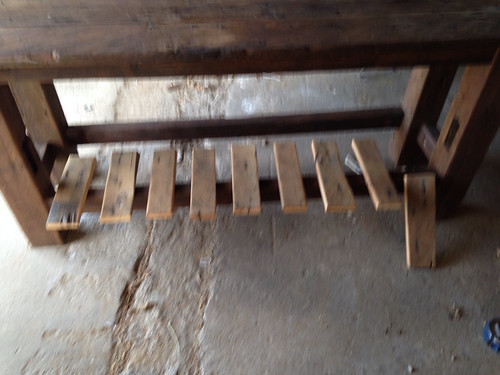
Everything got attached (a couple of finish nails driven through the slats on an angle) and I used some leftover Fabulon Satin poly (from my floors) to finish it off…
Of all the poly finishes I’ve used, this is my absolute favorite. There’s no sheen to the finish at all, and it looks great on my floors. (There’s only one place I know of to get it near me, and I literally drive a hour for it every time.)
This is pre-drying, so it looks a little shiny, but I didn’t take any pictures after it dried, except this one.
For me, this type of project is a testament to how easy things can be if you have the right tools, space, and materials on hand. It’s actually one of the reasons I’ve been stocking up more on lumber recently… taking the two-hours out of my day to drive to the store on the weekend is one of those things that stalls out my entire day, and I’ve got plenty of space to store materials.
And almost more exciting than having the console table done is that I get to check it off my list (something I’m trying to do a lot more of before winter hits.)

16 Responses
I love it. What stain brand is that? It has a lot more depth than the mainstream brands that I’ve been using.
PS-Hope you are feeling better!
I actually think that has to do with the wood! Old barn wood absorbs stain so much better than new pine. I used a mix of a RustOleum dark walnut and some gray driftwood that were sitting in my cabinet… nothing special.
I just have to figure out how a city girl finds barn wood. All the blogging house wives seem to find it easily. I’m at a loss.
Try craigslist! Sounds ridiculous, but when my dude and I were looking for a ton of barn wood for his new restaurant I found a ton online. They definitely charge for it though!
So pretty! Yeah, definite “OMG why didn’t you do that sooner” project but I have a bunch myself!
Well I love that!
Looks great! I love it!
Amazing! I loved how it looked unfinished [I mean unstained] but I love even more how it looks stained!
HAHA! I was *just* thinking of you when I checked something off my ‘little ass’ chore board…
I cheat tho and have sub items under each chore. Under ‘fix the tractor’ are 6 sub items…one I just finished pretty quickly because I had the right tools, the parts needed, *and* the experience – that counts for alot.
Nice to see your table finished with the slats now and it certainly does fits the space nicely….good job!
Sweet! I can think of a few ways to use that style in my home! Look forward to the pocket screws – have the Kreg Jig Jr., but haven’t tried yet.
I love it. Does the stain come in lighter colors too?
I am drooling over your work bench! Would you share the dimension details? I am not great with building but really want to give it a try, and the work bench is exactly what I’ve been looking for.
By the way, love your site, and expecially love the nugs. Thanks so much for sharing your experiences.
~ Tal
I love that your Blog post started with the word Shit. Also, you really said it when you said “right tools, space and materials.” Can’t wait to see what you will do next. Working on getting some space for myself as well. I’ve got all the tools, but when you have to dig through the under stairs storage to find the one you want it makes you not really get started on anything.
Cool! You can also do it using palletes, I’ve done a few for my man-cave table and it was great! Looking forward for more post like this one 🙂
First of all I love the title to this post lol. Second of all, this looks great! Amazing job and it looks like you really put a lot of time and effort into your projects. Keep it up!
Night and day difference… that is beautiful. Thanks for the tip on the poly. I’ve been looking for a good one.
Comments are closed.