There’s nothing like a short “vacation” from my day-job to remind me just how many bruises, scrapes, scratches, splinters, and puncture wounds that a person with five days of uninterrupted project time on a farm can inflict upon herself.
So, so many splinters.
I did take just a few days off from my job last week to tackle a few things on my pre-winter list. I expected most of my attention to be focused on the barn, but hoped to tackle a few other outdoor projects as well. That was before I realized I was going to have to go a round or eight with this thing…
Yeah. Looks simple, doesn’t it? I’m not even going to go there just yet, because there is, in fact, a short list of things I got done, including:
- Hiring an electrician to run actual electric out to the barn (hopefully in the next 4-5 weeks)
- Hiring a contractor to replace my upstairs bathroom tub (more on that, later)
- Cleaning the shit out of the chicken coop and donkey stall. Literally, there was a lot of shit.
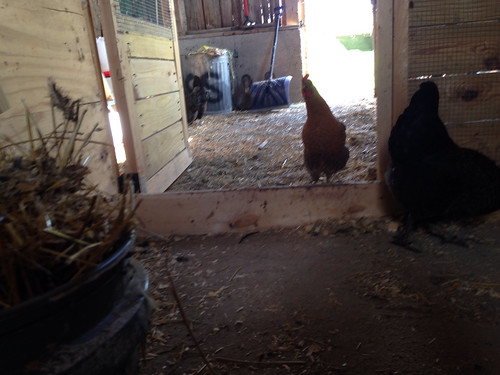
This is the chicken-expression equivalent to WHAT. WHAT IS THAT. WHAT ARE YOU DOING. WHAT IS HAAAPPPENINGGGG.
Chickens are so dramatic.
So, anyway, I also did some other things, but the project I kept coming back to time and time again over my break was this one…
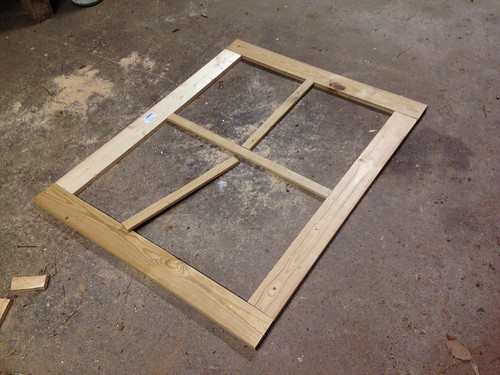
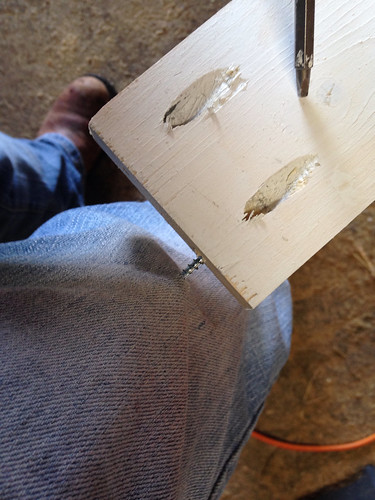
It really should have been an easy project, right up until the point where EVERYTHING WENT WRONG. You think I’m exaggerating, but I actually managed to drive a screw into my pants at some point.
That’s how wrong shit went.
But I’m getting ahead of myself… here’s where things started:
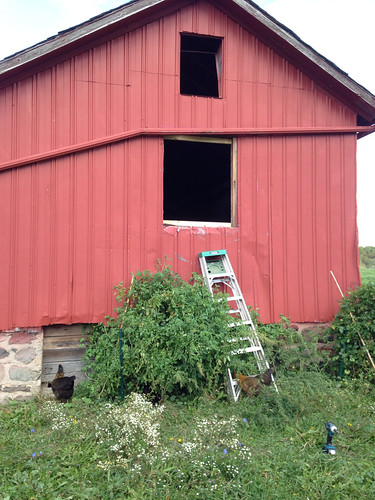
I don’t have a good “before” picture for that side of the barn, but suffice it to say there was a huge gaping hole there. It’s a hole that lets a lot of light and air into what could otherwise be a dark and stuffy barn, so I thought through what I might be able to do with it: keep it as is, replace the metal siding, screen it it, or build a window.
I wanted to keep the light, but, given the winter we had last year, I thought a window to block out some of the winter draft would be the best bet. And I also thought–since I’d be installing the thing myself, ten feet off the ground–that it would be a better idea to use plexiglass than actual glass.
I believe I was using sound judgement at that point.
My sound judgement failed when I thought I would be able to build a window to-size and have it fit in the irregular opening created by 100 year old barn beams.
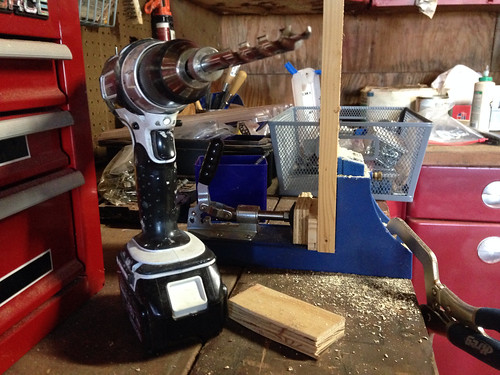
I took careful measurements, cut the wood to size, and then assembled everything with pocket screws.
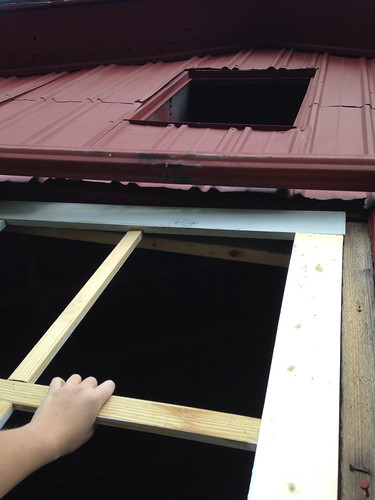
Easy enough, right? But then there was a lot of this. Old barn beams do not make a happy frame for a prefab window.
I disassembled, cut down, and reassembled that damn frame at least 6 times. (In the process, shortening the holes for the pocket screws, which meant re-drilling, occasionally right into my leg. So that’s how that happened.)
Leg injuries aside, I worked on this thing on and off for two days until it finally fit properly in the opening.
Okay, go me. I thought I was in the homestretch. But then? Then there was plexiglass.
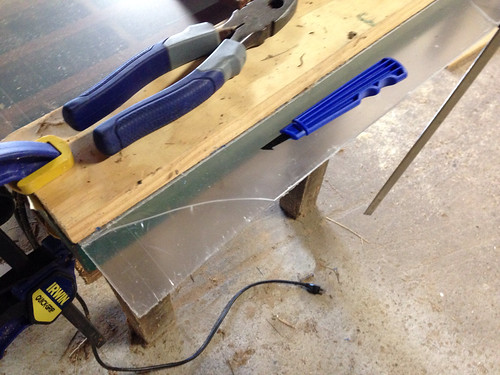
I bought these sheets and the scoring tool at Lowes. Having done some stained glass work in a previous life, I wasn’t too worried about scoring and snapping a few pieces of plexiglass.
Ha. Ha ha.
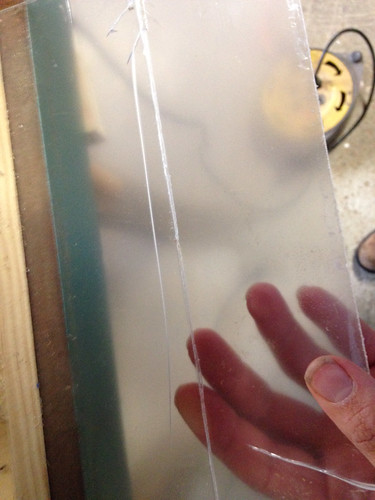
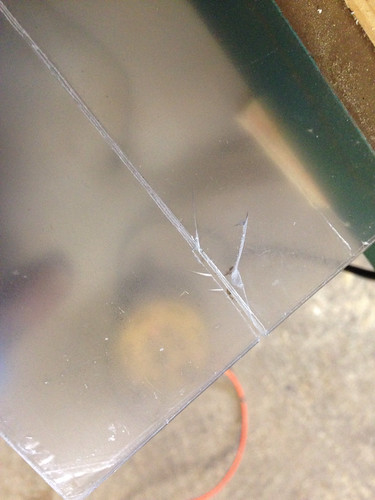
First I tried scoring (HALF WAY THROUGH THE SHEET, as per directions) and snapping six different times. No dice.
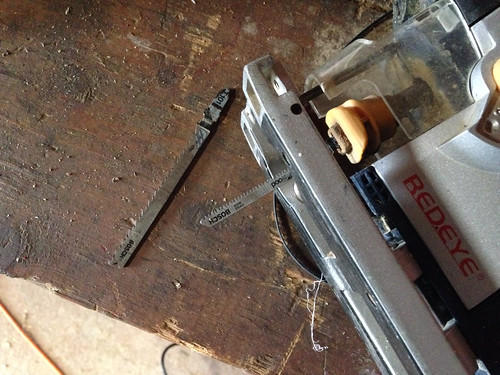
Then I did some reading online and people seemed to think a fine-toothed blade on a jigsaw might do the trick…
The internet is all lies.
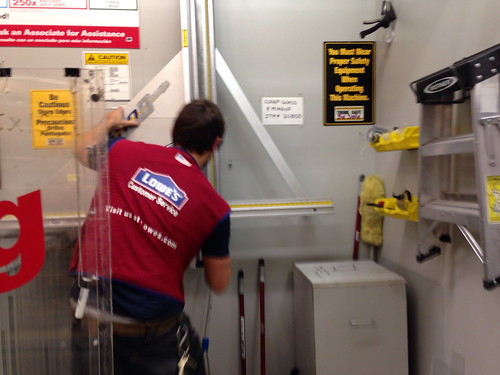
I was so frustrated I actually got in my car on a Saturday night, drove back to lowes, and had them cut the damn things for me on their machine, which I obviously just should have done in the first place.
That. Shit. Sucked.
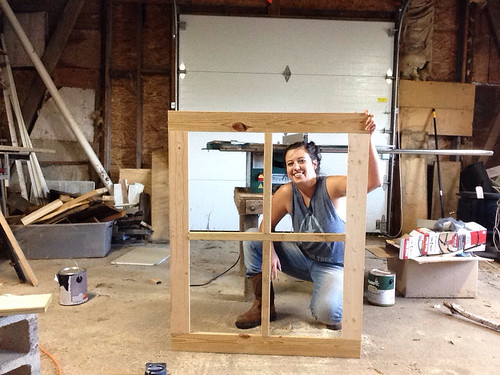
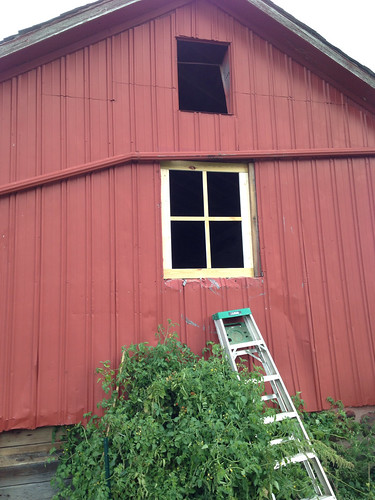
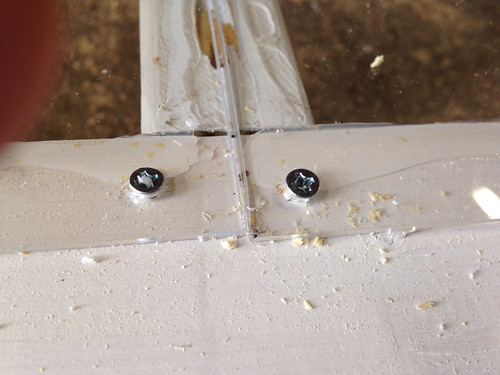
I finally got them attached with some screws and silicone…
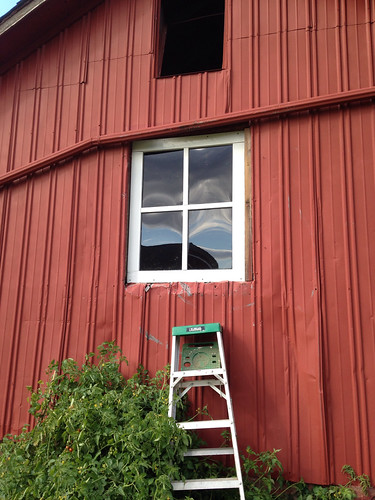
And, then, you guys?
It’s insane that something that simple could have taken three days to finally finish. The good news is: I WON.
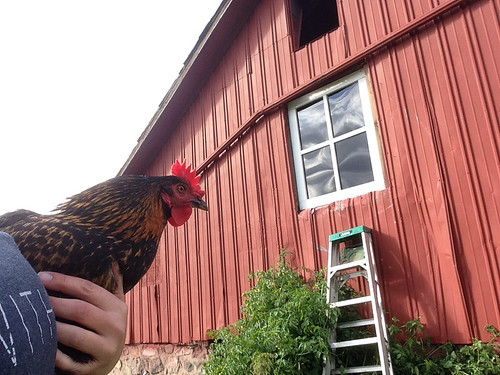
Nug approved.
I also managed to fill up a few holes on the other side of the barn with considerably less trouble…
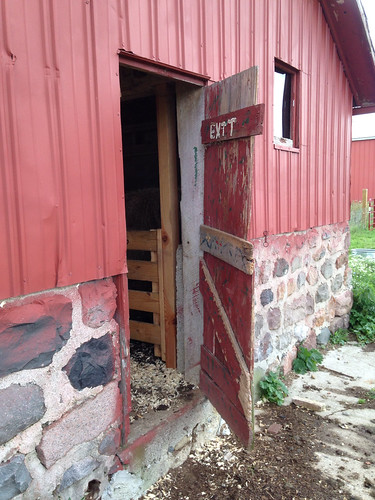
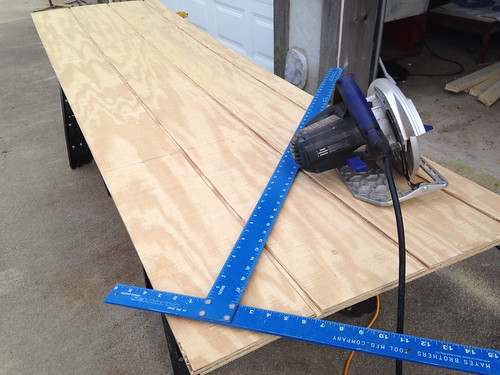
The donkeys decided they wanted a side entrance to the stall and knocked this rotted old door out. It needed to be replaced anyway (with siding, there’s no real reason for it to be a door) so I cut down some T1-11…
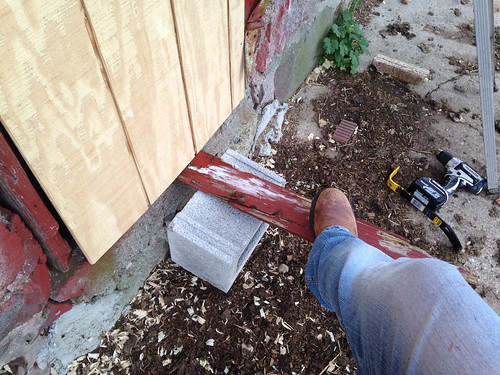
Did only some minor swearing trying to get it into place, before I got smart and made myself a little lever to hold it up while I put the screws in.
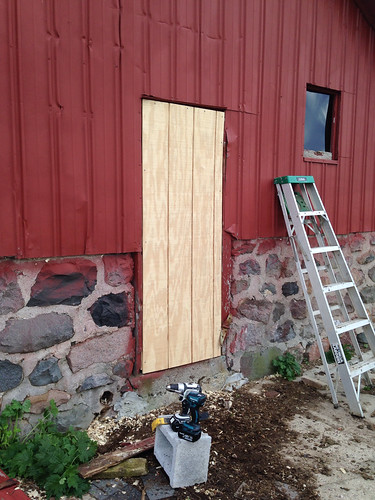
Compared to that effing window, I’ll wrestle a door-sized piece of plywood in to place any day.
Now we’re mostly sealed up for winter.
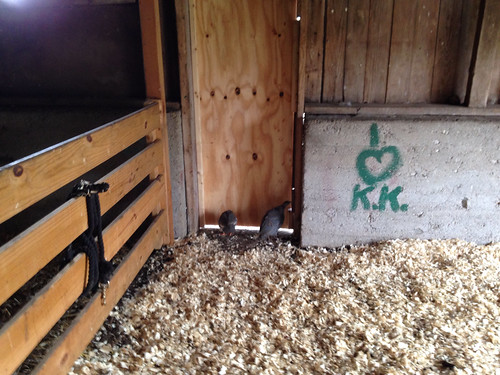
EVERYONE IS ALWAYS INSPECTING MY WORK. Jury is still out on if the guineas approve.
Good news is, I managed to check a number of things off the “pre-winter” list. Winter… I am so ready for you. (Well… just give me like, three more weekends. Okay, four. Four weekends, then I’m ready. Maybe. Is it Spring yet? Shit.)


16 Responses
I hope you put that “exit” sign back up on the door. Just so everyone knows!!
Can’t wait to see the place in person and get some donkey kisses soon!!
“Is it Spring yet?”
You know you will just be panicking about needing to plant now! Kidding aside your work looks nice. (I also think that you can plant a bit later into the season, if it gets warm you just might need to water more to start with until things are established and you get a slightly shorter growing season.)
Am I going crazy or did this post get unexpectedly truncated? (Not that the two things are mutually exclusive . . . ) Anyway, love seeing the progress!
Haha, oh no, you’re not crazy, I’m just a hot mess. Apparently the first part of an earlier draft of this post was still “there” and ended up tacked on to the end of this one. Thanks for calling it out and making me do a solid pre-read (I had at least one image messed up too.)
Monica, you’re not crazy. It looks funny to me too.
I think she hit publish too soon.
I needed to cut some plexiglass for some windows in my hunting blind, and did as you did, tried scoring it with that tool, read on line about the jig saw, and pretty much had the same results as you. Then I remembered masking tape. Ran some tape over the lines on both sides I was cutting, redrew the line, and used the circular saw. removed the tape and had cut glass. Stuff stinks when you cut it though…. I think you can use tape when cutting that particle board crap too, to help with the splintering. anyhow…there’s my 2 cents worth of possible useless knowledge.
enjoy your day Kit.
Awesome job on the window! Do you think the Donkey’s will try to bust out of the new plywood “door” that’s not a door anymore?
I don’t *think* so… the old one wasn’t very solid, and I just had a screw or two in the rotted wood, holding it shut. This one is screwed in like a piece of siding, so hopefully that’s good enough!
You’ve finished the project, but for future reference, the easy way to cut Plexiglass is on the table saw. I have done a lot of picture framing over the years, and I finally started using Plexiglas because I did not like have left over pieces of glass lying around. It’s too easy for that stuff to break, and I also did not want to cut myself working with it. Plexiglass eliminates all that.
I leave the protective film on it (because I want to avoid scratches) and take it right to the table saw and go to work. It cuts beautifully. The other nice thing—for me at least—is that if I have a problem and have to reduce the size by 1/16” or so, I can do that on the table saw, whereas I would never in this world be able to shave that small amount off a piece of glass without files and I don’t know what-all.
There are other ways to cut Plexiglass, as you and some of the others in this string have pointed out, but none of them work as well. You CAN cut it with a jig saw, but a jig saw has a way of splintering the edge. With the table saw you get a nice smooth cut, and you can easily cut it right on the money. You don’t have to draw lines and hope to hit them; you can just set the fence and cut. And you will NOT need masking tape, just a sharp saw blade.
I second your advice but I’d add heat is plexi-glasses best friend when cutting, not melting heat but make sure it’s warm.
I always get stuff framed with plexiglass not glass now. It is so much lighter and easier to hang and so on. Non-glare version.
In all your fabulous tools do you own a band saw or scroll saw? Those are my go to for cutting plexiglass. Sorry that window was such a PITA for you ;-(
Scroll saw, yes! Band saw, no. 🙁 I’m going to try that next time!
We use a band saw all the time to cut plexiglass.
I fell under the spell of Plexiglass (easier! lighter! safer! than glass) when I was making custom turtle enclosures for my two (reptilian) girls. Well… not having any saw at my disposal other than a hand saw and that ridiculously ineffective scoring knife…. it was a painful (literally – that stuff is still sharp!) experience. Eventually, went to great lengths to get the plexi cut by my father on a table saw, but the fumes just about finished him off…!
Comments are closed.