Unsurprisingly, spending multiple weeks away from the farm this summer created a serious backlog of work to tackle now that I’m home. Some of that is maintenance, some of it is fun work, and some of it is shit I have to do for a second time, because I didn’t do it right the first time. Ahem. And then this happened…
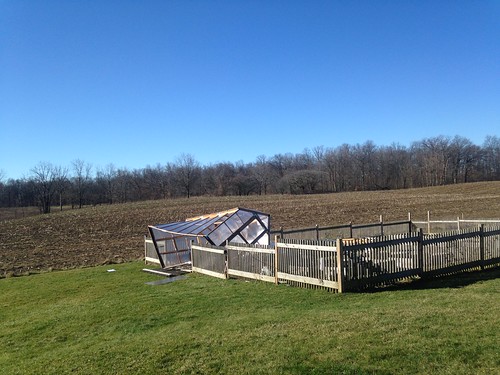
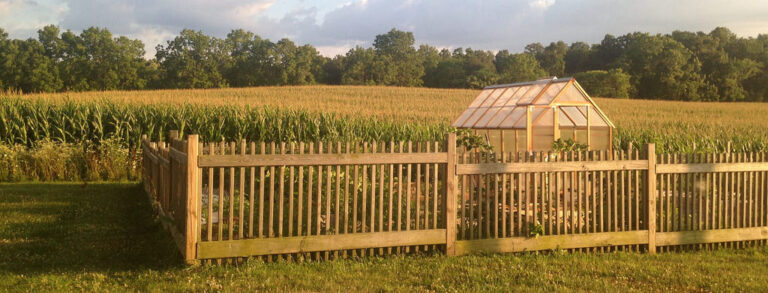
Nothing like some high winds to teach you about not taking shortcuts when you’re putting in a little greenhouse. I first built this thing (from a kit) last June, and while I leveled out the foundation with some bricks and gravel and used the provided anchoring system, which was a couple of X-brackets with some rebar driven into the ground. I’m going to be honest and tell you that deep down I did not think this was a good enough foundation for some of the high winds I get out here in the country, but I was far too excited about building the greenhouse (and checking it off the list) than, you know, potentially needing to dig a bunch of holes and haul a lot of concrete into the garden for a proper foundation. So I didn’t. And then my greenhouse blew over.
Let this be a lesson to all of us, but mostly to me. I know better.
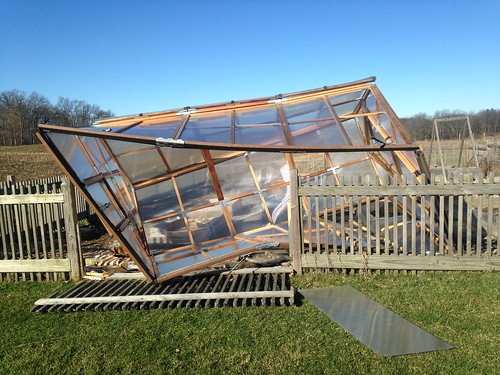
And my penance for knowing better but taking a shortcut is that I’ve spent the last five months looking at the broken pieces of my once adorable greenhouse stacked up in my barn all summer.
The good news is that I’ve had five months to think on my mistake and figure out how to do it better. And by “do it better” I mean, “figure out how much concrete I can legitimately anchor this thing to the earth with.” A thousand pounds? A thousand pounds sounds about right.
So here’s the plan.
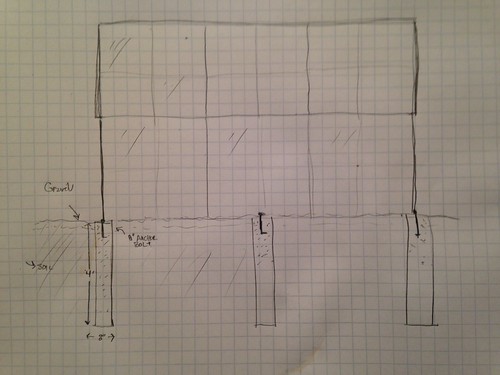
If it isn’t clear by that super awesome picture (my napkin drawings are getting better… sketchup, what??) the new foundation for the greenhouse consists of sinking 6 concrete piers into the ground (8″ wide, 4′ deep) and then attaching the greenhouse with some 8″ anchor bolts.
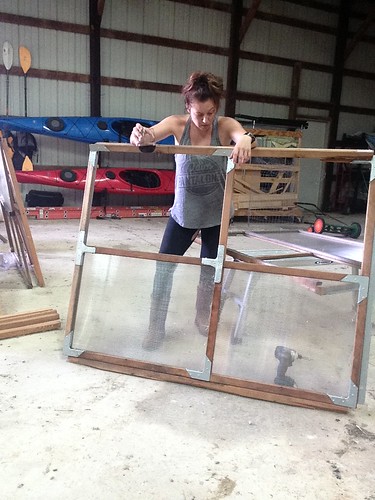
The greenhouse itself is just panels made up of 2×2 redwood, strong-tie brackets, and clear polycarbonate panels. There’s no structural frame that these panels are attached to (other than themselves) so there was no good way to attach the structure to the concrete piers, without creating a sill plate. So… I created a sill plate. (Using a sill plate bolted into a concrete foundation is similar to how most houses are built in the states. If you’re interested in more info, I’ve done a poured-wall foundation for a house too, and you can read more about it here.)
So, the first step was digging the holes….
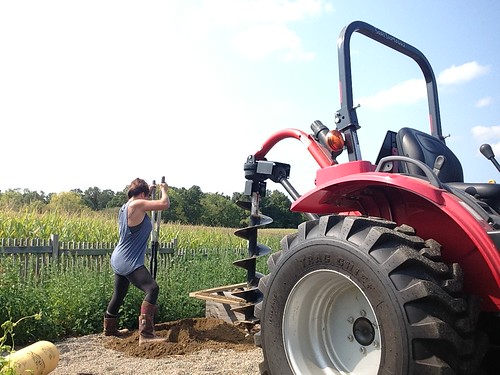
I love having that auger on my tractor, but I still end up doing a hell of a lot of hand digging. One day I’ll have a project around here that doesn’t require me to use a post-hole digger, but this was not that day.
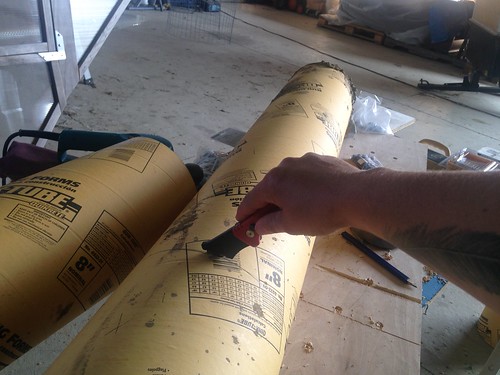
I used 8″ sonotubes as the form for my piers, and because my garden is built on a hill, I needed to trim a couple of the tubes down to size so that they’d all be level. This can be done with a sharp box cutter and a fair amount of patience (or beer.)
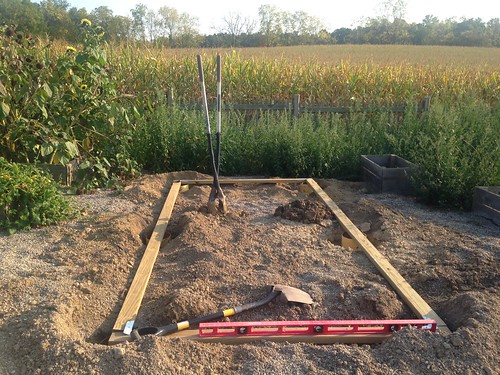
This is a small structure (6×12) so I just used a 12′ board and a 4′ level to keep everything straight. Once the sonotubes were level and set, it was time for anchor bolts and concrete.
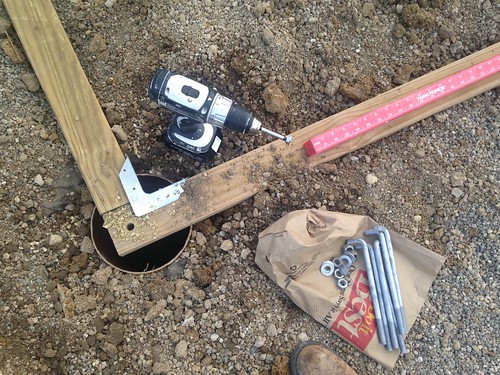
Building the sill plate first is a little backwards, but since the greenhouse panels are pre-built I needed to make sure everything would fit to that size. Typically I’d use a scrap board to hold the anchor-bolts in place while the concrete dries, but in this case it was just as easy to use the existing sill plate boards. So I drilled a 5’8″ hole where I wanted the bolts (one in each of the 6 piers), then put the bolts through the boards.
Then came the backbreaking work of hauling twelve 80# bags of concrete over and mixing them one at a time. In retrospect, this would have gone a lot quicker as a two-man job (one mixing, one shoveling into the forms) but it was Sunday night, and I am just one woman, so a one-woman job it was.
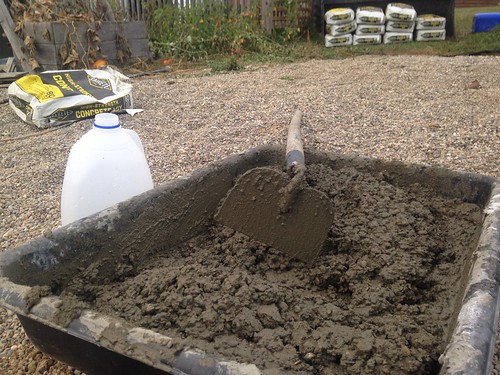
(A garden hoe is the best tool for hand-mixing concrete, by the way.)
So, I definitely should not have started this job at 5PM, because I thought it would only take an hour– maybe two- but three hours later it was pitch dark, and I still had a couple of holes to fill…
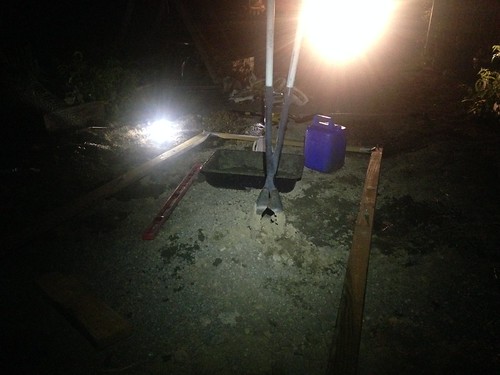
Which I did, by the light of the tractor and every flashlight and headlamp I own.
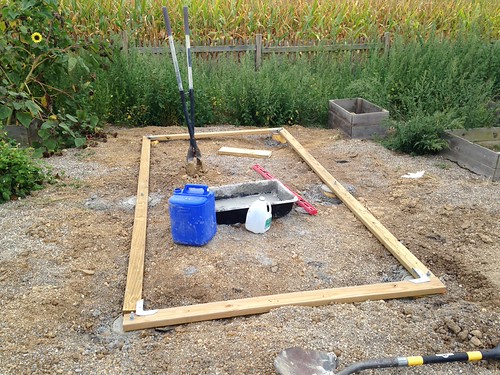
Here’s a picture of it in actual daylight the next morning…
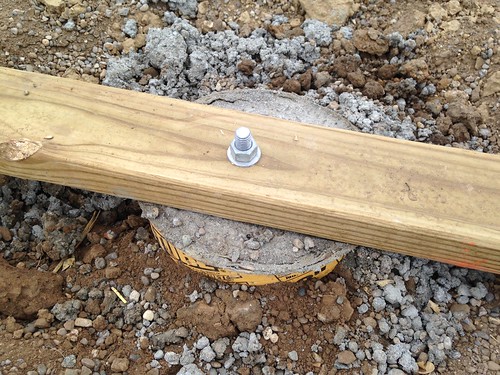
And here’s how the anchor-bolts look, fully set.
Next up will be using some of the old pavers I have in the barn to fill in the gaps where the ground level is below the piers, and then I’ll backfill everything with more gravel.
Meanwhile, in the big barn, I’ll be drinking wine and fixing the broken greenhouse panels for the next couple of weeks…
And then it will be time to put everything together again.
Just like it used to be…

Sigh.

10 Responses
Great fix! All of us DIYers have been in your shoes. So many projects, so little time…
Shortcuts save time, sanity and relationships occasionally. Until the wind blows. Can’t wait to see what you’re up to next. [Hope the bees are OK. It’s been a crazy year for my bees.]
Way to go, Kit! Heck no on hauling 80 lb bags of cement! Hope you used the tractor!
Good thing you’ve been working out, lifting all that concrete!
I’d love a greenhouse. Someday…
Lovely greenhouse. The link was broken but in one of your pictures it showed the name. Thanks for sharing with us.
Hey Tracy – What link did you try to click on that was broken?
Nice post. Thanks for sharing this post.
You are going to be so proud of yourself with your beautiful, well-anchored greenhouse. It looks like it is going to be super sturdy.
Wow that looks like a complicated project. But the results are more than awesome!
Kit this is great! It is such a lovely article and I find that the photos are lovely as well. It’s just amazing how you put all these together on “Rebuilding the Greenhouse: Foundations” with such great tips! Looking forward to more of these.
Very good and useful information about building a greenhouse I will for sure use your tips thank you.Joe
Comments are closed.