It seems I have finally gotten back into the swing of things. I’d been sitting around just kind of waiting for the jet lag to subside, and then to recover from the whirlwind of the holidays, and for my brain to jump gears again from textbooks and paper-writing to projects and power tools. Luckily, I have just written two posts that contain both, and you know what that means…. I’m baaaack!
This coincided with the new rule I made (for my own sanity and the health and well-being of my relationship with MysteryMan) to end my work-week with DIY Fridays, instead of bars, beer, and the ensuing hangover. That gives MysteryMan time to go out and wallow in the glory of testosterone by scratching and burping and drinking beer (or whatever it is you guys do when we’re not around) with his buddies, and it gives me time to do things I love, like, oh say, coping out crown molding.
So, that was a long intro for a couple of things I’ve been working on here and there back since it was still warm enough to work outside in my holy jeans, namely all the finish-work for what is now The Purple Bedroom. Want a sneak peek?
Originally all the baseboard and trim around the doors in this room was blue. And there was flowered wallpaper, which my mom and my badass grandmother Mamie removed, only to find six more layers of wallpaperwith two layers of paint mixed in. For my part, I used a Venetian plaster on the walls and put in a mock tin ceiling using Armstrong tiles (made of recycled paper, can’t beat that). I don’t have a good “before” picture but this is a bit of what it looked like prior to Labor Day weekend, when MysteryMan and I took on the big floor sanding project.
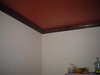
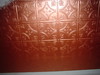

I did all of the work above about two years ago, and as much as I loved that copper ceiling, the room just wasn’t doing it for me. Of course, I had a pergola to build, so figuring out what I wanted to do with the room wasn’t first priority. (Also you can see some crown molding I put up in there… well the last piece was cut 1/4″ too short, so I actually only had three pieces of molding up for two years. Enter the first project of DIY Fridays, which is written and set to post tomorrow. Because, honestly, who doesn’t want to start the New Year with crown molding?
But while I’m at it, let’s end the year with something as gorgeous as this:
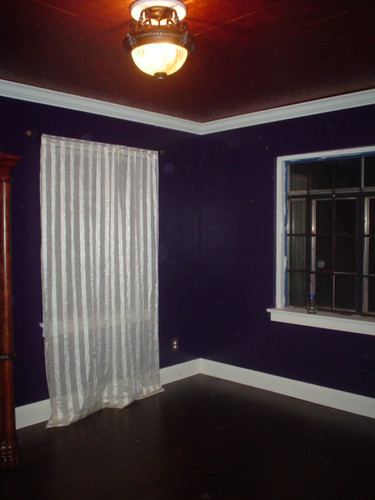
Basically after all the furniture was moved out to various other parts of the house for the big floor renovation, I decided it was the perfect time to do something about those walls. Enter the color purple. Generally I’m not a purple person but a nice rich eggplant just struck me as the perfect thing to set off that copper ceiling. While painting the walls was easy, the finish work took 3 months (mind you it was a last semester of school, followed by China, followed by Christmas, kind of three months) to finish. That included getting all that trim painted white, putting in the nonexistent shoe molding, painting the crown molding white, and putting up a new piece on the west wall.
Just look at that floor:
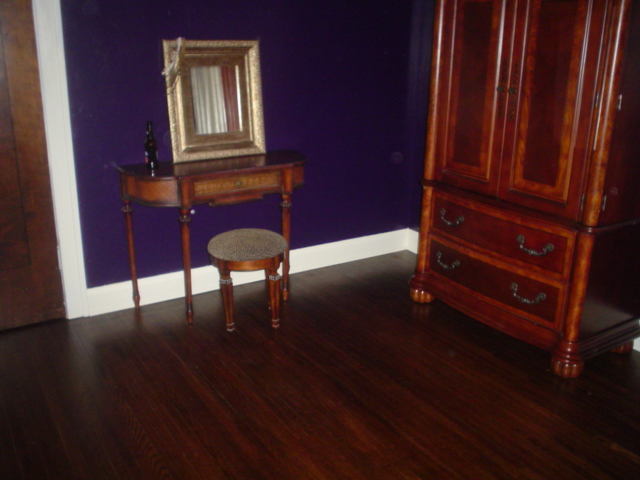
Makes every pain-in-the-ass part of this project worth it.
So, just in case anyone as a powerful interest in woodworking or crown molding, tomorrow I will illustrate a way to cope out crown molding that I can 100% guarantee no one else on the planet uses. That’s why these are DIY Fridays, not “Professional Woodworking Fridays.”
And even more fun… did someone say thirty-cent stick tiles?
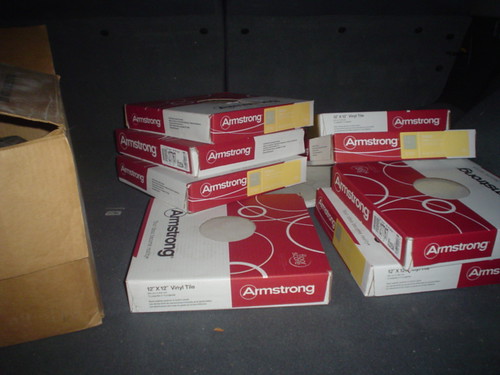
Since the bedroom is done, there’s a new project involving these on the very near horizon…

One Response
love it all…the purple is a bold choice, but it compliments the floor and the ceiling. well done.
Comments are closed.