It seems like we’ve been installing a door a week as we get the Station into livable condition and when our most recent door-installing adventure degenerated into a contest to see who could poke a shim the farthest into the other persons eye, I was sent on a mission to buy new door hardware. (Eye poking and threatening bodily harm with hand tools is just one of the many ways MysteryMan and I make our relationship work. Don’t knock it.)
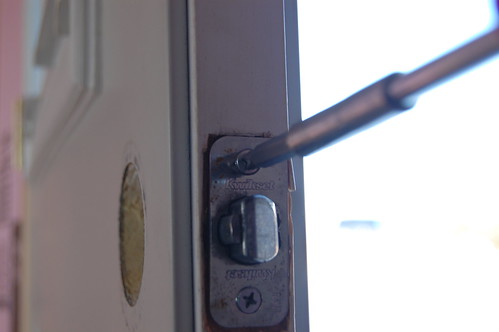
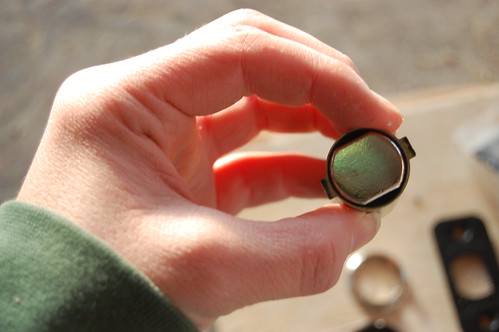
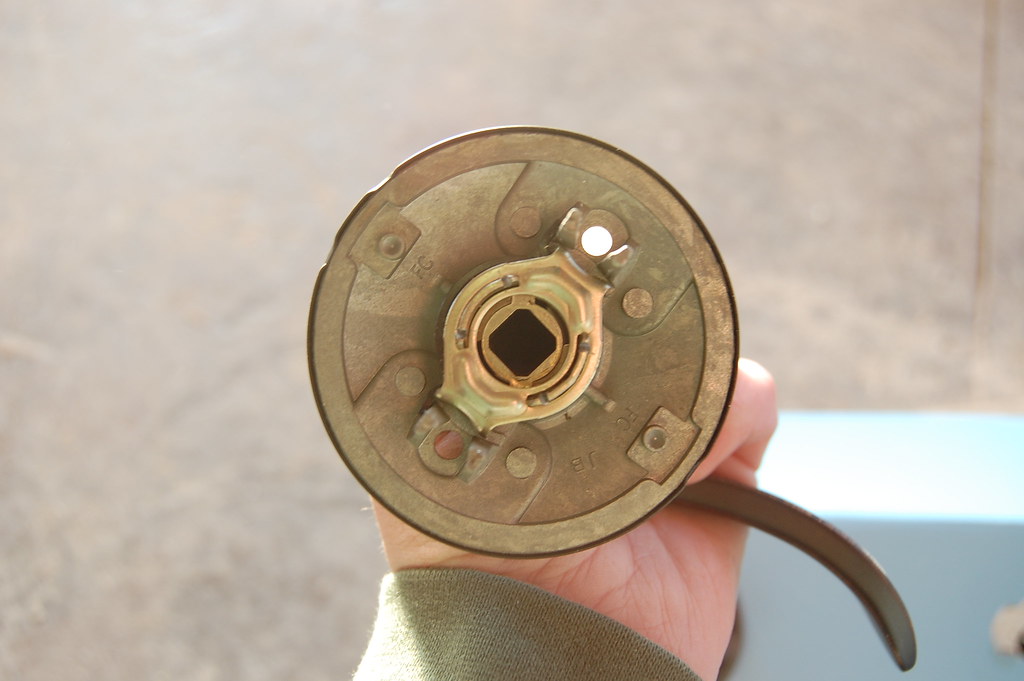
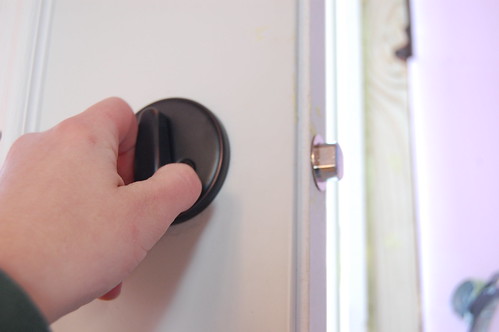
It is hard to imagine why we would need new hardware, what with this classy set-up:
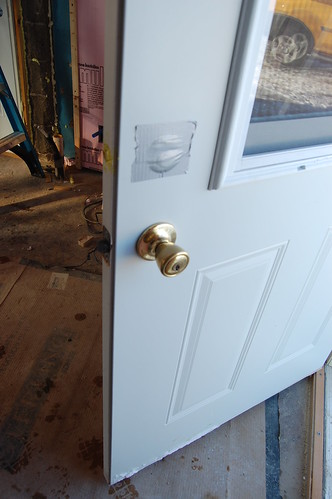
And really, even if you don’t have duct tape covering your dead-bolt hole, you may want to change your locks because you have a psycho ex, or because your keys got stolen, or because it’s Wednesday. I don’t judge. Whatever works for you.
It can be a little intimidating because a full lockset comes with almost as many parts that you won’t use as parts you will, but this is definitely not one of those things you need to call a professional for.
A few things I recently learned about door hardware:
1.) At Lowe’s (and probably any big box), if you buy a new lockset that is compatible with your current locks — usually determined by brand– they can change the lock to match your existing key. This is great for additions, not great for keep out crazy people who may or may not have a key to your house.
2.) Picking up a box containing a full lockset with one hand, from a tall shelf, grabbing only the bottom of the box will likely result in said box overbalancing and landing directly on your head. Hard. Innocent passerbys will laugh as you attempt to remain conscious.
3.) Kwickset makes a SmartKey lock that you can easily re-key yourself (in 10 seconds or less) if you have the original and a new key. No lock changing necessary. Hey look! I just made this post obsolete before I even got started.
Installing an Exterior Lockset and Deadbolt Without Pulling Your Hair Out
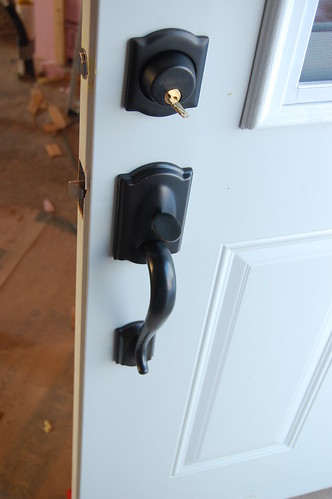
Despite the charms of the Kwickset, I ended up buying a Schlage handset because it offered a non-frilly lever option, as opposed to a knob. I like knobs, but if you’re carrying an armload of stuff out the door… you can open a lever with your foot. I’m just saying… you’ve got to think ahead.
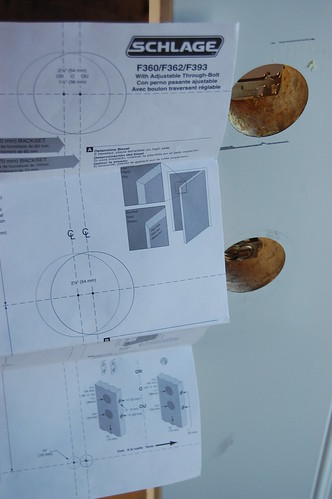
The nice thing about the schlage (and I’m not sure if this is true for all maufacturers) is that it comes with installation pieces for almost any type of pre-drilled door setup.
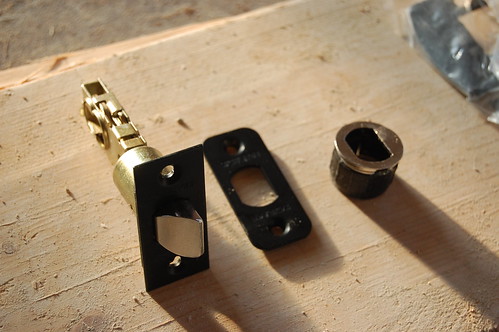
See? Square plate, rounded plate, and no plate. Which made this install considerably easier than it might have been otherwise.
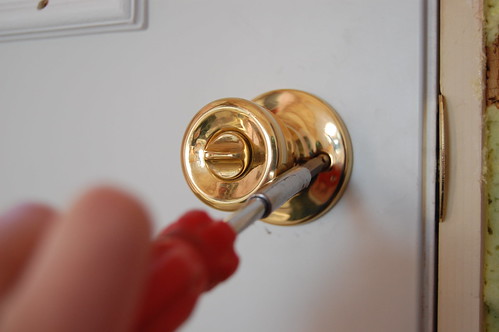
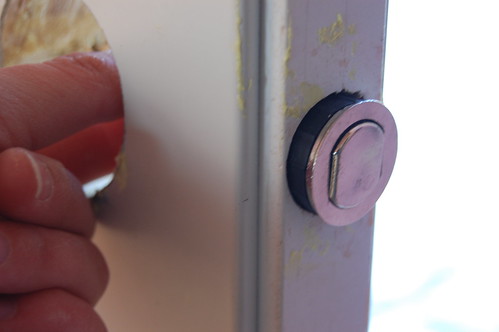
Step 1: Remove old hardware and/or duct tape
Removing door hardware is easy. Only 4 screws to remove and 1 tool necessary.
Step 2: Prep
All handset kits should come with a template. Most doors are standard these days but you should check just in case. Things to note:
1.) Hole size
2.) Hole placement
3.) recessed area for plates
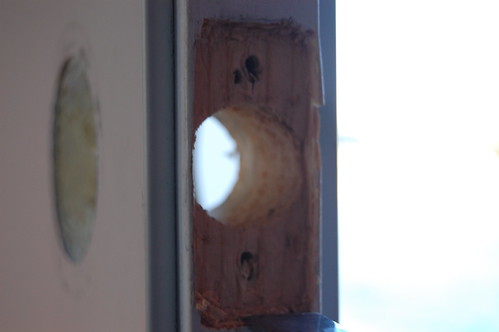
In my case I only needed to drill one hole for the bottom of the handset. MysteryMan chiseled out the door to fit the old door hardware (would not have been necessary with new hardware) but I decided to use the square plate and just clean up the recessed area a bit, which is easy enough with a sharp chisel.

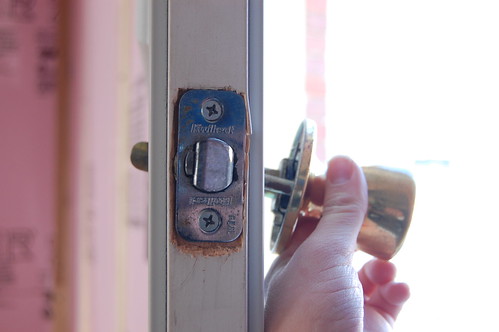
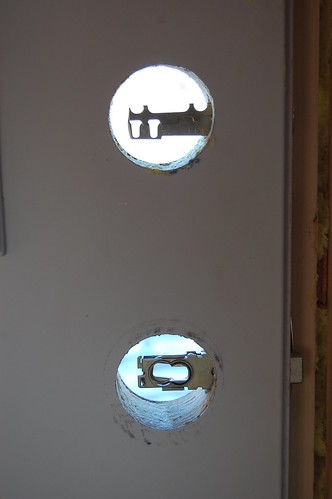
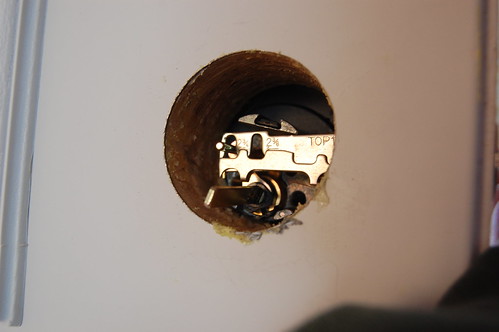
Step 3: The part that keeps the door closed
This should slide right in. If you use a plate, it takes 2 screws to affix it, or they make inserts you can install right into the hole without a plate and just a few light taps from a hammer.
Ignore the spray foam please. For a minute there MysteryMan forgot we weren’t hillbillies.
With both latching mechanisms in place:
Step 4: Handles
It’s pretty easy. You just pop the outdoor side on (and check to make sure it works)…
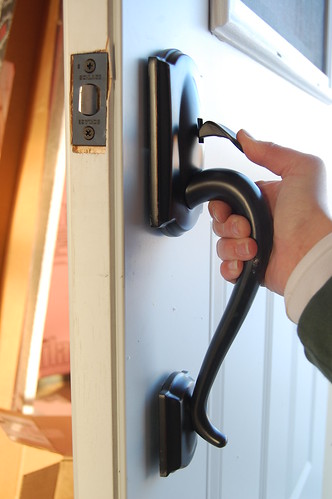
Then set the “lever” or “knob” side (pay attention to the directions for your particular lockset here, you want to make sure it turns in the correct direction.)
It slides on…
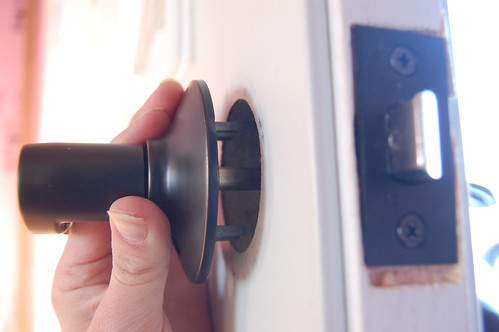
And two screws later you’re in business.
*Note: Our latch ended up a little screwy because of the previous hardware, but it’s nothing a little wood filler wont fix.
Step 5: Deadbolts
The deadbolt was a bit trickier to install. Note the clear “TOP” marking. That will probably help you in your endeavor. Not that I would have put the thing in upside-down ever. Um… anyway.
Make sure it locks when you turn towards the edge of the door.
Again, it’s just a couple of screws to complete the process.
Step 6: Final Touches
Last step is to install the plates on the frame side of the door so everything closes up and locks smoothly.

This did require a bit of chiseling for the deadbolt piece.

Always score the line you are chiseling out first, then peel off the wood to the appropriate depth.
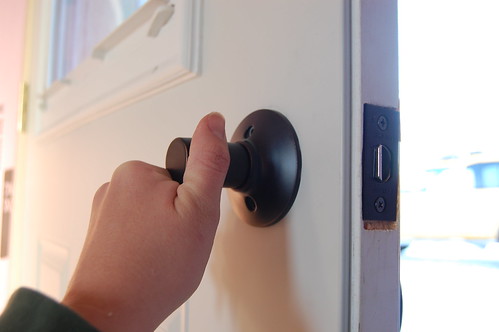
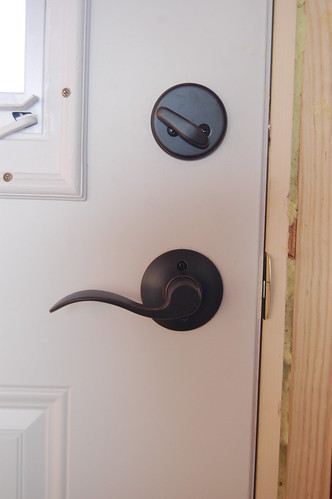
Step 7: Sleep safe, sound, and secure
And just like that, new handset. I think it’s a small improvement.
Hey, we’re fancy country people now. Or we will be when I actually paint that door. And hang the trim. And stop telling people we’re going to be living in an old gas station this year.
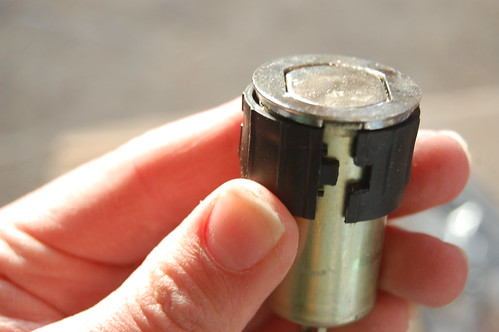
Step 8: Spare Parts
This is what may lead you to believe that installing door hardware is harder than it actually is.
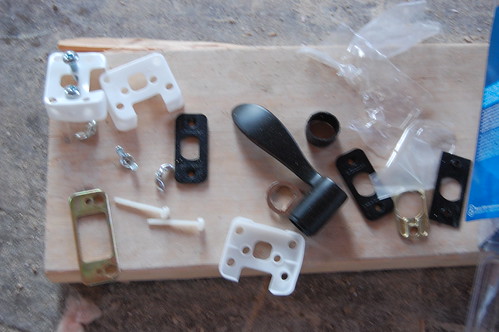
One time I’m going to install a handset and use every single piece in the box. But not on a door I actually want to work, obviously.
DIYers… go forth and conquer.

5 Responses
Hey, that’s MY door hardware! and I love it!
Awesome Post, thanks for this great Post. I will come back soon . Great information about locksmith : surprise locksmith
Love the detailed pictures you put up with each step. I’m such a visual learner it helped tons. Thank you!!
Comments are closed.