My poor mother hasn’t been able to use her master bathroom for a couple of months because I convinced her to take out the old, crappy bathroom cabinet, re-tile the floor, and put a new countertop in. And then we had a cabinet snafu, and I’ve got a half-built 12″ cabinet in my garage waiting for a coat of stain before my dear mother–who spends her weekends painting my house, mind you– doesn’t have to walk up a flight of stairs to take a shower.
I am a horrible daughter. Whose house is still only half-sided.
So when my mom’s kitchen disposal stopped working, all of that True Value reconnaissance I’d been doing came in handy. I’d never changed, installed, or looked crosseyed at a disposal before, but I’ll be dammed if this wasn’t something I could take care of for my very own mother.
Here’s how you can switch out a dead disposal and save the day too:
Tools Needed
- Screwdriver(s) – Flat and Phillips
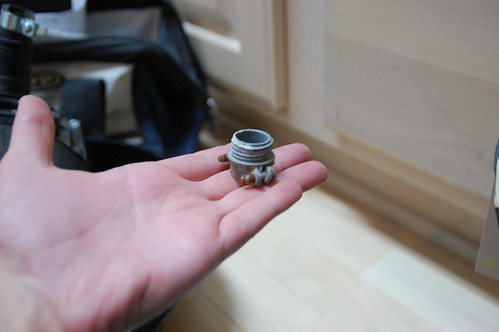
- One “self-service wrenchette” (included with disposal, and no… I am not making this up)
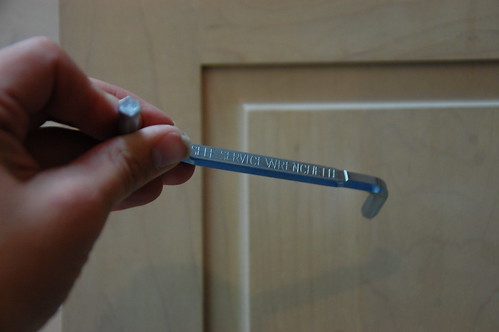
See that? They actually stamped it into the metal. Self. Service. Wrenchette. So, I’m going to be getting some awesome traffic from very disturbing search terms now, thank you Google and Disposal Manufacturers
How I Did It
Step 1: Reconnaissance
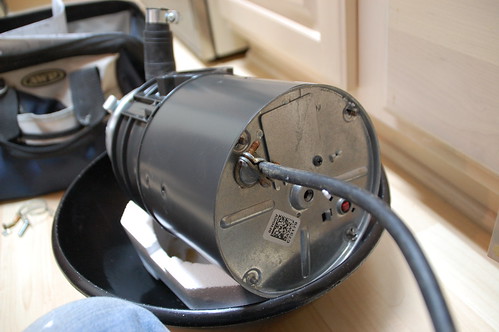
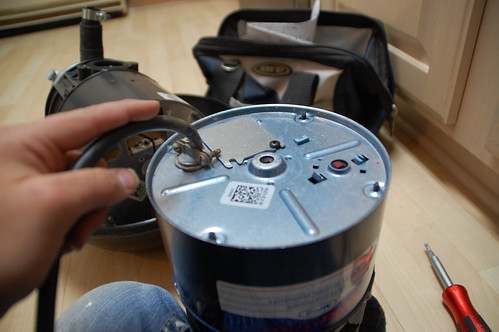
I started by checking out what I had, the existing disposal and the parts included with the new one:
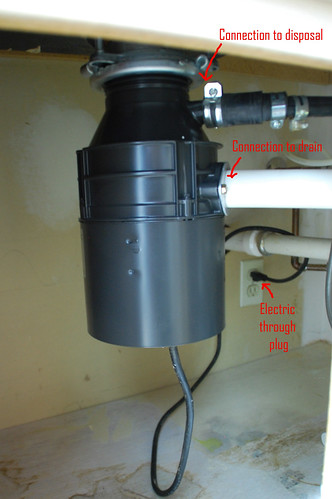
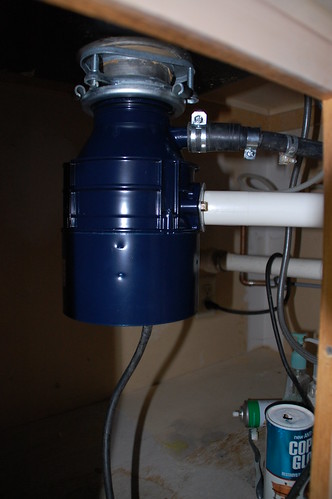
With the existing disposal I identified 4 connections. The disposal connected to a bracket under the drain, the dishwasher line connected to the disposal, the waste-water line connected to the disposal, and the electric supply connected via plug.

I checked with the friendly dude at Ondrus’ True Value to see if I would need any extra parts, but he said if there was an existing disposal in place, I should have everything I need.
The disposal unit, a drain with mounting bracket, the fittings for the waste water pipe, and a self-service wrenchette came in the box.
I noticed something suspicious right away… this unit did not come with a cord.
So, here’s something I learned about disposals; They can either be hardwired into an electrical box under the sink, or you can wire them to a cord and plug them in.
They sell kits for around $10 that include everything you need for plugging it in to an outlet, so if that’s the way you’re going to go and you don’t have an existing disposal, don’t forget this part.

I was convinced I was going to have to rig something up, and I when I asked if my mom had electric tape she handed me three different rolls of painters tape.
Side note: Don’t use painters tape in place of electrical tape unless you want your house to burn down.
Step 2: Removal
The old disposal comes out by unplugging the cord (first), and then loosening all of the fittings.

You might want to have a bowl or small bucket standing by for any liquid from the dishwasher hose or disposal unit. After several weeks of not working this one had finally caused a backup in the dishwasher so nothing had drained out of the hoses properly.
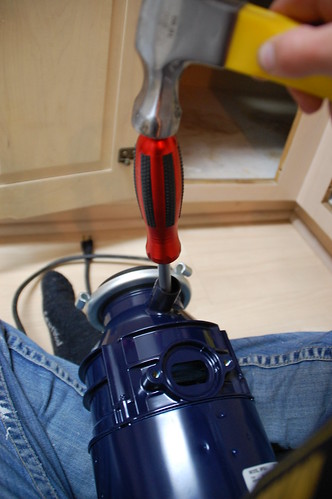
Once all of the connections were off I took a look at the bracket, my handy self-service wrenchette fit in the holes provided on the bottom piece of the bracket… it took some muscle, but by moving the bottom piece clockwise and supporting the bottom of the unit, it came off with a twist.
Step 3: Fun With Electricity
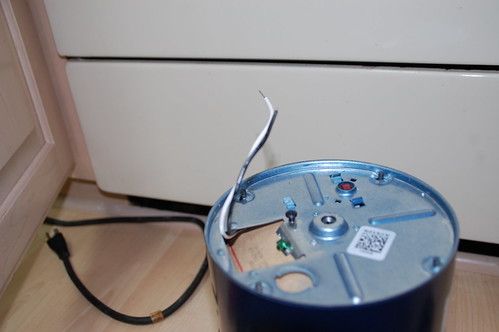
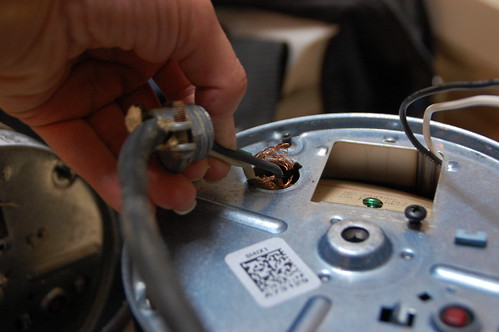
Closer inspection of the bottom of the unit showed the existing power cord to be in good shape.
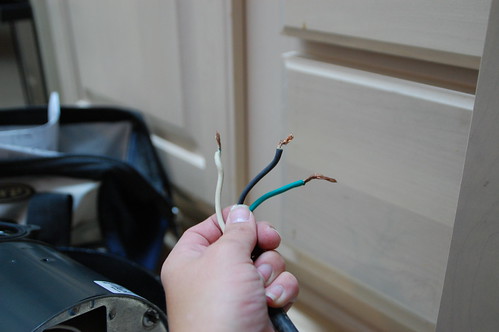
The wiring didn’t seem too difficult… white to white, black to black, green to ground.
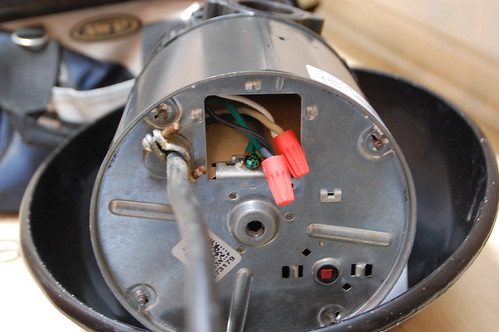
The cord was attached with a bracket that came off with a counterclockwise twist.
I threaded the wires through the bottom of the new disposal…
Twisted the right color wires together and finished them off with a cap…
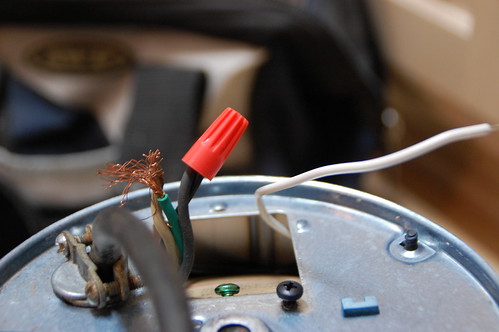
And shoved everything back inside the new unit.
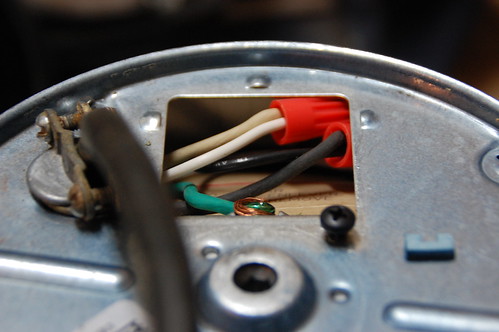
Not exactly rocket science.
I put the bottom plate back on, and made sure the clamp on the cord bracket was tight.
Step 4: Installing the New Unit
So, I did something completely out of character and actually read the instructions before I popped this baby back in, and its a good thing I did.
Disposals can work with or without a dishwasher. If you don’t have a dishwasher, at this stage the unit is ready to be installed. If you do have a dishwasher, you need knockout a plug where the hose gets connected. If you’re ultra cool like me, you’ll do this while sitting indian-style in your socks. Try not to be overwhelmed by my professionalism.
Before you start trying to reattach things under the sink, check to see if the new unit will hook into the existing under-drain bracket. In this case it did, but if it didn’t you’d need to unscrew the large nut under the drain, remove it, clean off any old plumbers putty, and then install the new one. If you want a step-by-step of installing a new drain, check out my post on faucet and drain installation.
Putting the new unit in is–gasp!– exactly the opposite of taking the old one out. Position the unit so the existing pipes/hoses will line up, and then use your self-service wrenchette to move the bottom piece of the mounting bracket counter-clockwise until tight.

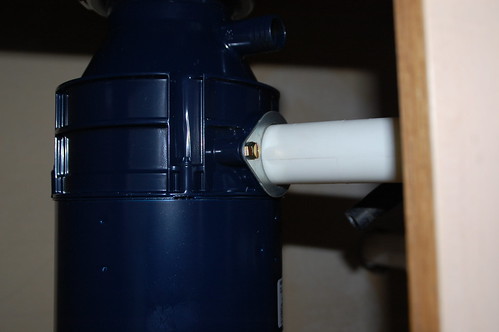
Then attach the waste pipe…
And the dishwasher hose (if applicable.)

Then… are you paying attention? Make sure your disposal switch is in the off position before you plug the new unit in, because, while it’s unlikely that having a disposal start up while your head is smashed against it under a sink cabinet will lead to decapitation, it may scare a couple of years off your life. Not that I would know from experience.
Also, if you’re not going the plug route and you’re hardwiring this puppy in, definitely make sure the switch is off before you go touching any wires. If it was me I would shut the whole thing off at the breaker and use a flashlight because I hate being electrocuted.
Step 5: The Sweet, Sweet Sound of Things Being Chopped To Bits
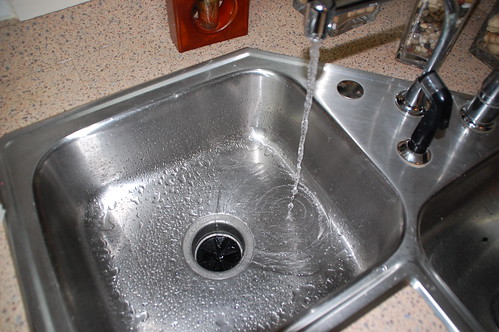
Have you ever heard anything better?
Before I took the time to kneel down and look under the sink, I would have thought installing or switching out a disposal would be much more complicated. In reality I’d say this was easier than installing a new faucet and required way less time upsidedown under a cabinet.
DIY Rescue Mission, COMPLETE!
A big thanks to True Value who helped me give a little something back to the woman who a.) birthed me, and b.) has been spending a lot of her free time helping us out with our house.

4 Responses
I’m impressed of the great work you did. Yep, our very own mothers need to be mothered at this stage. Thanks for sharing 🙂
Very well written. For those who have never written a How-To-Do-It, it doesn’t seem too difficult to do. Wrong. You can miss steps. You can make it too short, or too long, or too complex, or too simple. But yours are always right on the money. And a lot of fun to read!
When I replaced my last disposal, I hired someone to do it & they forgot to knock out the knockout plug. Yeah, it was a mess the first time I ran the dishwasher after the installation. Next time, I’ll try to do it myself, thanks to you.
Comments are closed.