Let’s just be clear here, I am not the pro. I am the tip-ee, as it were. When the guy who hung the drywall and taped the joints told me we’d need to put the last two coats of mud on the drywall and saw my eyes get as big around as dinner plates, he took pity on me and gave me a little joint-finishing tutorial.
This isn’t rocket science, but I’ll tell you that once I got the hang of this, these were by far the best joints I’ve ever done.
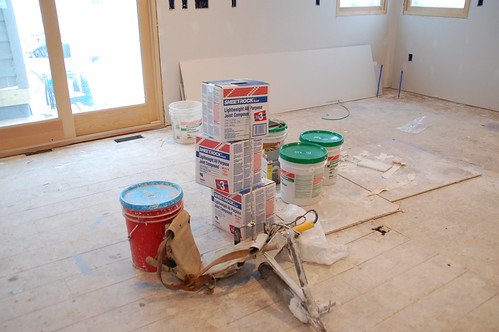
First things first… tools. MysteryMan hooked me up for Christmas, knowing there was a 2000 square foot house full of unfinished joints giving me the stink-eye.
Tip #1: Use The Right Tools
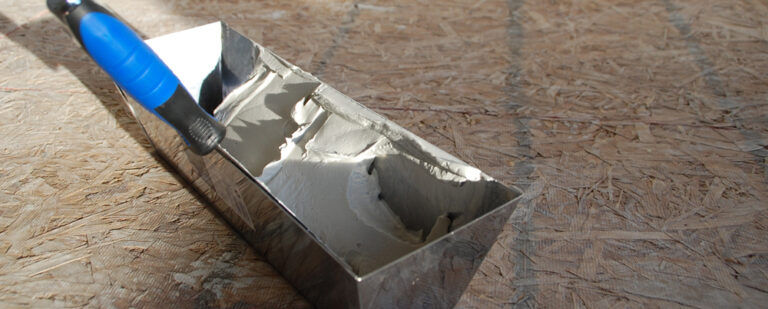
I’ve never owned a mud pan before, but this was invaluable for doing the screw holes and joints. I just wish they made a slightly smaller version (or one with a strap?) that fit my hand a bit better. My thumb still feels like its out of joint from 4 hours of finishing last weekend.

Also, you need a 10″ knife. This was apparently one of my fatal-flaws before… using a 6″ knife that I thought was easier to handle.
Tip #2: Mix Your Mud
I don’t know why I always think the directions on the box are bullshitting me when they say things like “mix the mud before use”. It’s like my subconscious thinks the bucket of joint compound is somehow trying to screw with the number of minutes it’s going to take me to complete this task or something.
When the drywall expert told me to do this, I also thought it was BS, but I was determined to be a good girl and follow the rules. (For once.)
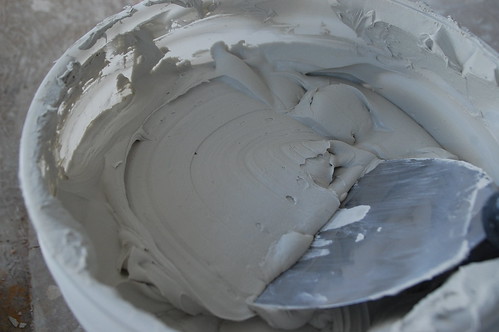
I didn’t use a drill mixer… just did it by hand for a while, but you can tell even from the pictures how the consistency becomes looser and easier to work with. There was no adding water or additives, just a lot of mixing.
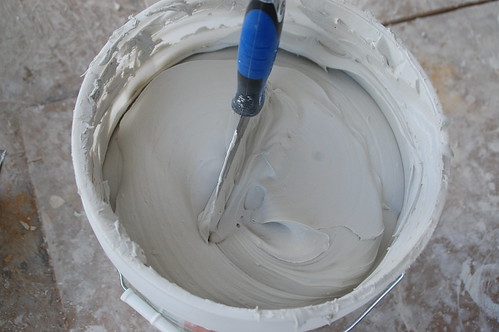
EDIT: After spending a weekend finishing joints with the professional, I learned that he preferred buying the joint compound in boxes (because it’s cheaper) and then mixing it in a 5 gallon bucket with one of those mixing augers and a little water (maybe a quart?)… his version was even easier to apply. The compound we used was a lightweight version.
Tip 3#: The Three Swipe Method
I’ve always been pretty conservative with how much mud I put on the seam, because like everyone else in the universe, I didn’t want to spend the rest of my life sanding it down.
Here’s the pre-taped seam (done by the pro with these fun gadgets):
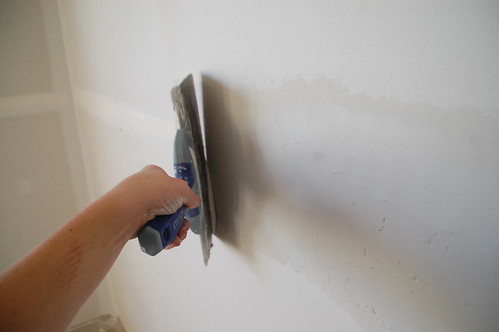
Here’s how much mud you should put on your seam (using the 10″ knife) to start with:
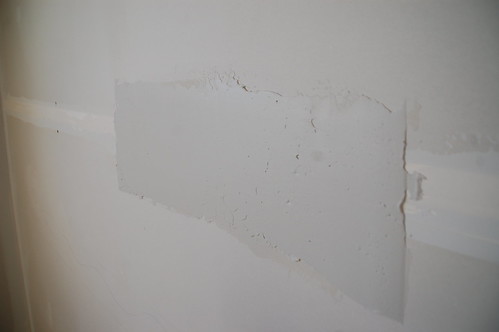
I know, you just fell over an died, right? Even seeing that much mud on a seam gives me sanding anxiety, however, the three swipe method is all about taking away the extra.
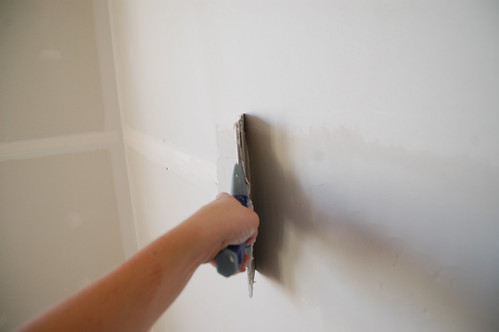
First, “feather” the top edge by holding just the top edge of the knife tight to the wall.
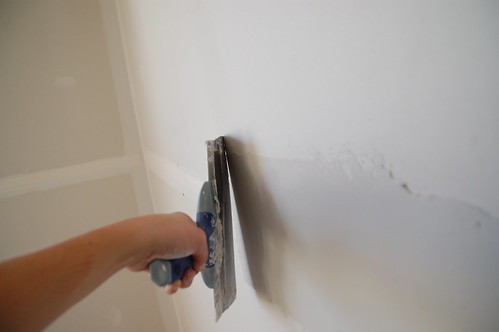
Then feather the bottom edge the same way.
(I was pushing a little hard towards the right side of that which is why you see the striations.)
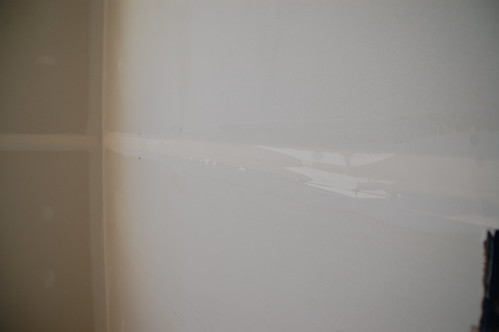
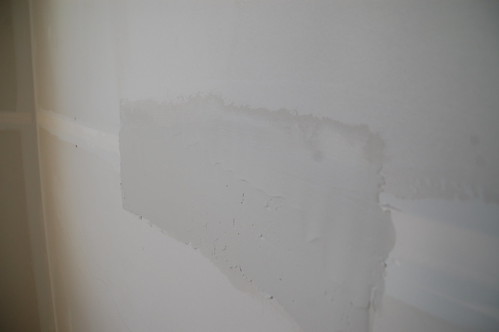
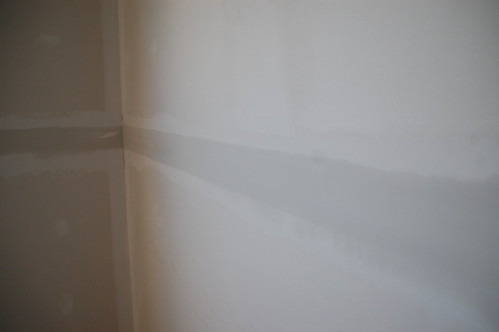
Finish it off by going over the whole joint with one smooth stroke.
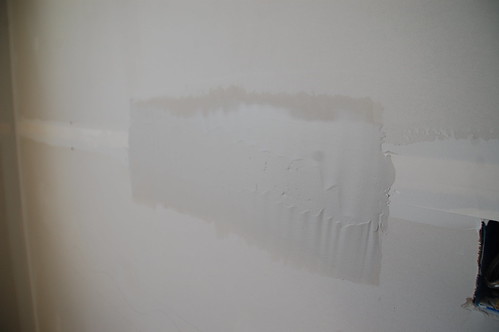
The seams should have a natural indent in them so there will be more mud in the middle of the seam than on the top or bottom. Also, don’t be afraid to go over it multiple times to make sure it’s smooth. I found it was best if I could do it the first time, but I could also touch it up okay if necessary.
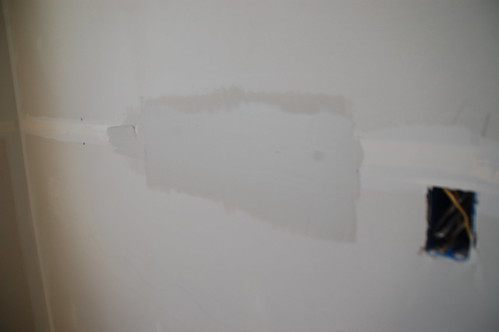
This was taken after it had dried for a bit, and you can see how thin the top and bottom should be.
I did start in a closet so I could get the hang of it, and I definitely got my rhythm down after a while. These pictures were actually taken in the master bedroom.
Another thing I found was that to get the mud to go on the wall easily, it helped if I picked it up and scraped it off the knife a few times using my pan. This was like another round of mixing and then it seemed to go on smoother.
I also made sure to wipe both sides of the knife on the pan after every swipe.
The hardest part I found was dealing with little drywall crusties that started to form as thin spots of mud dried in the pan that leave awesome swipe marks across your freshly smoothed joint. This was usually followed by an expletive on my part (feel free to use your imagination, I like to mix it up every once and while) and then MysteryMan rushing into the room to see if I cut my finger off with the drywall knife or something.
Also, inside corners? Not my fave.
Since I’ll be finishing most of the walls with a stucco/spanish knife texture, the one coat is probably good after its very lightly sanded.
If you were going for completely flat walls, you’d probably want to do another coat just to finish things off.
EDIT: A variation on the “three-swipe method is also great for finishing outside corners. All of your outside corners should have some kind of corner bead on them… I’ve used paper and plastic with mixed results, but our professional for this project used metal corners that are self-adhesive and also awesome. Very easy to use, very easy to finish. You put the mud on the same way (heavy), run the knife over the whole joint once to get rid of “fish eyes” (those little air bubbles) then feather the one edge, and finish with a final swipe down the entire joint.
Also, they make a tool that you fill with mud and will do this in one ridiculously clean and fast swipe. ( I snuck this picture of our drywall pro using it.)

If I ever have to do this again, I’m finding a place that will rent out drywall tools like that. You can’t beat it.
Tip #4: The Easiest Way To Keep It Clean – New
Because I am a person who has amassed crusty half-rusted drywall and putty knives like old ladies collect cats, this last thing I learned –while seemingly obvious– has eluded me for the last five years. Here it is, are you ready?
Keep a water bucket with a brush in it handy.
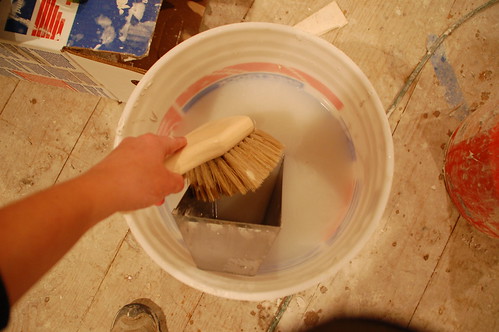
I know, you’re saying what I said when I saw it, which was, “Well, duh.”
Except, like me, I bet you’ve spent a lot of time either drying to dry-scape the joint compound off the knife or clean it under running water in a utility sink. Neither of which are nearly as effective as dunking the stuff and scrubbing it with a big brush. I can’t even tell you.
My Drywall Expert Is Awesome
Apparently he’s been dropping by the house for the last couple of weeks (since they finished their part) to see how we were coming along (without us knowing it). Well, I had to take a little time to get myself geared up for this project, and also to decide if we could squeeze the money out of somewhere to have him finish the ceilings for us (where any of my flaws would be extra apparent). I think he started worrying about my lack of progress and us young kids (his words) trying to do all this work on our own, so he offered to help me finish all the walls and ceilings for just the price of the ceilings. Also, I think I’m going to be able to talk him into letting me try out his big-kid tools this weekend. (Yessssss.)
I am so grateful that we have met a few professionals that are willing to teach us (okay me) the tricks of the trade.
Word on the street is that the walls will be ready for me to texture by next weekend, putting me for once in this project, ahead of schedule. (Don’t worry, MysteryMan already filled that time slot with finishing planing down, roughing up, and staining the porch posts, so that we can get those on in the next several weeks.)

60 Responses
Would you be interested in advertising that charges less than $39 per month and delivers hundreds of people who are ready to buy directly to your website? Reply to: mia4675whi@gmail.com to get more info.
Did you know that messages that come through on your website contact form can actually be an effective method to get more visitors and sales for your business? How do we do this? Easy peasy, we put together an ad text like this one for your site and we submit it to millions contact pages on any website and in any business category or area you need. Does this work? Since you’ve ready my entire message then you’re proof that they do! What’s more, you can do this for less than $25 a week! Want to get more info? shoot us a quick email to: ErnestLilliana57358@gmail.com
Comments are closed.