Last year I used the word “manageable” to describe spring on the farm, and, I mean… that’s hilarious.
I didn’t know that was even an adjective that existed in my vocabulary related to spring on the farm.
But, to be fair, I was training for a few big adventures last spring/summer– and just started a brand new job– and I’m pretty sure I hadn’t slept in months. So I just did not engage in the farm last spring. No big upgrades. No major improvements. And–dear god–no new animals.
Which, if you do the math right, means that this spring I am obviously going to stress double about everything, because I have been storing that shit up in my heart FOR A YEAR.
Truth.
But the good news is I build a lot of shit when I’m under double the stress, and the last few weeks have been no exception.
Here’s what’s been going on in the garden…
First, I don’t think I’ve personally managed to collect more than a handful of strawberries from my 30+ plants over the last couple of years, and I assume that’s because they are delicious and everything else on the farm thinks so too and eats them before I get a chance.
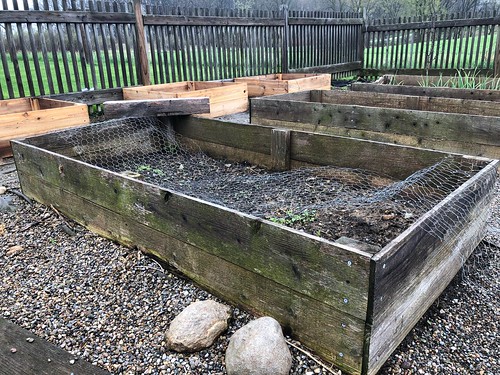
I’ve been half-ass stretching some chicken wire over the beds where the strawberries are, but that wasn’t doing the trick, and also looked like a mess. The good news is that I hoard both power tools and wood in my barn, which means when a brilliant idea strikes I can walk right outside and build it.
Which is exactly what I did…
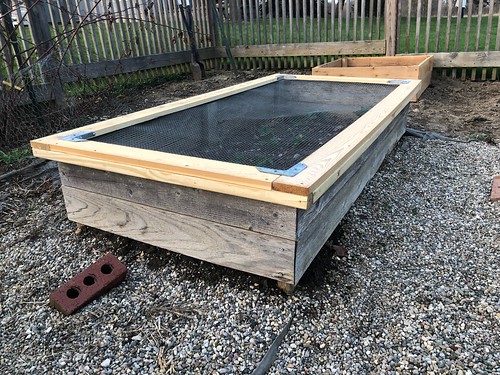
This is basically some 2×2’s, 1×4 cedar, and 1/2″ hardware cloth cut to fit over the top of my raised beds.
This was not a complicated build. I cut the 2×2’s to size, then put one trim screw through the corners to hold it together.
Then stretched hardware cloth over the top and stapled it down while trying not to bleed to death from the one-thousand tiny cuts I always sustain when working with this stuff.
Then I cut the 1×4 to size, screwed it down to the 2×2’s with more trim screws, and used a couple of strong-tie brackets made for 1x’s on the inside corners for support.
(To be fair, when I said “this is not a complicated build” that does not mean that I didn’t cut half the boards wrong at least twice for the first one I put together, which obviously resulted in disassembling the whole thing and using all of the swear words. But in theory it was an easy build.)
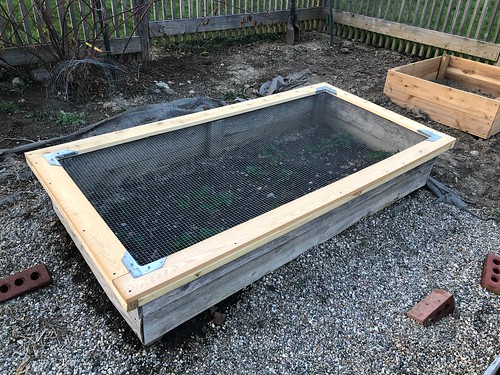
And then I had this:
Which is is better in both form and function than this…
Definite upgrade. I made two of these covers (one for each strawberry bed) that will stay on all growing season, and we’ll see how the strawberry harvest fares this year.
Also, while I was at it, I made a couple of other raised garden bed accessories…
Back when my greenhouse blew over, my mom had the brilliant idea to use the panels of the deconstructed greenhouse as makeshift “cold frames” on a few of the garden beds, and it actually worked really well. Which got me thinking that having some cold-frame lids for a few of these beds isn’t a bad idea at all to help with early planting and extending the growing season.
So I built some.
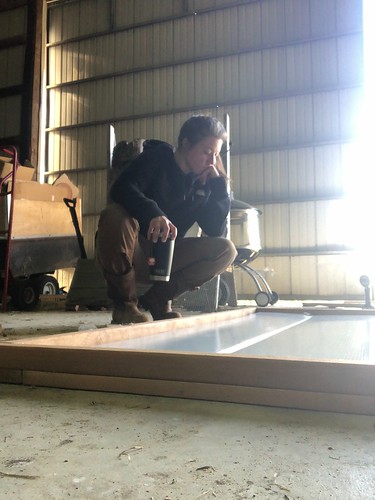
Well, okay technically I started building some late on a Friday night, and then when I woke up Saturday morning spent a fair amount of time wondering why the hell I cut everything the way I did the night before…
Story of my life.
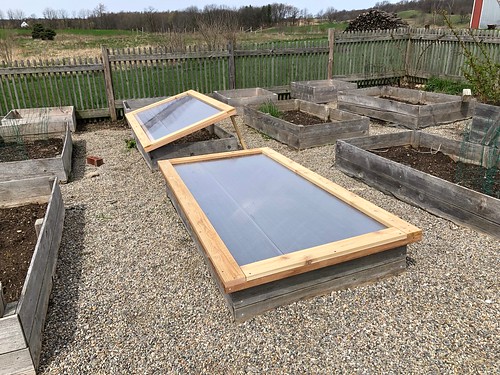
Here’s what I ended up doing. Same basic structure as the other lid with a 2×2 frame topped with 1×4’s.
However on these lids, instead of hardware cloth, I used some twinwall polycarbonate panels (from Greenhouse Megastore) which is basically the same material my greenhouse is built from.
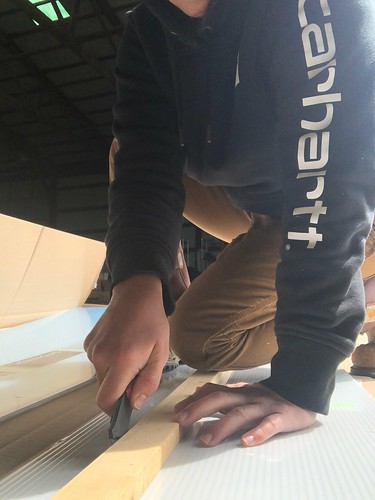
I bought panels in their “easy to ship” sizes, which worked out okay. I basically used one and a half panels per “lid”, and the polycarbonate was easy to cut with a sharp utility knife (you have to cut it on both sides.)
I attached the panels to the inside of the frame with 1″ screws for a metal roof (the kind that have a rubber washer on them.)
Here’s the result…
I’m sorting how the best way to vent these, because I’m afraid they fit the raised beds so well that they’ll create an oven in those boxes on sunny days in early spring. Currently working on some hinged “legs” that will allow a bit of air-flow in the beds if needed. We’ll see how it pans out.
AND, while I was at it, I knocked together this delightful little project as well…
Back when I had the fence put in around the garden beds–in 2014–my mom swiped a couple of scrap 4×4’s from the fence posts, and for FIVE WHOLE YEARS we have used them as portable “seats” to put on the corner of the garden beds wherever we’re working.
Looks comfy, right?
But, as I was sitting out in the garden pondering the mysteries of venting those cold frames, I had an idea…
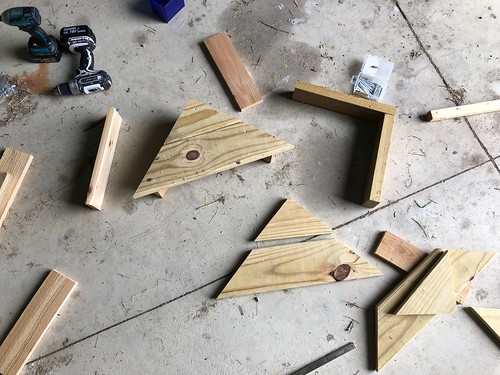
An idea that required about an hour of time and some scrap wood.
Before I took them out to the garden I made my mom guess what they were, and her exact response was, “A bird house? Oh wait no… ARE THOSE SEATS?!”
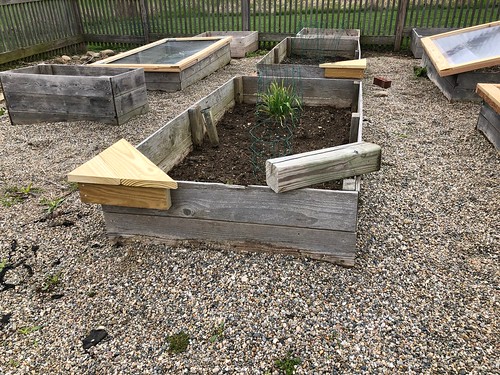
Yes. Yes they are. Portable seats, actually, that will slip on to the corner of any of the garden beds.
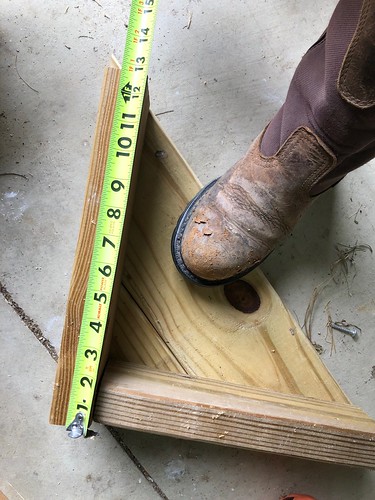
I used one 8′ deck board and whatever scrap 2×4’s I had around to make 4 of these. Here’s how the dimensions turned out…
Can’t believe it took me five years to think of this.
Also, I’m not just building things in the garden, I’m actually growing things too. So far:
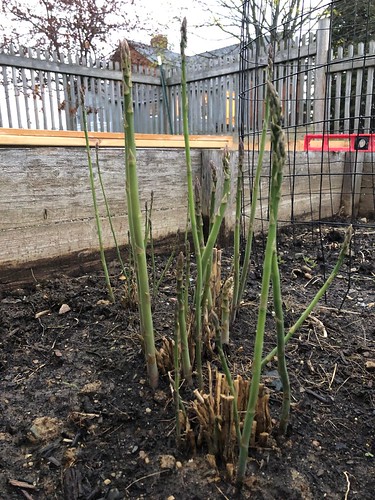
Asparagus (finally, year 3!)
Potatoes are in the ground…
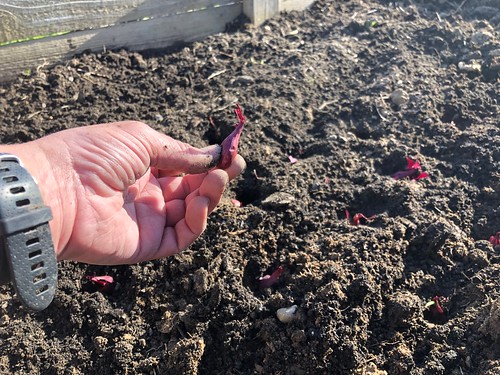
And I have a bed full of onions.
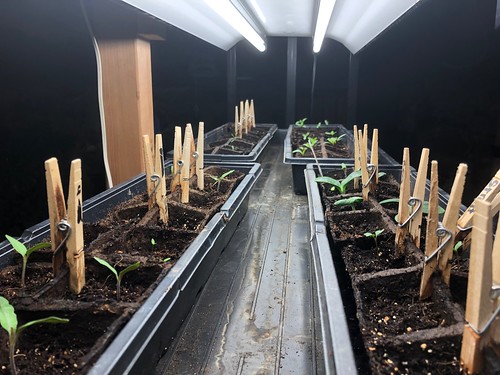
The rest of the plants are still growing in my mom’s basement for the time being, but we’ll be transplanting them out to the garden over the next couple of weeks. (5/15 is our last frost date up here in Zone 5.)
And if all of that wasn’t exciting enough, I’ll be back with another garden update soon, because this is happening… again. Finally.










7 Responses
This might be a bit of overkill, but there are automatic openers, that you can choose based on the temperature you would like to keep in a greenhouse/raised bed. Might help automate things?
https://www.amazon.com/Wiwir-Sensitive-Automatic-Greenhouse-Greenhouses/dp/B071VYQ91P
And by “overkill” do you mean “perfect?!”
Definitely a good idea! (These are actually the same type of openers my actual greenhouses uses and they work great.)
Always enjoy your posts Kit. Am amazed at all you do.
Those seats are epic. Can’t wait to see more.
You amaze me ….always.
Hey ~ you may have to go to Shark Tank with those seats. Pretty Kewel!! 🙂
The seats are awesome! I build way less stuff than you do so it is comforting to know that even someone with tons of building experience like you cuts things the wrong sometimes! It sucks and makes me want to tear my hair out every time!
Comments are closed.