If you consider that I only have one window out of fourteen trimmed, my prospects of ever not living in a garage begin to look rather bleak. So this post is a little diversionary tactic I like to call “Hey! Look what I did!” instead of the less enthusiastic “Dear god, the neighbors are going to be seeing me in various states of undress for the next year since I will never get trim on all of these windows.”
Hey! Look what I did!

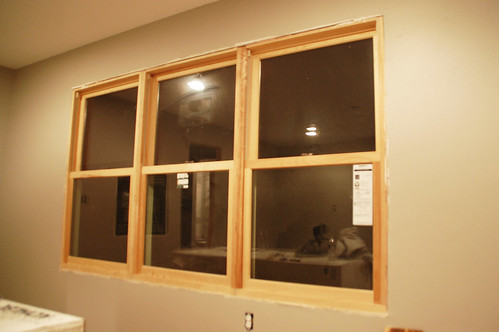
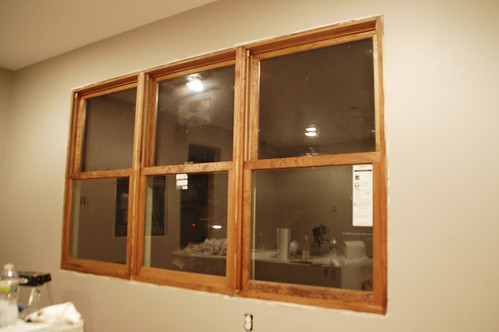
You may have seen this window in the latest DIY house addition update, or a few weeks ago when I posted a link to the How-To article over on Curbly.
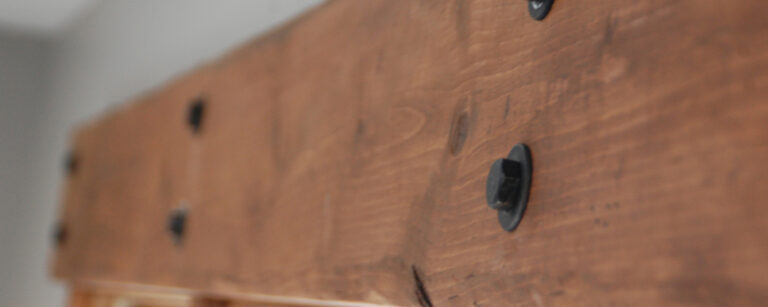
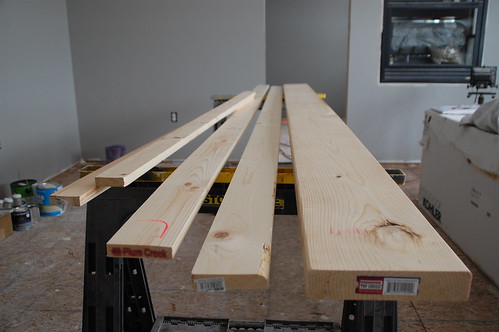
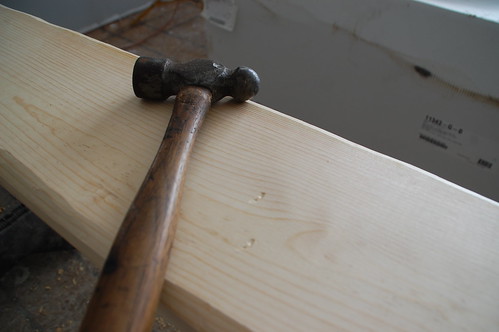
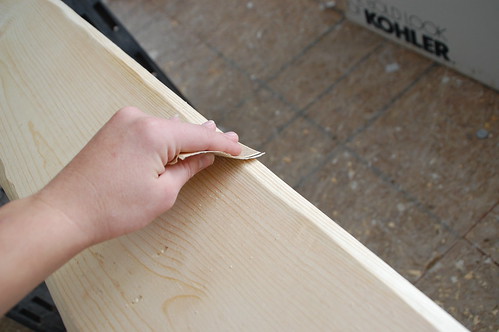
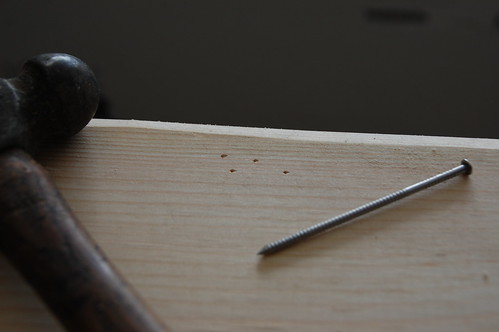
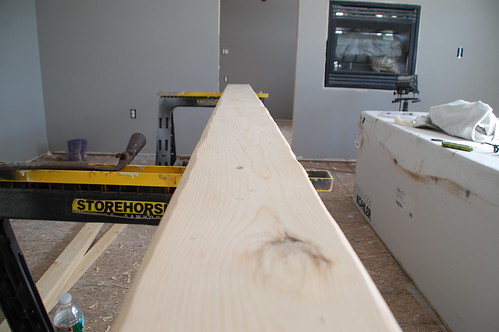
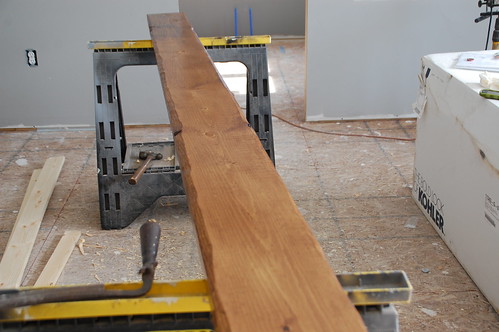
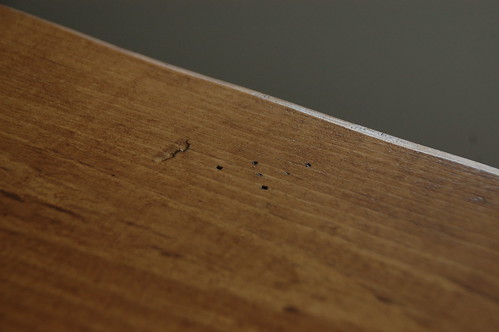
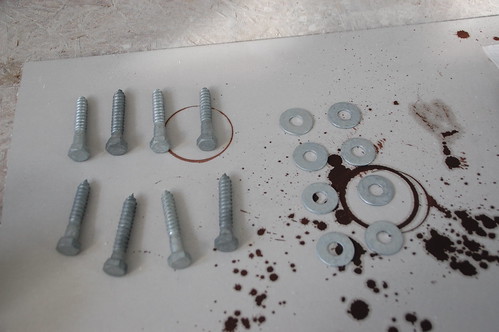
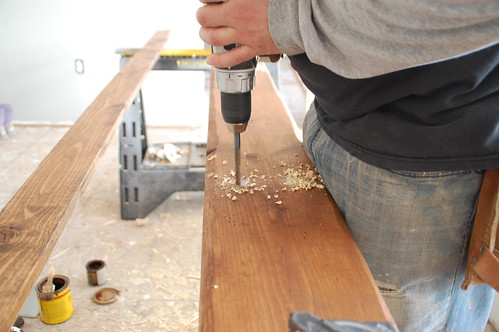
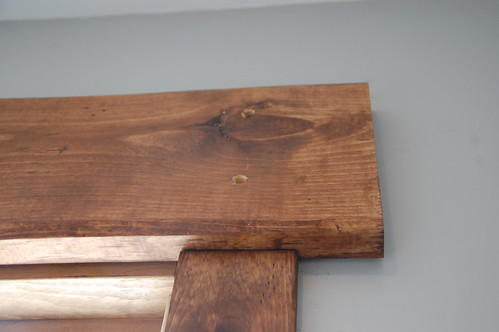
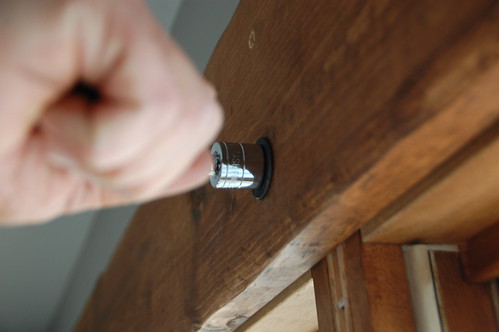
If you want the nitty-gritty head over there, but for those of you who don’t want to strain your index fingers with that extra click, here is a visual explanation for how to create this rustic trim and header.
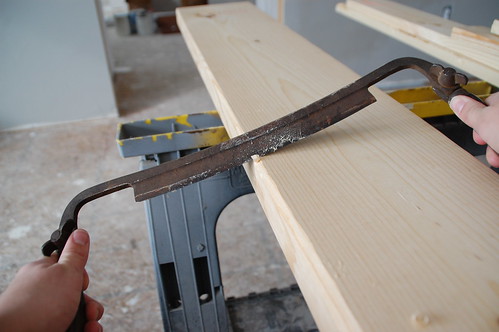
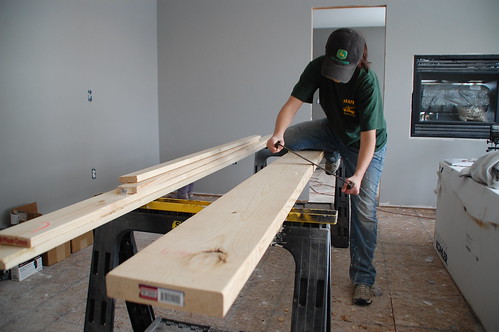
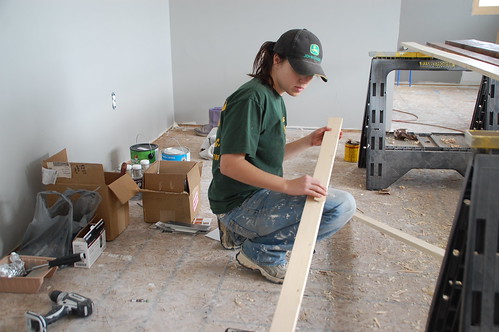
See? Words are totally overrated. Also, I installed almost 500 four-inch tiles this weekend which basically killed off whatever brain function I usually have to but coherent sentences together. Weak, but true.

4 Responses
Thanks. Very nicely done.
Good post. I learn something more challenging on different blogs everyday. It would always be stimulating to learn content material from other writers and practice somewhat something from their store. I’d favor to use some with the content material on my blog whether you don’t mind. Natually I’ll offer you a link in your web blog. Thanks for sharing.
I would love to know how they attached the side and bottom sections. I don’t see any bolts, and wondered if you used finish nails and covered them with wood filler. If not, how did you attach the rest of the window casing to keep it looking “rustic”?
Great job! I especially like the edge work with the drawknife.
I might have dinged the wood more. A short length of chain flailed along the face does an impressive amount of superficial “damage” quickly.
Comments are closed.