
Well, That’s Different
After a number of years with just exposed OSB subfloor (and a couple of rugs) as the flooring in my kitchen… It now has (part of) a floor. Do not be fooled by that picture. It is still mostly this… I have
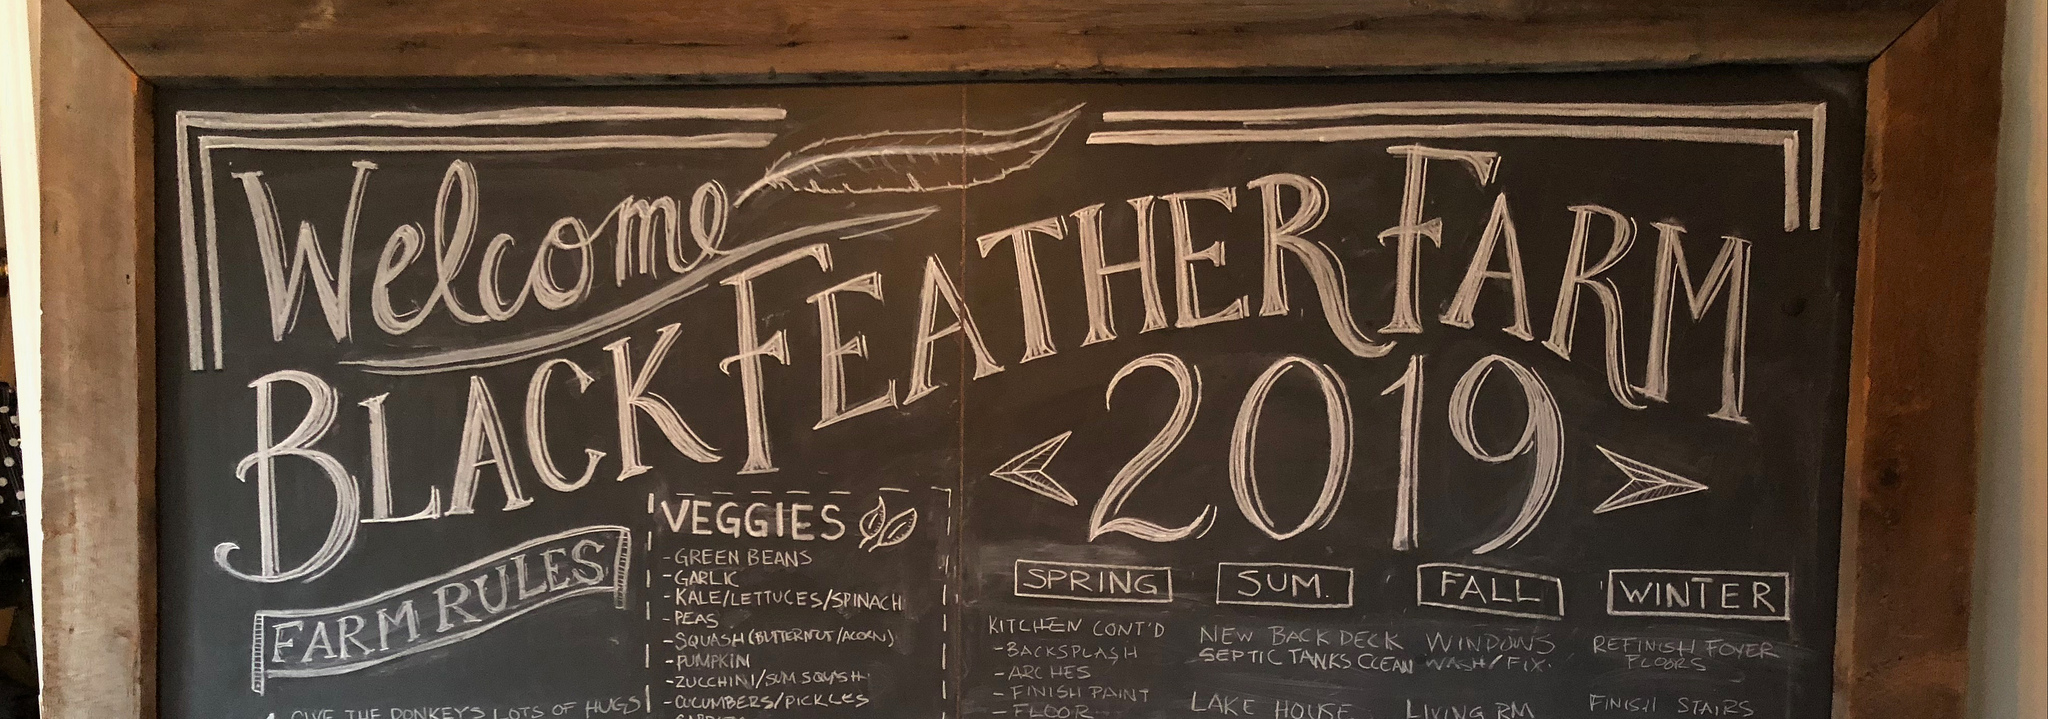
The Big List: 2019
2018 was a weird year for a lot of reasons, one of which was THERE WAS NO LIST. … I know, right? This farm has basically operated on a big list written on a big chalkboard for the last, oh, five years.
2018: The Year of Getting Stronger
Here’s the thing. While I like being strong, I don’t think I’ve ever walked into a day (or month, or year) and said, “You know what? I’d like this year to make me a stronger person.” Better? Yes. Better is easy. Better
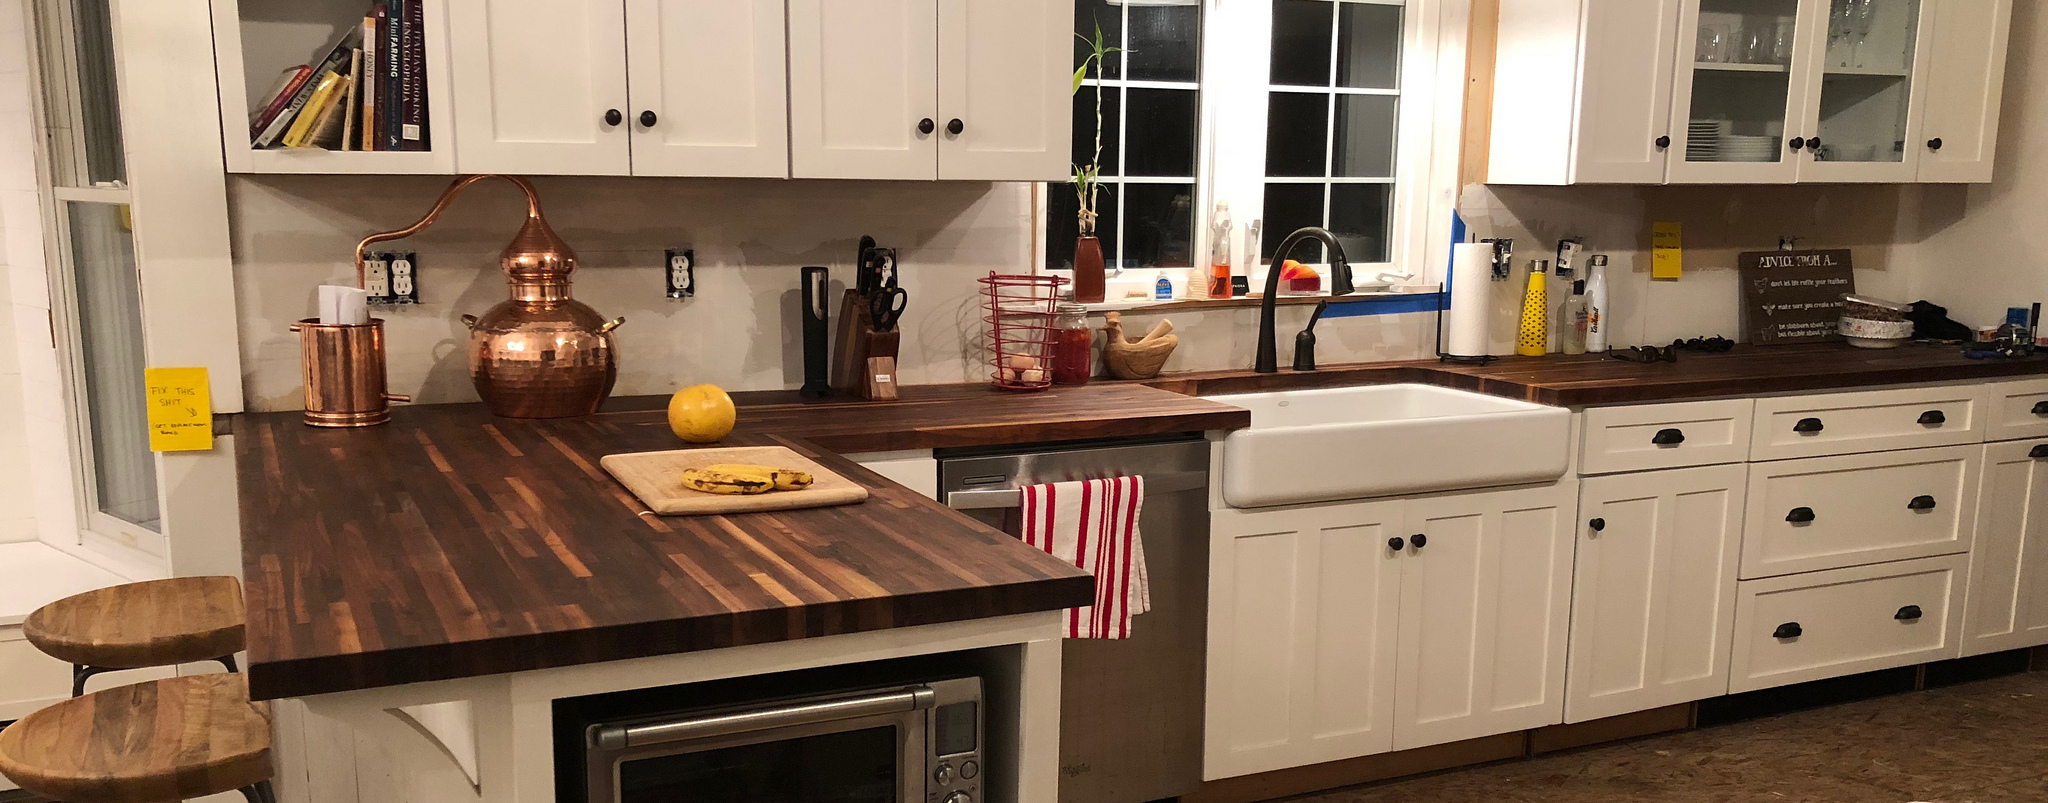
Wherein I Built Some Motherf*cking Cabinets
The only appropriate way to follow that title is this: Hell. Yes. The last weeks of 2018 were nothing short of a gift. An incredible time when I had the time, the energy, and all the materials to spend all my evenings out
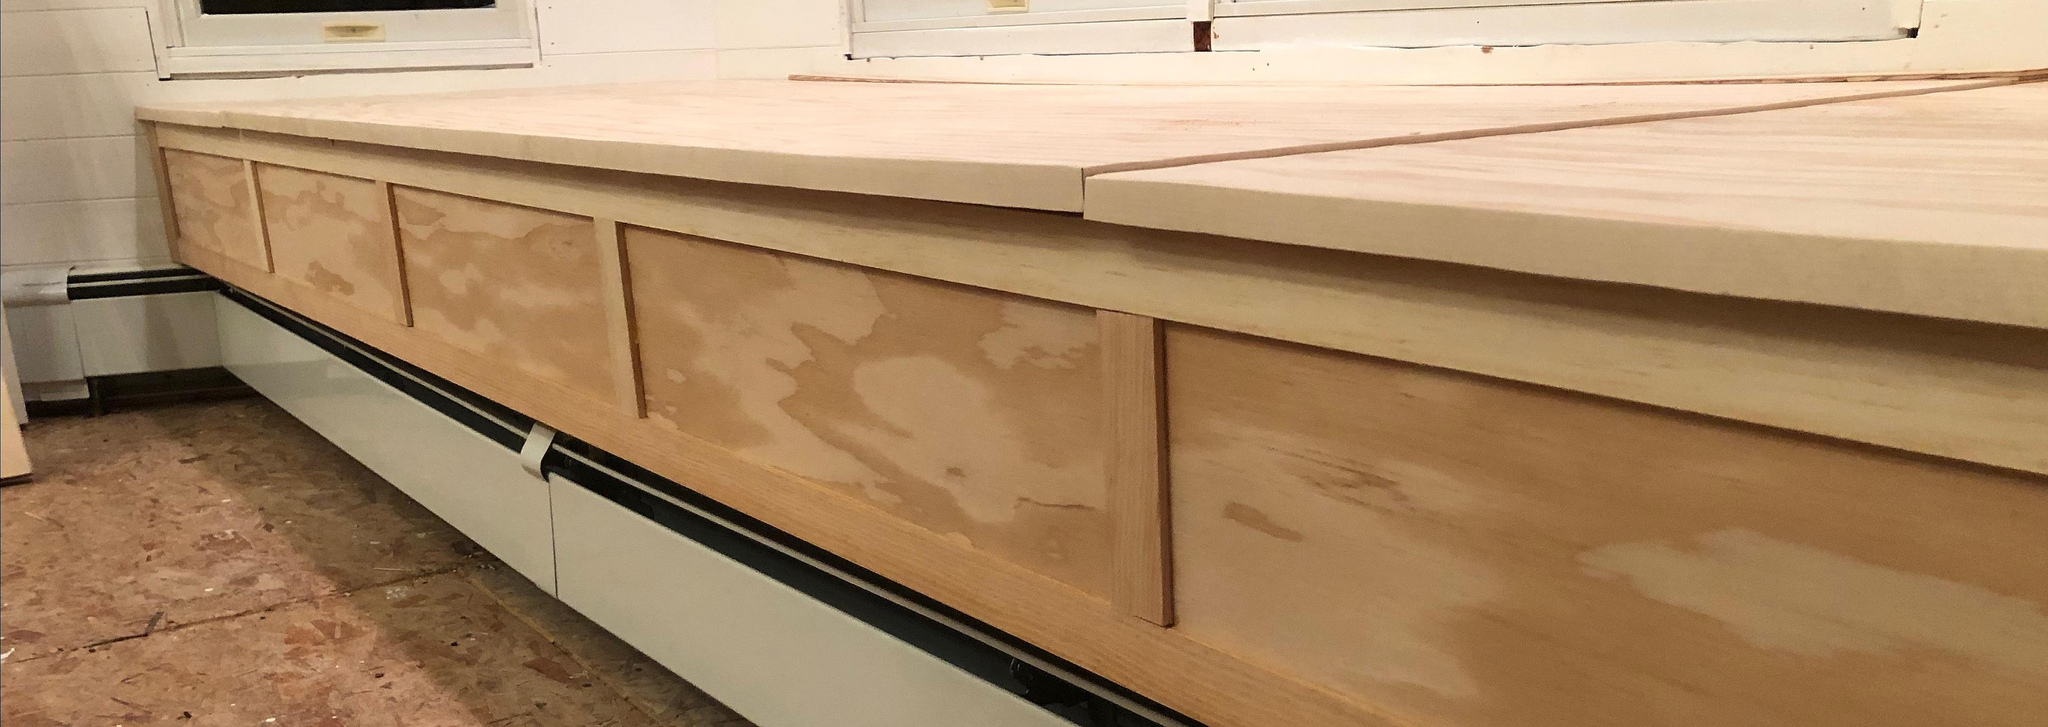
The Good, The Hard, and The Half-Finished Window Seat
Okay, listen, to be fair, it’s a mostly finished window seat. And at this exact moment in time–the moment where I’m on a roll building assorted cabinetry, and my mom and I are having a blast working between our two houses on

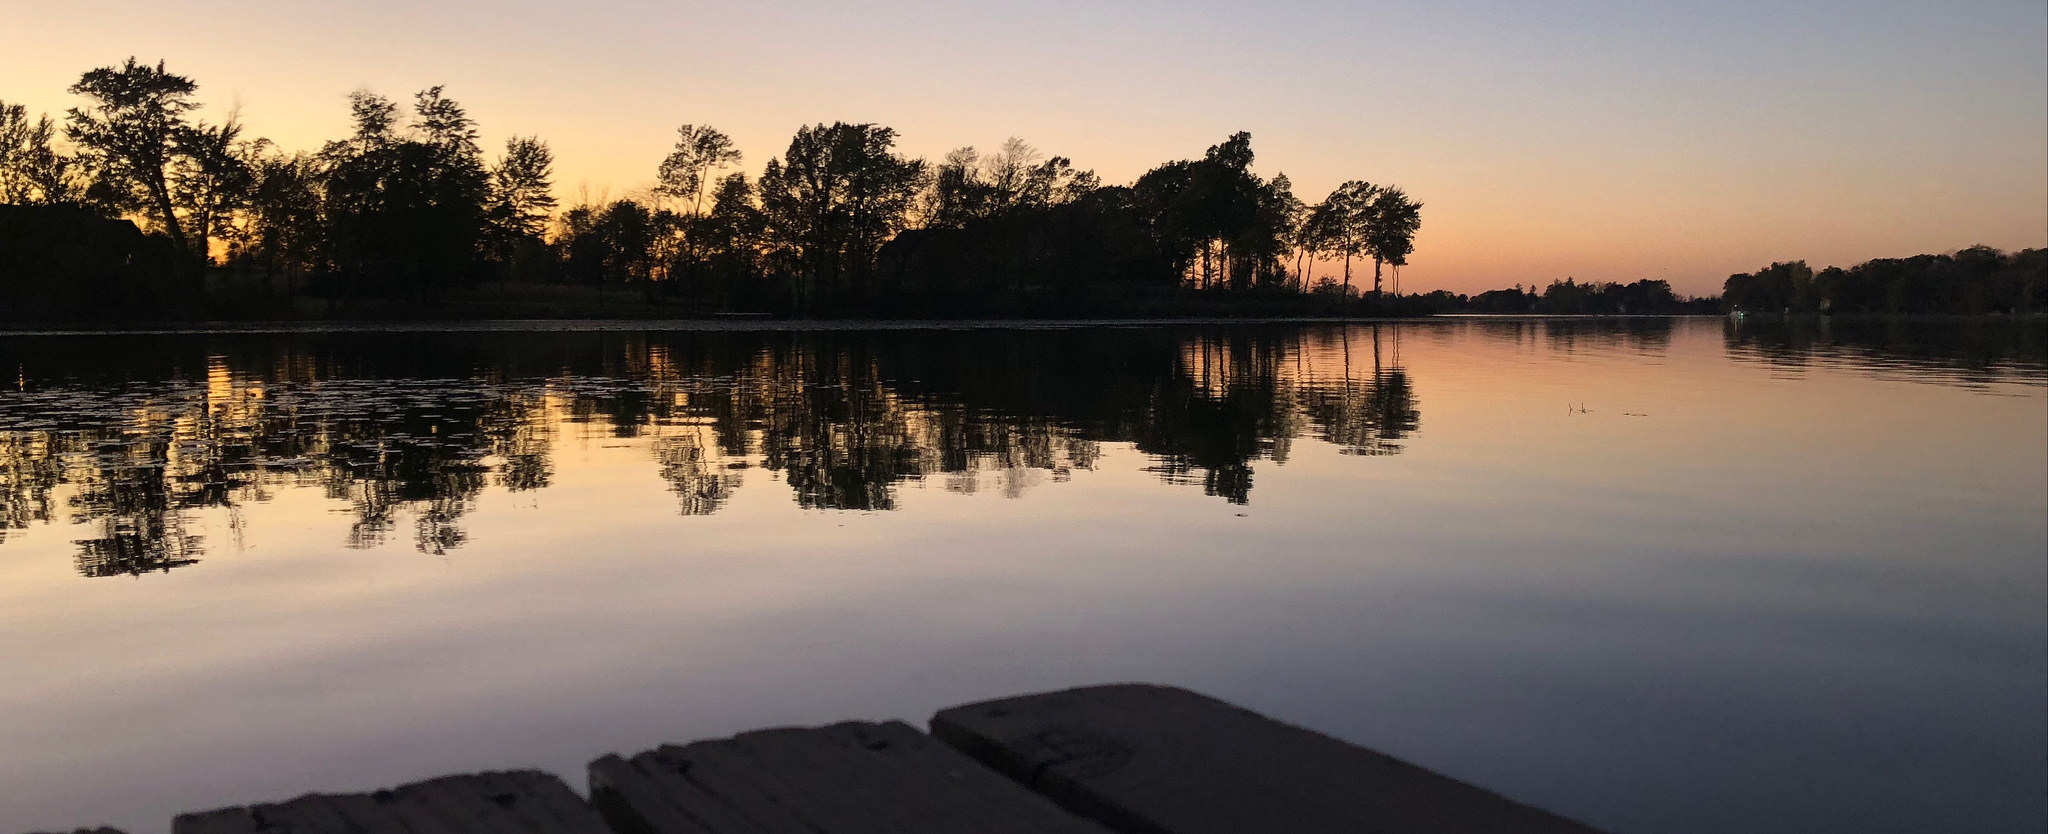
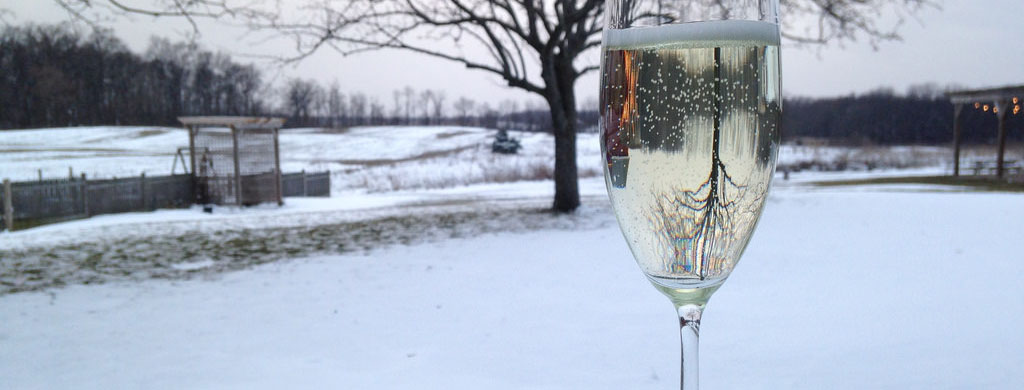
Lake House: Living Room and Other Fun
It turns out there are good and bad things about the Lake House in November. The bad thing is that it legitimately is too cold to spend all of the daylight hours out on the kayaks. The good news is, since I’m
Lake Life and Learning Curves
The last few weeks have been a whirlwind of big changes, new projects, a very cold learning curve, oh, and snow… Because why not, Michigan. So, here’s the deal. My mom and I took possession of the lake house a little less
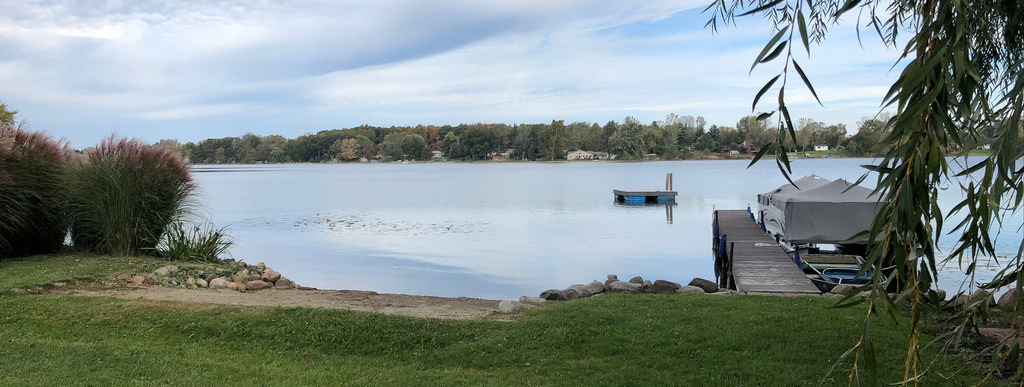
The Lake House: A Tour
In the middle of prepping the farm for winter, traveling for work, stocking up on hay, traveling for fun, and a few unexpected life events (because why not, life?) this happened… My mom and I took possession of The Lake House! (Like, my
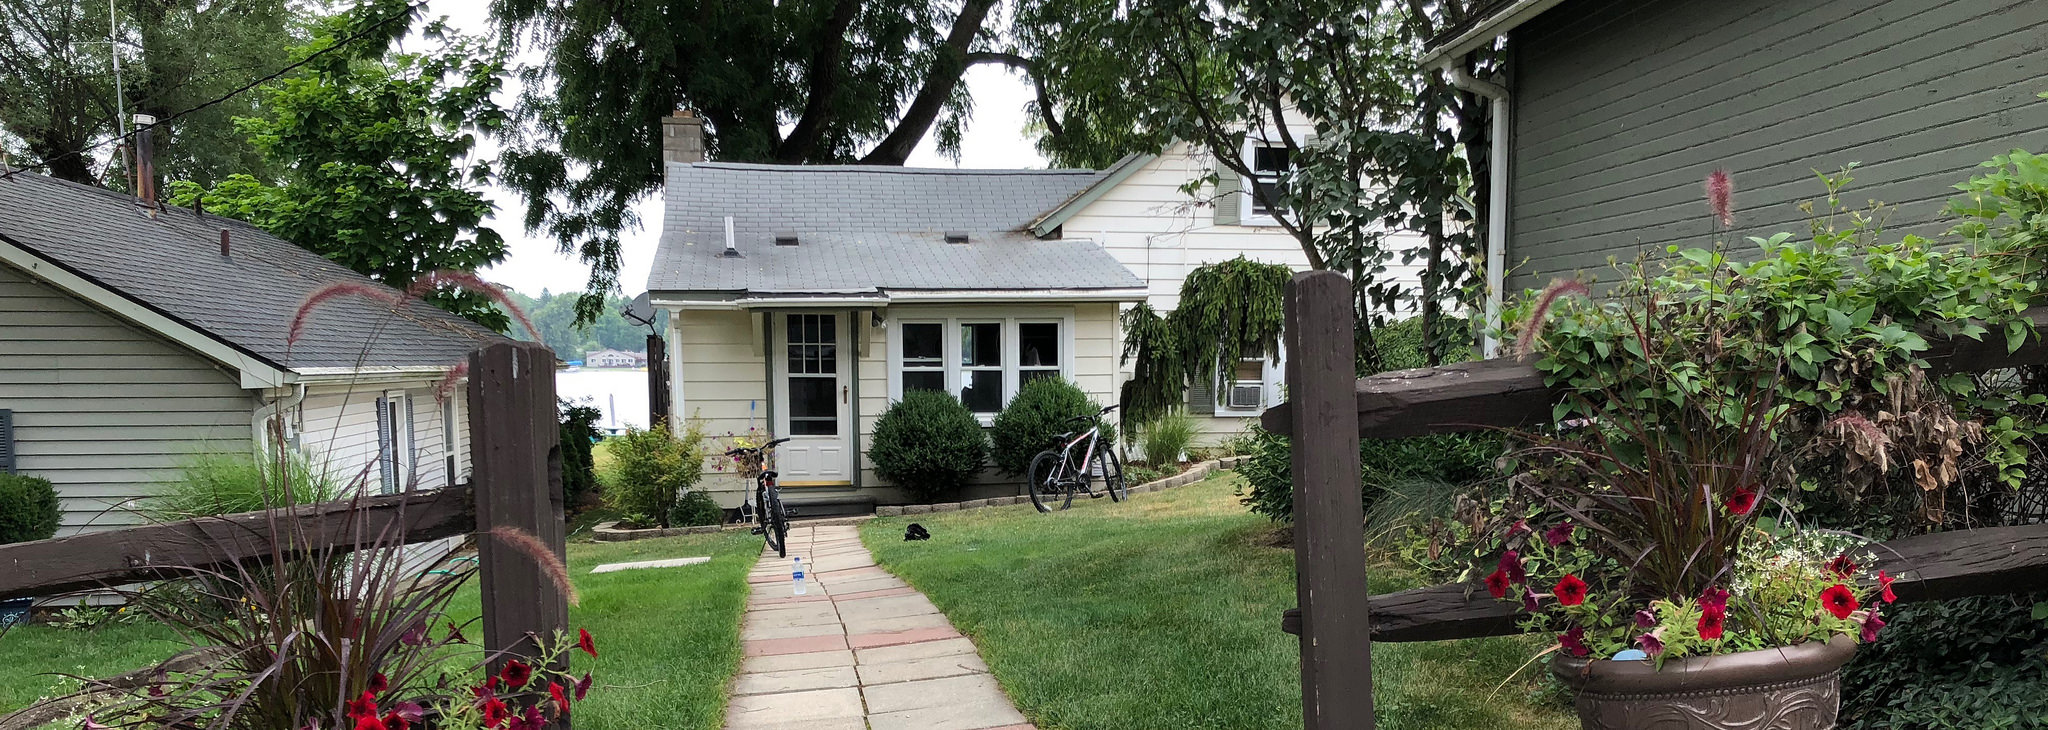
Unexpected Adventure: The Lake House Edition
The last seven years of my life have been punctuated with unexpected adventures. The farm The donkeys! Almost buying a ton of farmland and then not buying and ton of farmland and being a little devastated about it! Then, being glad I didn’t
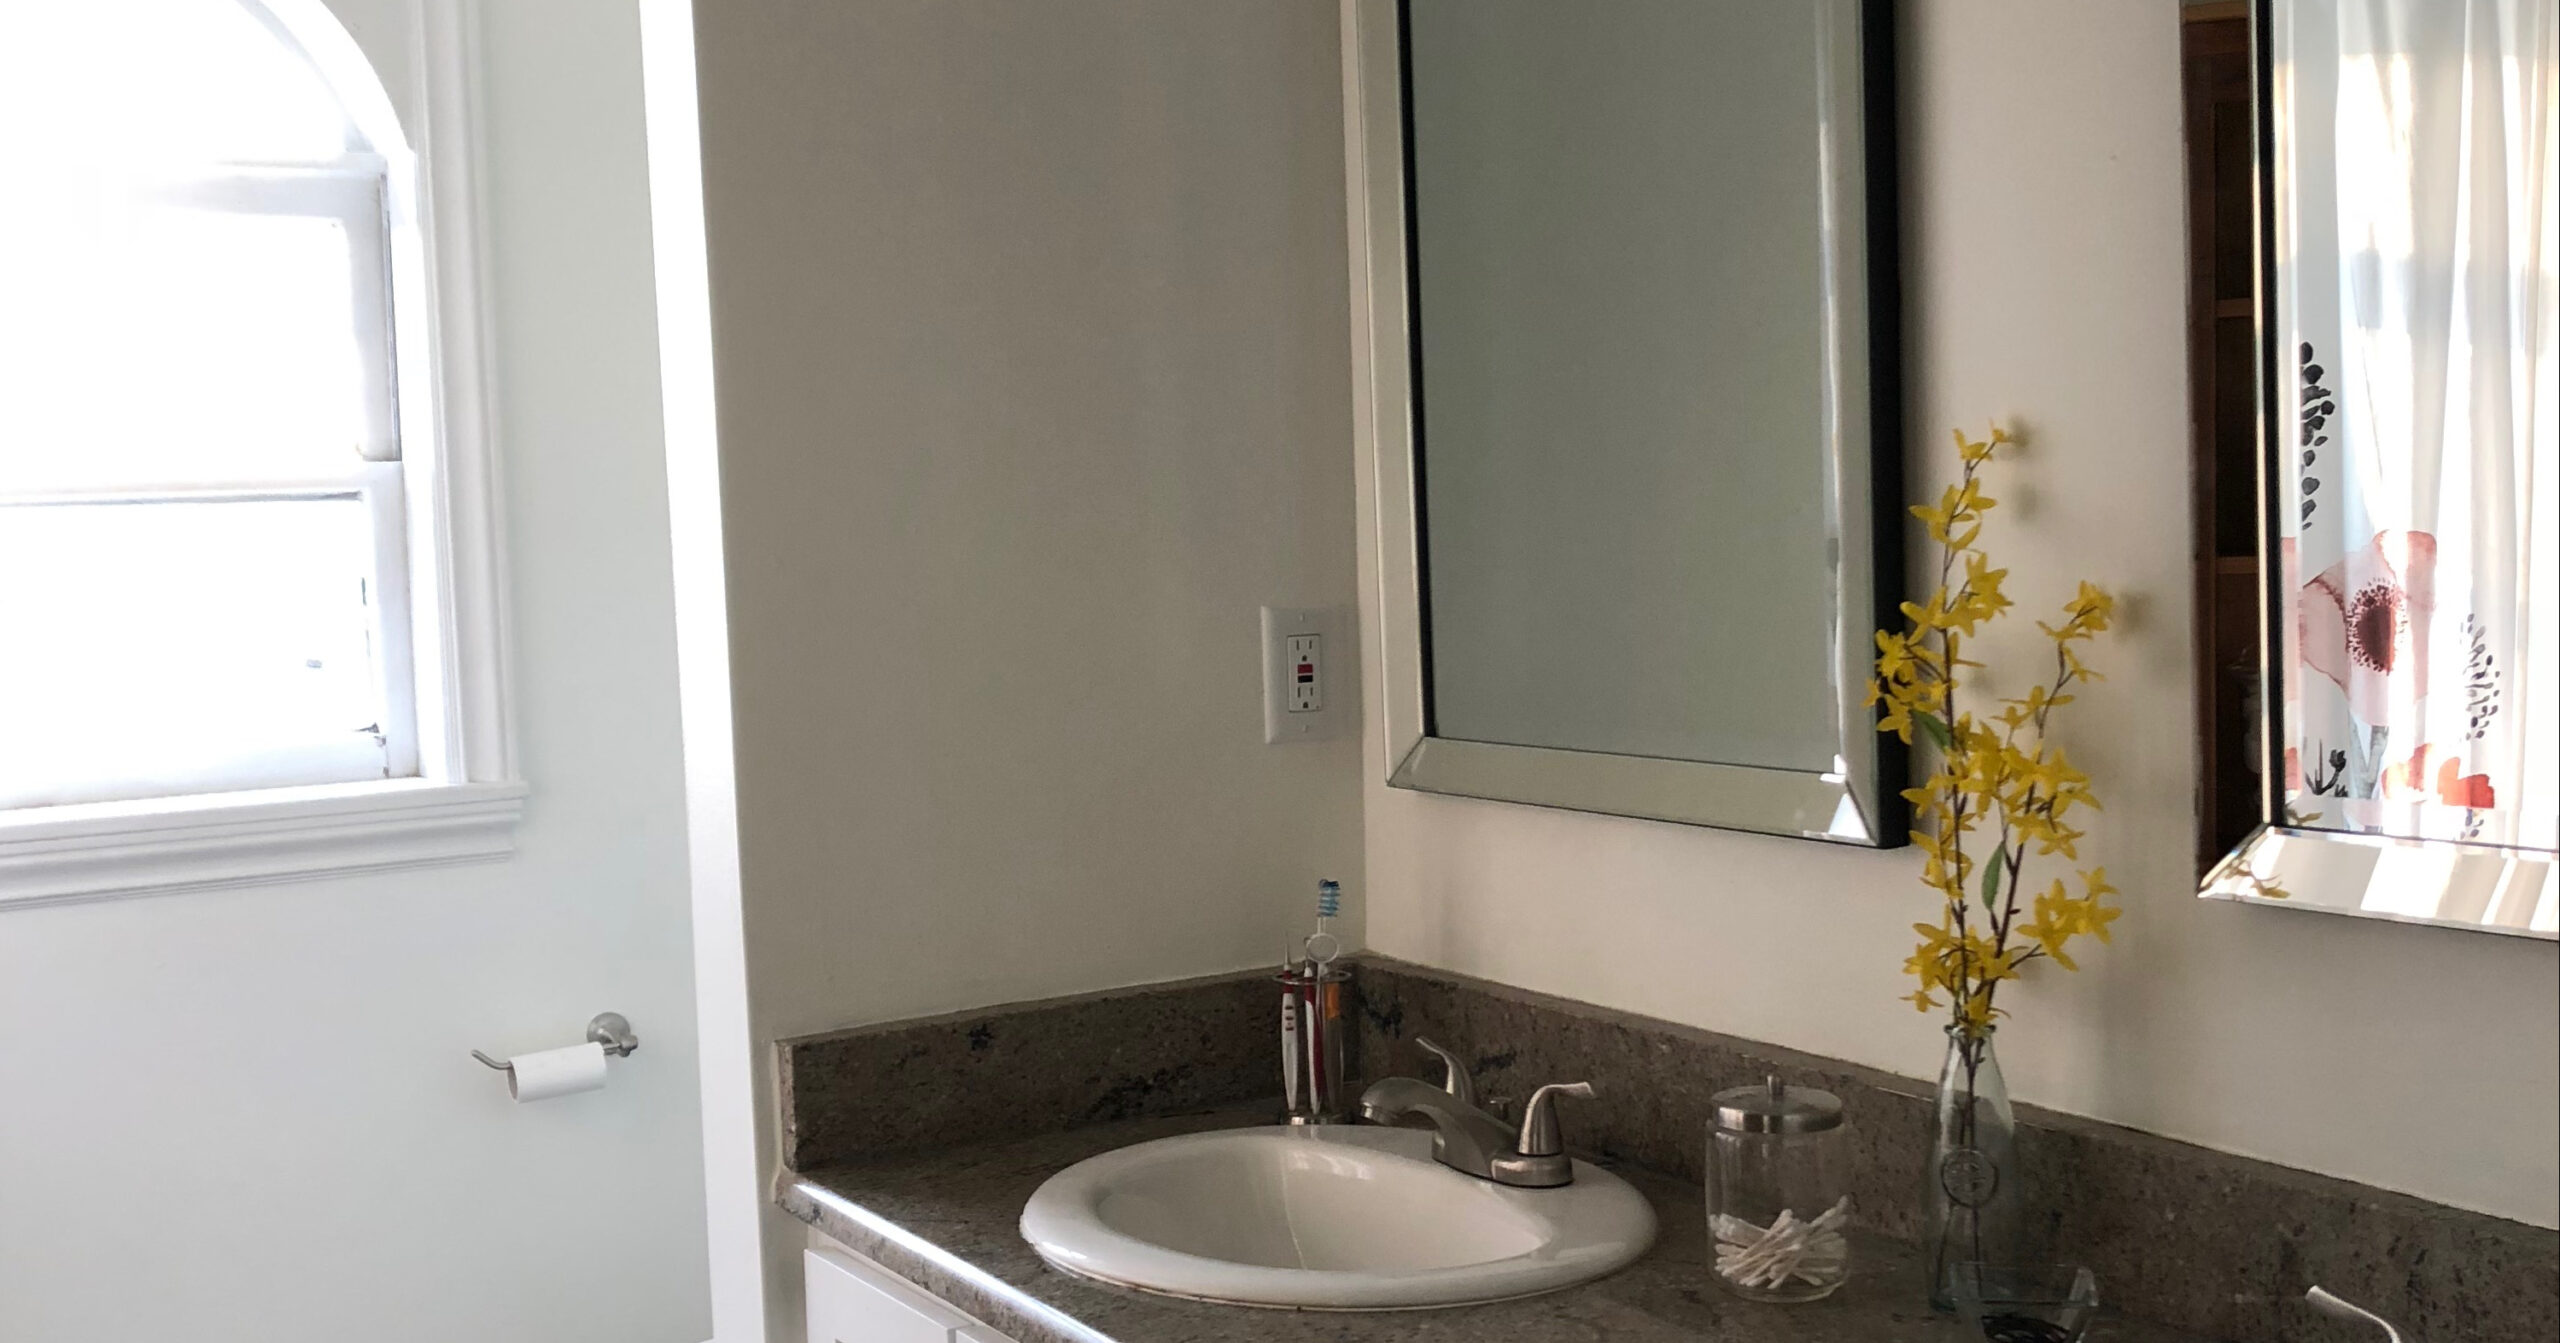
Upstairs Bathroom: Mirror Adventures
Oh, hey, look what we’re talking about again… the second longest running bathroom remodel in the history of houses I’ve owned. (Technically there was a bathroom in my first house that didn’t have trim around the door for four whole years, so
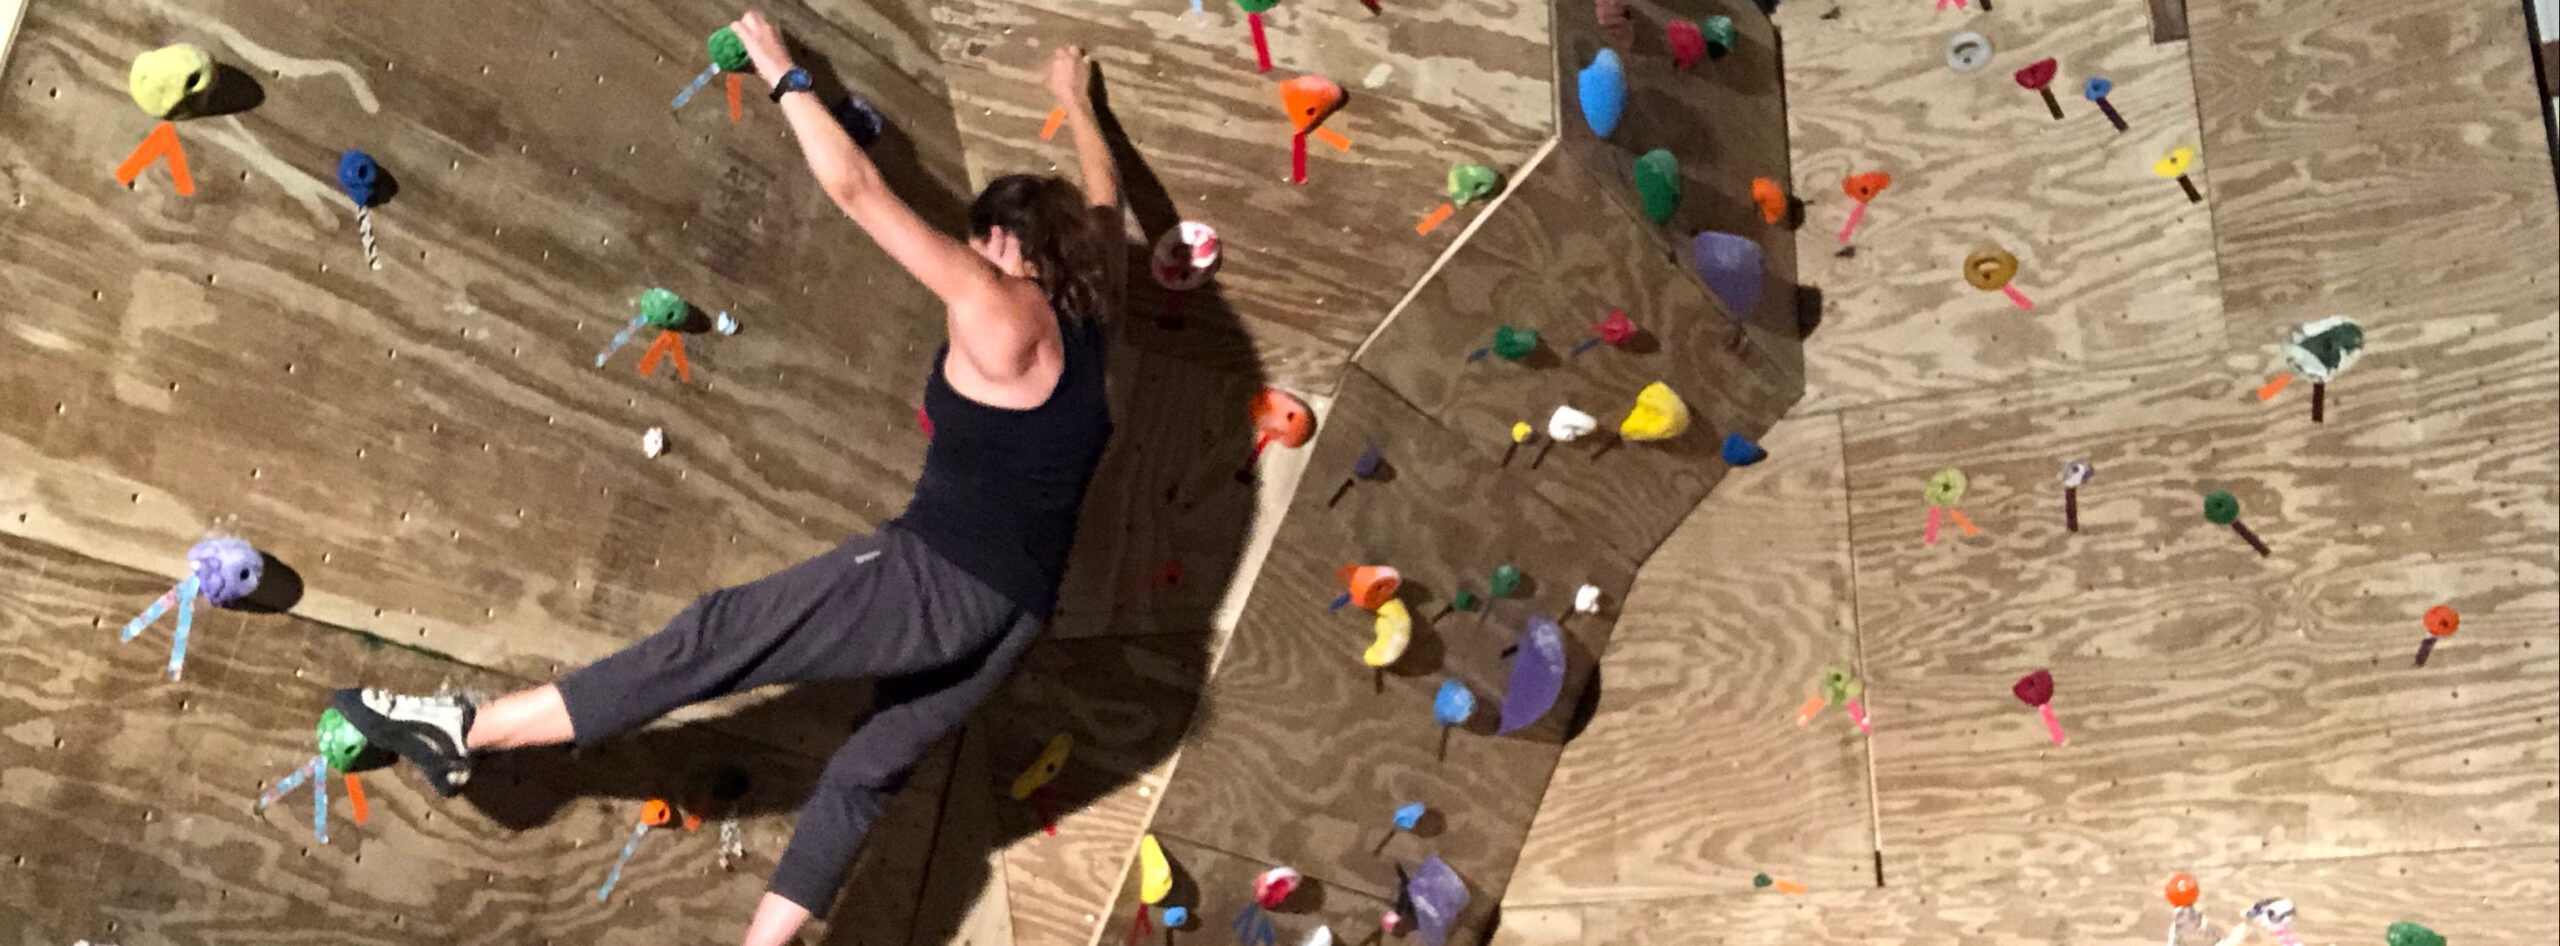
Building a Climbing Wall: Parts 2 & 3
I spent the better part of last year trying to convince myself not to build a climbing wall out in my barn, and then in October, I finally gave into the impulse and started, well, this… (That is not the appropriate way
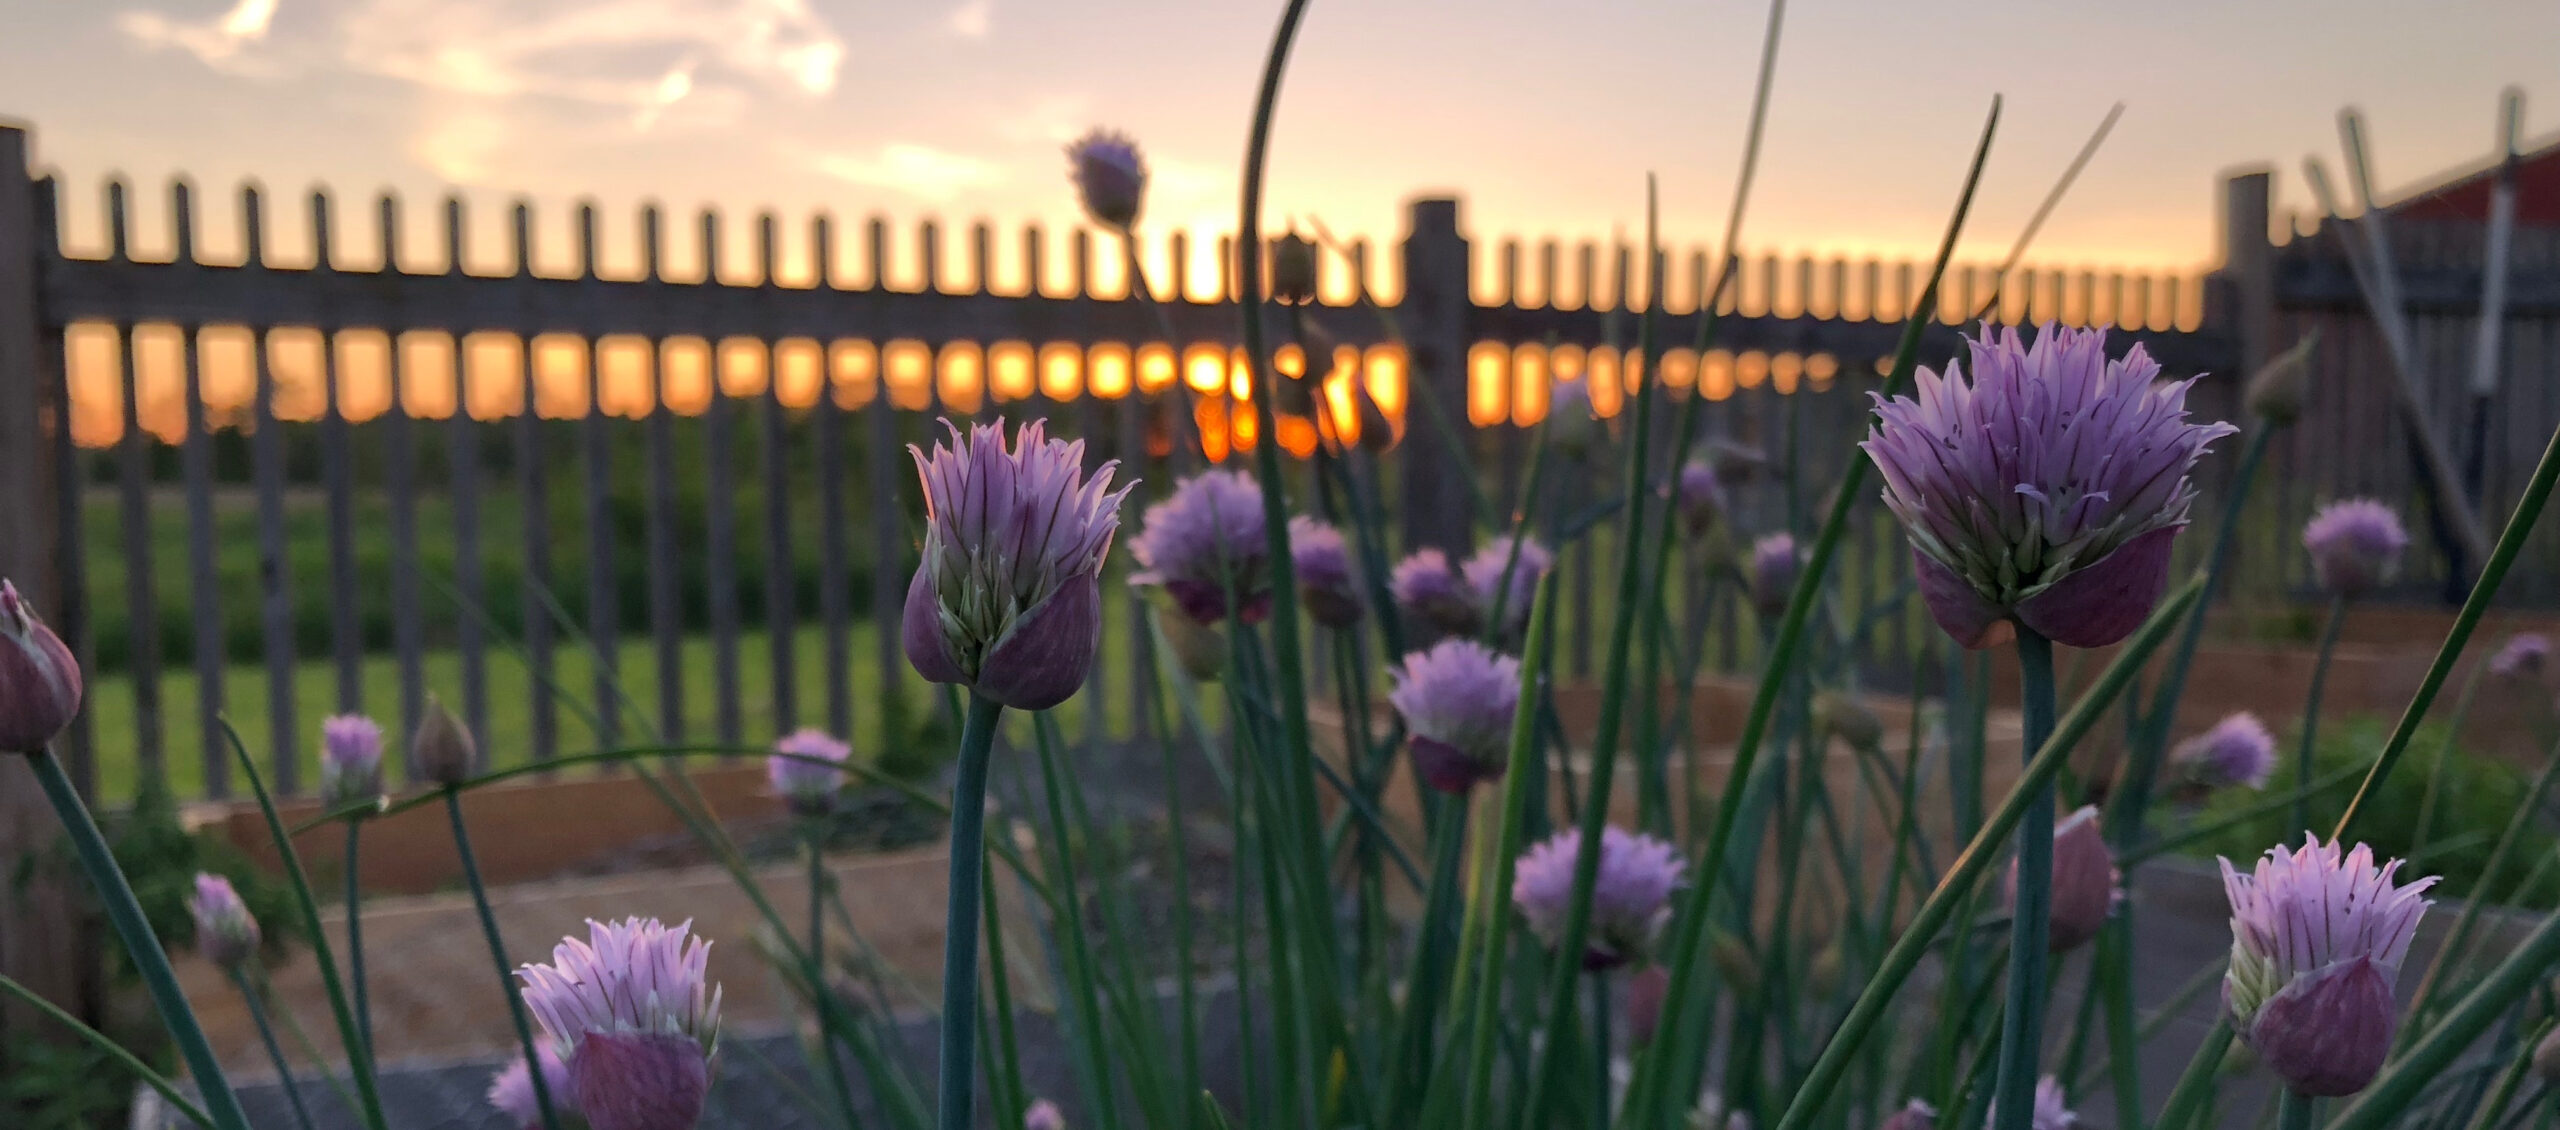
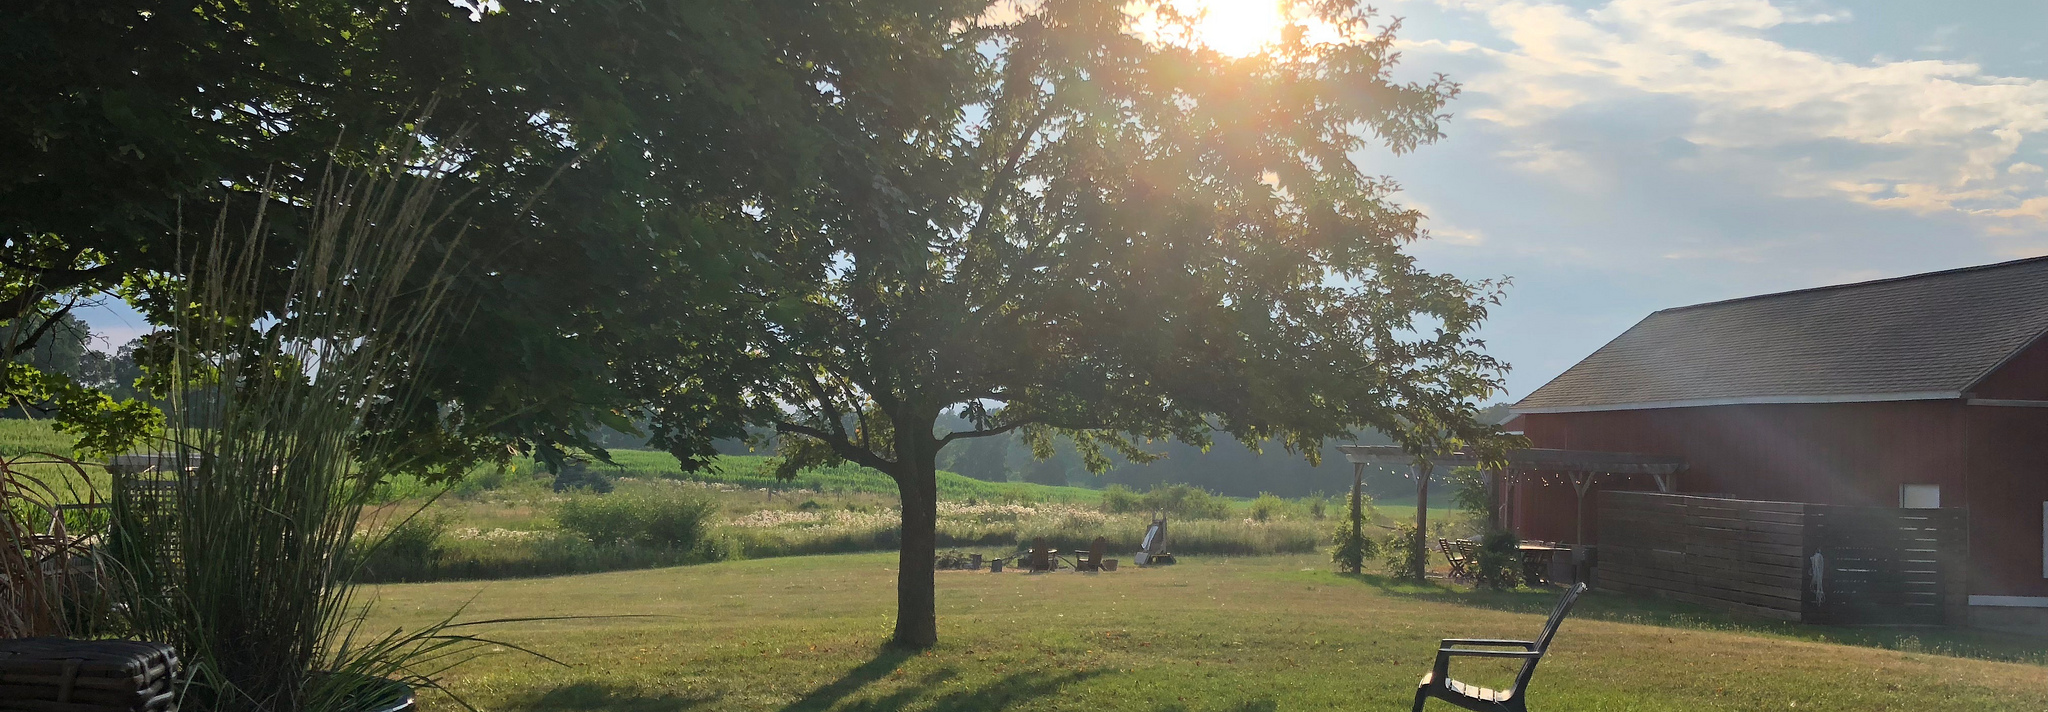
Spring on the Farm: 2018
It only took six years, but I think I’ve finally figured out how to manage spring on the farm without completely losing my shit, and it only requires two things: Do not get new animals. Do not get new plants. (For all
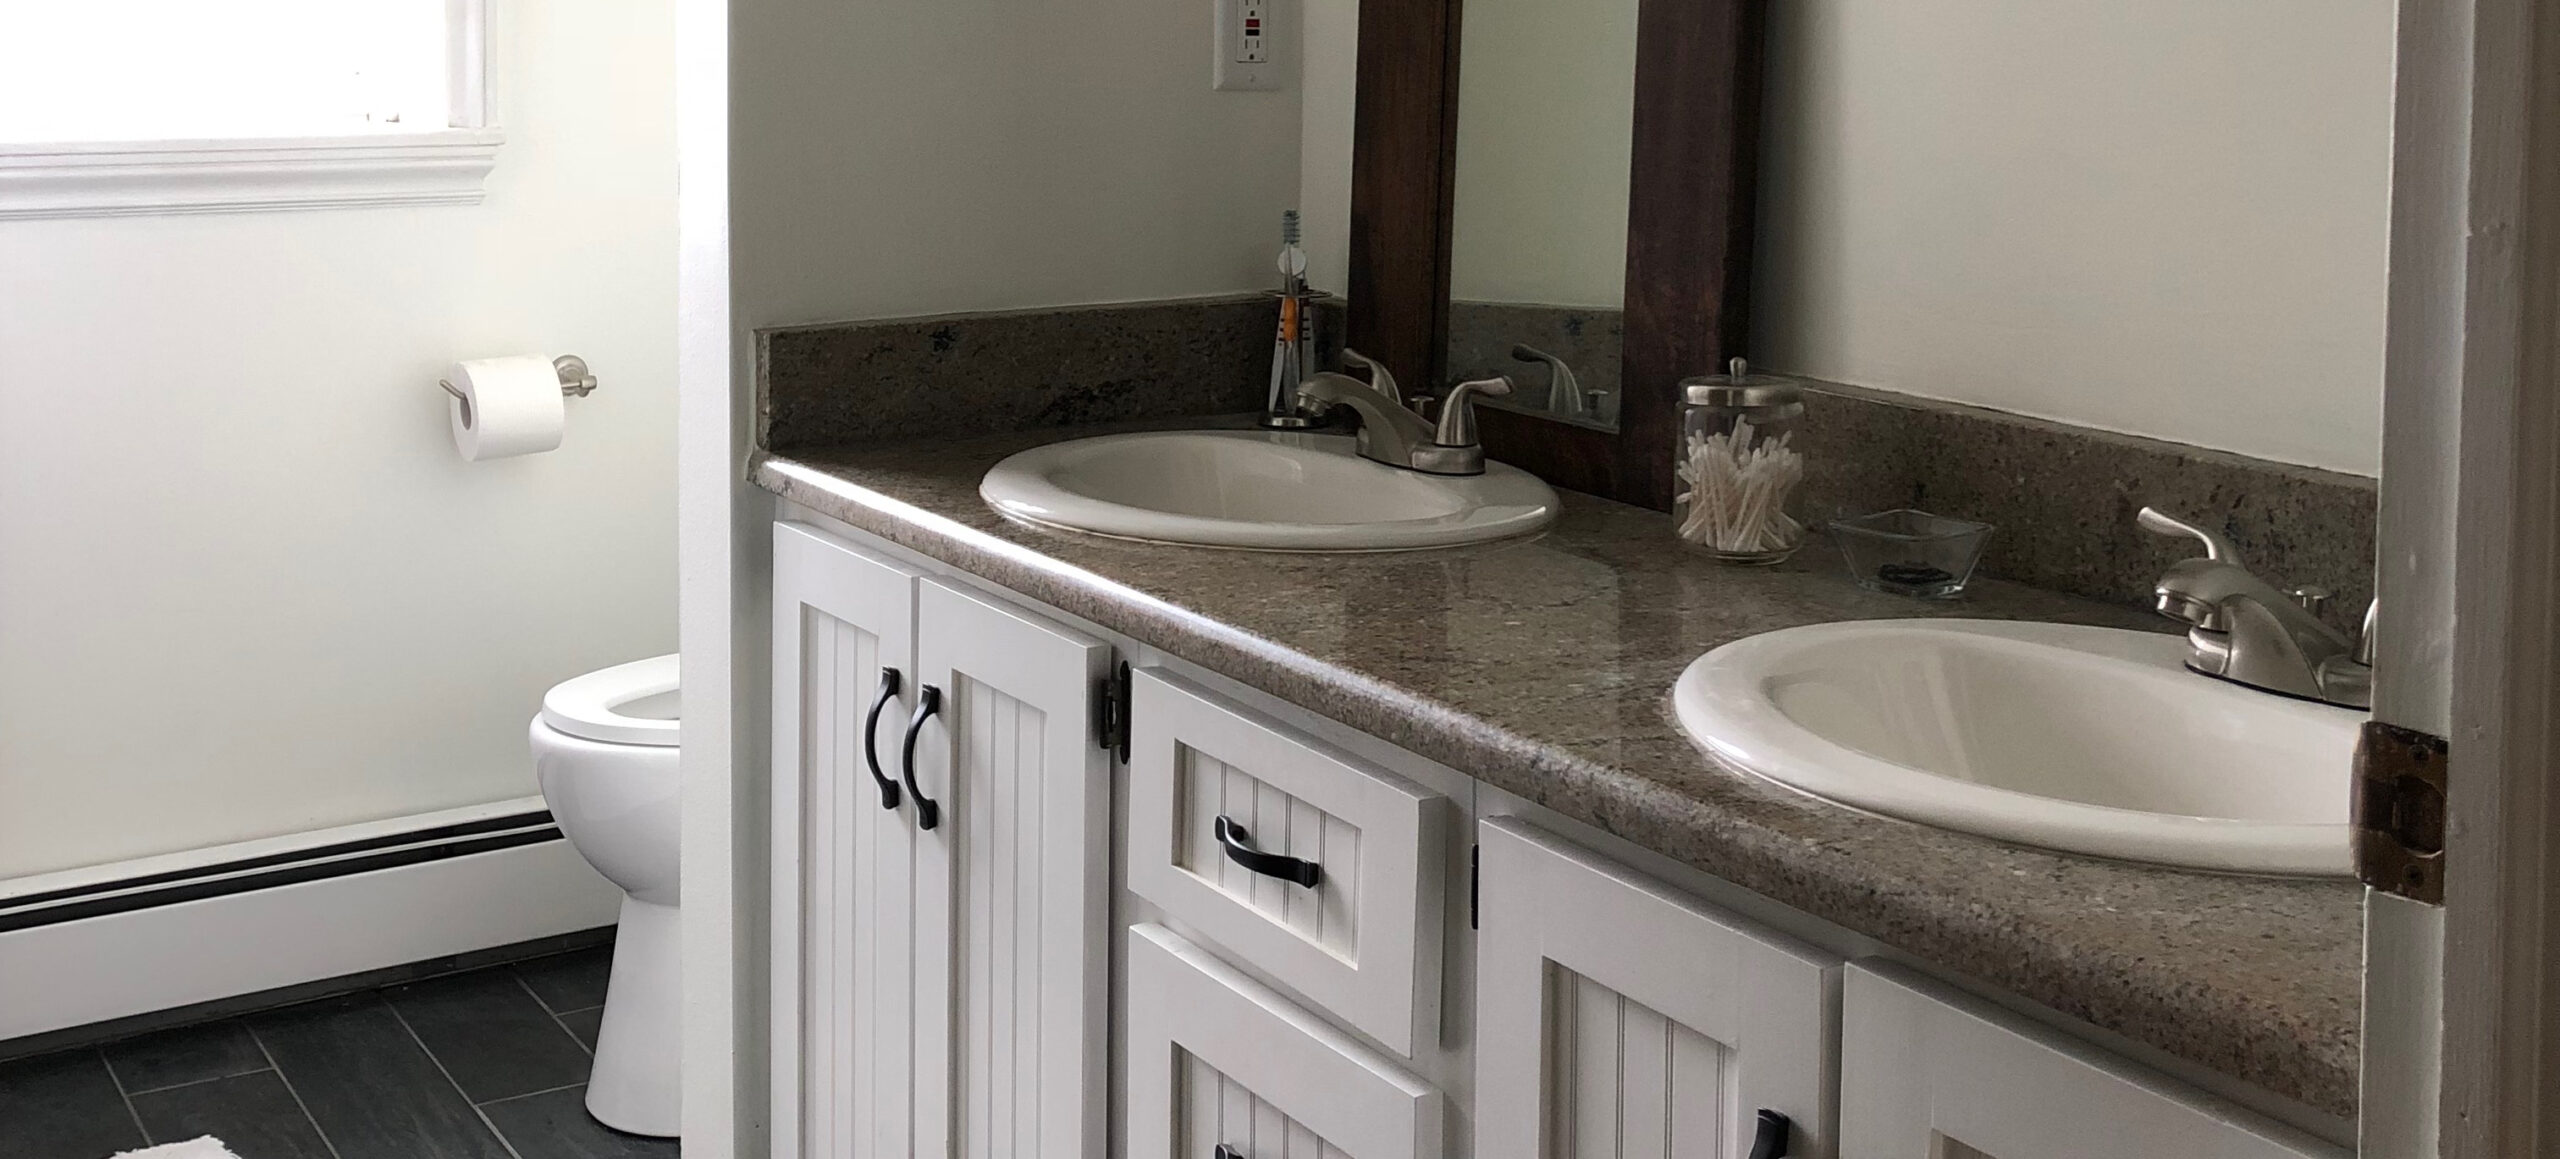
Upstairs Bath: Proof That Miracles Happen
To be fair, I’m not sure that getting a project 90% of the way done in this house is a “miracle” by any stretch, but this bathroom in particular has been sucking the life out of me one rotten layer of subfloor

Creating a Small-Space Home Gym
There are a lot of difficult things about living in a big, old, temperamental farmhouse in the middle of nowhere, but on the upside, I don’t lack for bedrooms or floor space in this house. Technically it’s a 4 bedroom, 3 bathroom
Victory Lap: Year Six
Can you guys believe that I bought this place six years ago? That’s insane. When I started blogging (and back then blogging wasn’t even really a thing) I was twenty-three. That was thirteen years, three houses, and a whole lot of power
Upstairs Bath: Finish Work and All The Swears
Progress on the upstairs bathroom is– and this is a phrase I haven’t used in conjunction with progress around the house in a long time– coming along nicely I mean, to be honest, there is nothing nice about it… this bathroom is
The Big List: 2019
2018 was a weird year for a lot of reasons, one of which was THERE WAS NO LIST. … I know, right? This farm has basically operated on a big list written on a big chalkboard for the last, oh, five years.
2018: The Year of Getting Stronger
Here’s the thing. While I like being strong, I don’t think I’ve ever walked into a day (or month, or year) and said, “You know what? I’d like this year to make me a stronger person.” Better? Yes. Better is easy. Better
Wherein I Built Some Motherf*cking Cabinets
The only appropriate way to follow that title is this: Hell. Yes. The last weeks of 2018 were nothing short of a gift. An incredible time when I had the time, the energy, and all the materials to spend all my evenings out
The Good, The Hard, and The Half-Finished Window Seat
Okay, listen, to be fair, it’s a mostly finished window seat. And at this exact moment in time–the moment where I’m on a roll building assorted cabinetry, and my mom and I are having a blast working between our two houses on
Lake House: Living Room and Other Fun
It turns out there are good and bad things about the Lake House in November. The bad thing is that it legitimately is too cold to spend all of the daylight hours out on the kayaks. The good news is, since I’m
Lake Life and Learning Curves
The last few weeks have been a whirlwind of big changes, new projects, a very cold learning curve, oh, and snow… Because why not, Michigan. So, here’s the deal. My mom and I took possession of the lake house a little less
The Lake House: A Tour
In the middle of prepping the farm for winter, traveling for work, stocking up on hay, traveling for fun, and a few unexpected life events (because why not, life?) this happened… My mom and I took possession of The Lake House! (Like, my
Unexpected Adventure: The Lake House Edition
The last seven years of my life have been punctuated with unexpected adventures. The farm The donkeys! Almost buying a ton of farmland and then not buying and ton of farmland and being a little devastated about it! Then, being glad I didn’t
Upstairs Bathroom: Mirror Adventures
Oh, hey, look what we’re talking about again… the second longest running bathroom remodel in the history of houses I’ve owned. (Technically there was a bathroom in my first house that didn’t have trim around the door for four whole years, so
Building a Climbing Wall: Parts 2 & 3
I spent the better part of last year trying to convince myself not to build a climbing wall out in my barn, and then in October, I finally gave into the impulse and started, well, this… (That is not the appropriate way
Spring on the Farm: 2018
It only took six years, but I think I’ve finally figured out how to manage spring on the farm without completely losing my shit, and it only requires two things: Do not get new animals. Do not get new plants. (For all
Upstairs Bath: Proof That Miracles Happen
To be fair, I’m not sure that getting a project 90% of the way done in this house is a “miracle” by any stretch, but this bathroom in particular has been sucking the life out of me one rotten layer of subfloor
Creating a Small-Space Home Gym
There are a lot of difficult things about living in a big, old, temperamental farmhouse in the middle of nowhere, but on the upside, I don’t lack for bedrooms or floor space in this house. Technically it’s a 4 bedroom, 3 bathroom
Victory Lap: Year Six
Can you guys believe that I bought this place six years ago? That’s insane. When I started blogging (and back then blogging wasn’t even really a thing) I was twenty-three. That was thirteen years, three houses, and a whole lot of power
Upstairs Bath: Finish Work and All The Swears
Progress on the upstairs bathroom is– and this is a phrase I haven’t used in conjunction with progress around the house in a long time– coming along nicely I mean, to be honest, there is nothing nice about it… this bathroom is
