Getting the underlayment for a tile floor down may seem like a small achievement, but let’s just say that when you’re going on month twelve of living in a 400 square foot garage with an Engineer and a puma large cat, any step that gets you closer to living in an actual house is really a giant leap towards saving your own sanity. Trust me.
Other than installing half a dozen doors without someone losing an eye to a well-aimed shim, getting the tile floor in the master bathroom is the last big project to tackle prior to move-in. And as anyone who has spent weeks picking grout out from under their fingernails knows, the first step to laying tile is putting down the underlayment. (For more information on traditional underlayment or tile in general, check out Tile 101: The Basics.)
Typically I used 1/4″ cement board for this, but that gorgeous wood floor in the bedroom is only 3/8″ thick, and I was concerned that with traditional underlayment, plus the radiant floor heat, plus the thickness of the tile, I’d basically need a step ladder to get across the threshold into the bathroom. Or at the very least, steel-toe boots. Instead I decided to try out the Durock Tile Membrane, which only adds 1/8″ thickness to the floor and works as well as traditional cement board (according to the product brochure). Also, I’m about at my limit with installing drywall-like substances at this stage in construction.
Here’s how it went.
What I Used
- Cleaning equipment, like a broom
- 1+ rolls of Durock Tile Membrane kit
- 3 quarts of Durock Tile Membrane adhesive
- Paint roller with 3/8″ nap
- Scissors and utility knife
- Flat drywall knife (straight trowel would work too)
What I Did
Step 1: Cleaning. Check your thermometers.
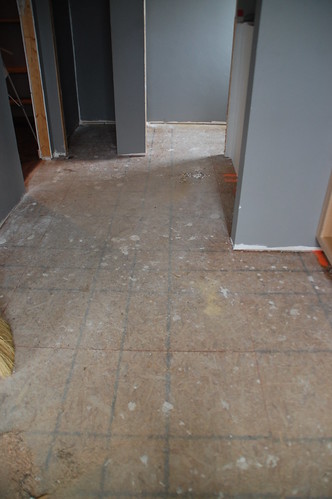
Does it feel a little chilly in here? If I start voluntarily cleaning everybody make sure there aren’t icicles forming in hell or we’re going to have a lot of unfortunate things to pay up on. Regardless, the OSB subfloor needed to be pristine before starting this project.
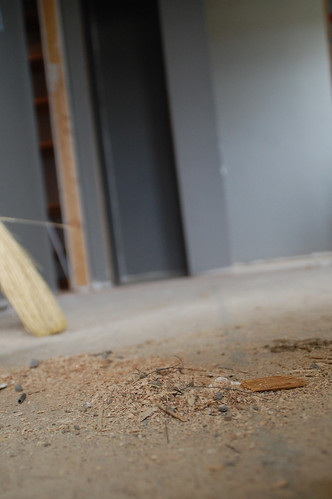
That meant sweeping up general debris…
And also scraping off any drywall mud splatters before using the shopvac.
Step 2: Pre-cut
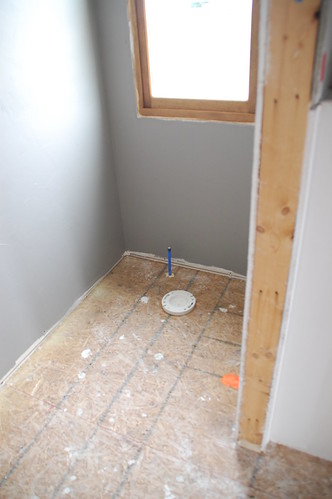
I started in the royal throne room. (You like how I threw that reference in there? You think I’m not paying attention to things like royal weddings just because I live in a garage, but I know things.)
Speaking of royal, here’s what was going on outside the window when I took that picture.
Yes, that’s a very dignified donkey rolling around in the dirt. (I’m sure there should be some sort of royal highnASS joke in there too, but it’s late and I’m low on clever.)
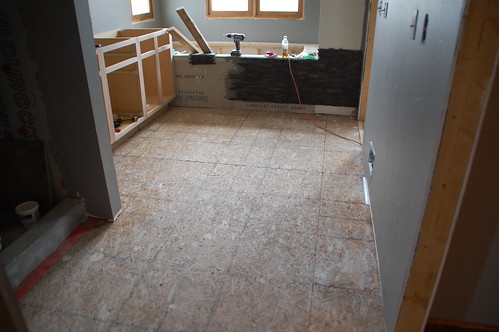
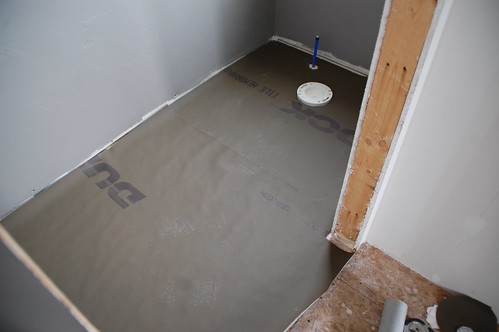
Okay, back to getting the underlayment ready. The tile membrane was easy to roll out and cut to size. I found scissors were easiest for cutting the sheet to size and a utility knife worked better for the plumbing holes.
The Durock website says this product doesn’t have rollback memory, which is pretty accurate, but I did have some trouble keeping the edges down when it came to gluing everything.
Step 3: Glue. Like paint, but stickier.
I read the instructions and watched this tutorial before starting. I wasn’t sure how applying glue with a roller would work, but what the hell? I gave it a shot.
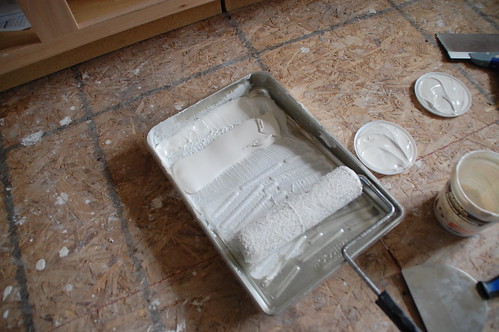
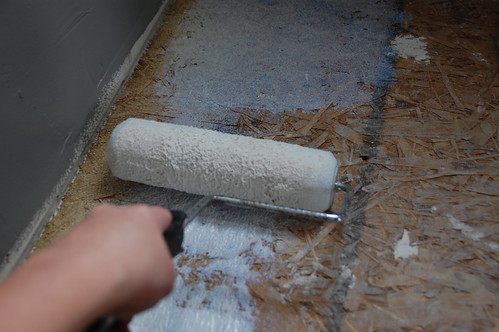
The glue was more liquid than I expected so the roller actually worked pretty well. One thing I learned was that you don’t want to just pour the glue into the center of the tray pan like you might with paint because it doesn’t settle out evenly (which makes it harder to roll evenly.) Instead I poured it into the tray in an even line — little detail, big difference.
(This was prior to the tray trick and you can see it wasn’t going on evenly at first.) As I got better at this I realized you can’t think of the glue like paint if you want good coverage without re-rolling over the floor. With a full roller I could only roll out 3′ of space and then reload for the best application.
Also, when it came time to overlap sheets I made sure to glue at least 2″ of overlap between sheets.
Throughout the process I never felt like I was getting quite enough glue down, but at the end of a roll I’d used exactly the recommended amount of adhesive. Which goes to show how much I know.
Step 4: Place and Smooth
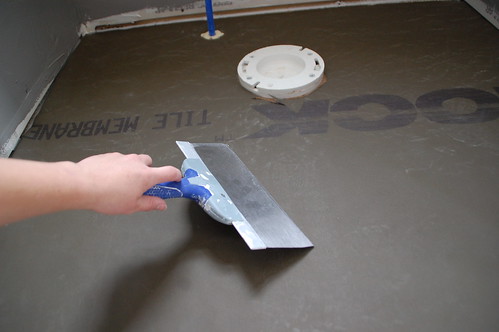
Getting the pre-cut membrane installed was pretty easy. Much easier than fitting a 1/4″ piece of rigid cement board. After it was down I used my 10″ drywall knife to smooth the membrane out (getting rid of any air bubbles) by working from the center out.
Step 5: Rinse and Repeat
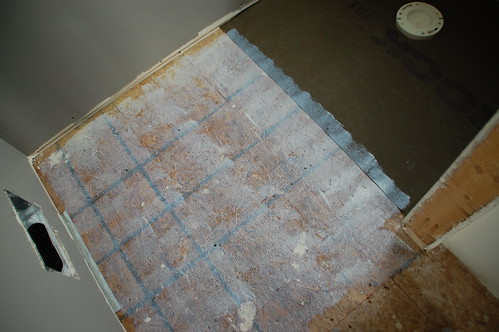
Doing the whole floor was basically that same routine 4 or 5 times.
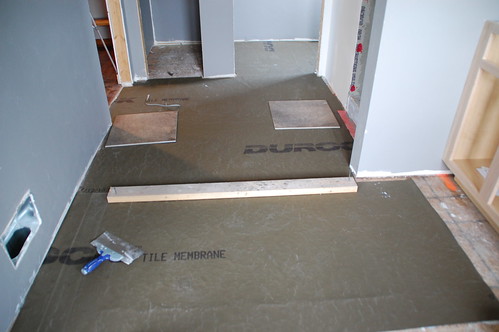
I chose to run the sheets the short way so it would be easier for me to manage the pieces. To get this far in the bathroom (I was about 1 3′ strip short) it took me about 2 hours when all was said and done. And a lot of that was cleaning time, which admittedly isn’t my strong suit.
You can also see here I had some issues with the seams not laying flat so I held them down with miscellaneous tile and boards until the glue was dry.
The Product
Just FYI this post is not sponsored by Durock. I learned about the membrane because they sent me some to use in the DIY walk-in shower (which is still in progress), but I bought this kit specifically to do the floor on my own.
Incidentally the kits run about $135 for 75 square feet. It ends up being a little more expensive than traditional cement board, but if you count how many pieces I waste by cutting a hole in the wrong spot, I probably ended up even.
Pros:
- Easy material to work with (I don’t think I swore once in the installation process)
- Didn’t require an extra set of hands
- Added very little thickness to the floor
- Dried quickly
Cons:
- I’m still not sure that I got enough glue down
- I had problems with the seams curling up, even when I put extra adhesive on
- It will be hard to know how well this works as an underlayment until the tile is installed for a while
- It wasn’t available at my local big box, so I had to order another roll online (which means I have to be more accurate with my math instead of running to the store when I run out of supplies)
Overall I would definitely use the tile membrane again under similar circumstances. I’m also using it on the exterior of the shower and the “bath” side of the see-through fireplace, prior to tiling.
Next up in this adventure: Installing radiant floor heat. The fun never ends.



11 Responses
Thanks for writing this post. I’m just getting started on a home renovation and we’ll no doubt have to tile over a second floor subfloor at some point. 🙂
fantastic post. thank you very much for the time putting this together. i stumbled upon your site while i was doing some research on this membrane; today, one of the associates in Lowe’s stopped me to tell me about this product when he saw 3 sheets of cement board on my cart. my question is, can you give any updates on how the tile has held up since being installed?
thanks!
John
Thanks for posting. I’ve now used this product in two different rooms in our house – a bathroom and now a mudroom. The bathroom was done 2 years ago and we have not had any cracking or grout gaps. The mudroom/laundry room is a current project, just setting my first lines of tiles tonight. Installation was similar to your experience here, just waiting to see how this works with the movement of a washer and dryer. Keeping our fingers crossed for a positive outcome!
Incidentally I will continue to use the product in our house – eventually we have two more bathrooms we are going to tile and I really hate having to pull up the vinyl and subfloor!
Did you affix the tiles using regular thinset mortar, or did it require something special?
Thanks for posting this, it’s been SO helpful!
Wendy, I know for my installation I used a thin set mixture that had some sort of polymer base in the laundry room. We’ve got the room together for two days and 10 loads of laundry so far and no cracks. The directions for the product state: Install tiles on cementitious (dark) side of membrane with ANSI A118.4 latex-modified Portland cement mortar or ANSI A136.1 Type 1 organic adhesive. Determine correct trowel size based on tile material and size to achieve at least 95% coverage of the average tile contact area.
About to start a. Fireplace retile (floor and side/top). Durock info says it can be used over existing tile . True or false ? Anyone tried it?
Do you have any issues with bubbles? I’m curious because we just layed the Durock Tile membrane down in our kitchen and we have a few, even after smoothing things out. Most are tiny, but there are two that I’m a little concerned about.
It’s great to see another woman is doing all of this on her own, too, after working all week. I’d rather tile over tile. I’m a little concerned about the flange extender leaking downstairs. 🙂
One of many projects, learning as I go.
Thanks!
Thanks for posting the information.
What a wonderful site and post! I just discovered this product and am researching to make sure it’ll work on a ceramic tile over ceramic tile project in a tiny bath. This was so helpful to see another woman do this and state that an extra set of hands isn’t necessary.
Comments are closed.